Are you tired of cluttered closets and overflowing drawers? Do you yearn for a stylish and functional solution to organize your belongings, without breaking the bank? Then look no further! This DIY hanging fabric organizer is the perfect project for those seeking a personalized storage solution that's both aesthetically pleasing and incredibly practical. With just a few simple supplies and some basic sewing skills, you can craft a custom organizer to fit any space and perfectly suit your needs, whether it's for clothes, toys, craft supplies, or anything else you can imagine. This project is surprisingly easy and incredibly rewarding, transforming ordinary fabric into a wonderfully efficient organizational tool.
Forget expensive, pre-made organizers – this tutorial empowers you to create a unique piece that reflects your personal style and perfectly complements your existing décor. We’ll guide you through every step, from choosing your fabric and measuring to sewing and finishing touches. Ready to get started on your own custom hanging fabric organizer? Let's dive into the detailed step-by-step process!
Preparation and Safety Guidelines
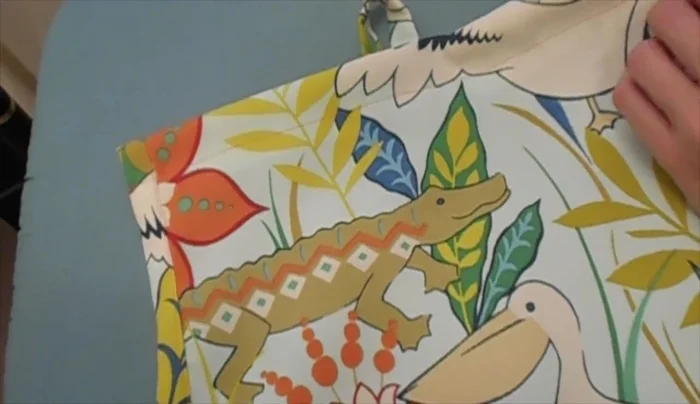
- 1M Home Decor fabric (140cm wide)
- Matching thread
- Rotary cutter and cutting mat (or scissors)
- 13in wooden dowel (about 1/2 inch diameter)
- Pins
- Sewing machine (or serger)
- Hot iron
- Always use strong, appropriately weighted fabric and hardware for hanging. Weak materials can lead to collapse and injury.
- Ensure all knots and seams are secure to prevent the organizer from tearing or ripping under the weight of stored items.
- Carefully check the weight limit of any hooks or hanging mechanisms you use to avoid damage or accidents.
Step-by-Step Instructions
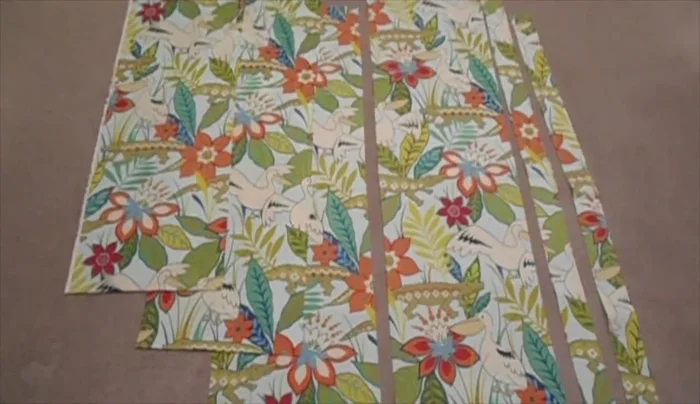
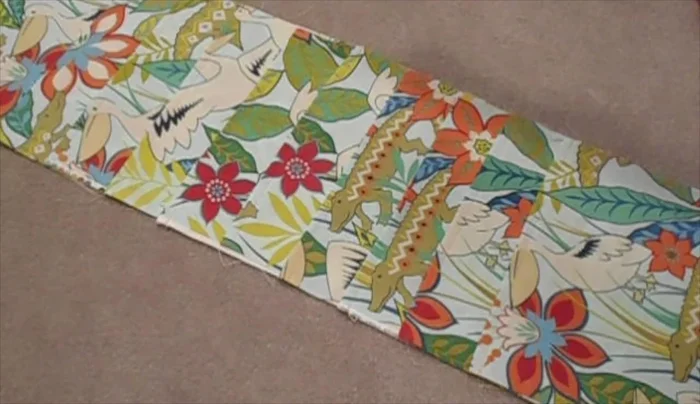
Prepare Fabric Strips
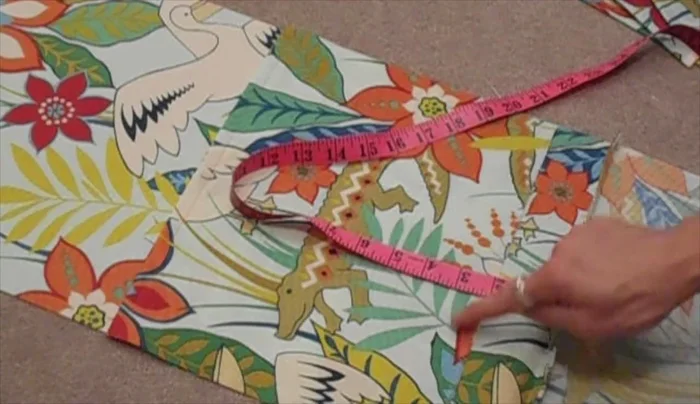
- Cut fabric lengthwise into four 12in wide strips and two 2 1/4in wide strips.
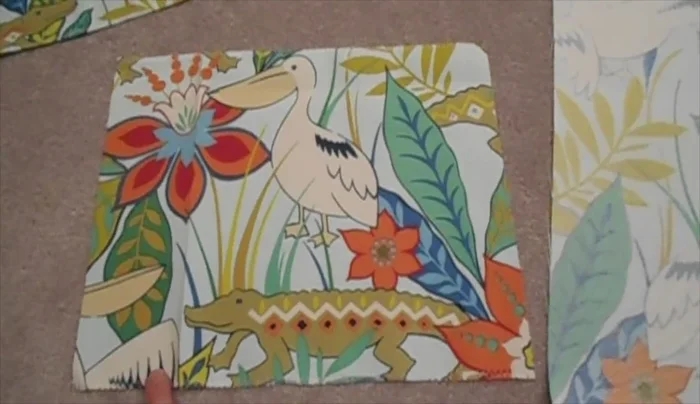
- Cut three 12in wide strips into 12in x 10in panels.

Prepare Fabric Strips Finish Fabric Edges
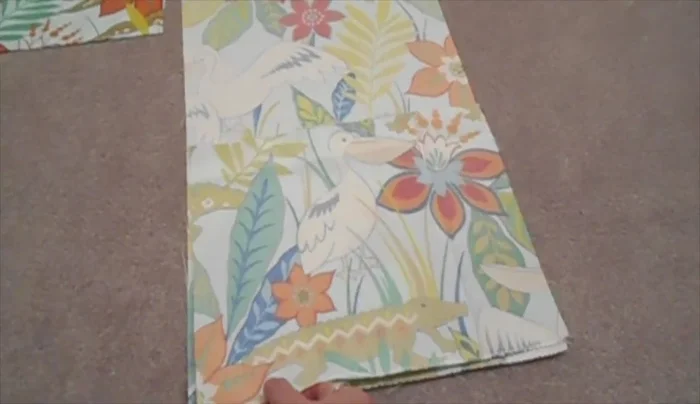
- Zigzag or serge the bottom and top edges of each panel to prevent fraying. Do the same for the longer back panel.
Finish Fabric Edges Sew Pockets to Back Panel
- Place a smaller panel upside down on top of the longer panel, aligning bottom edges. Sew a 1/2in seam from the bottom.
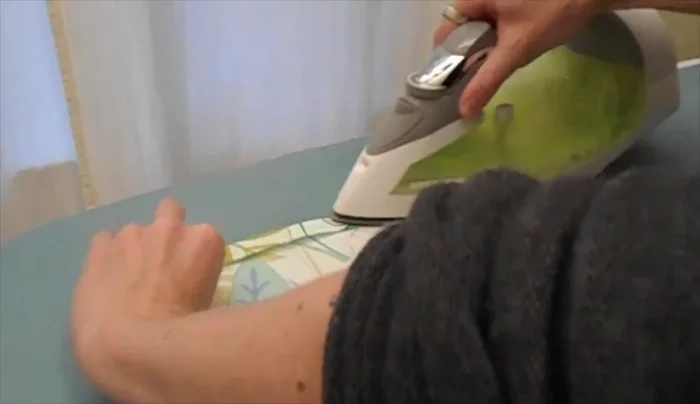
- Turn the back panel right side up, flip the smaller panel up, and press the bottom seam with a hot iron.
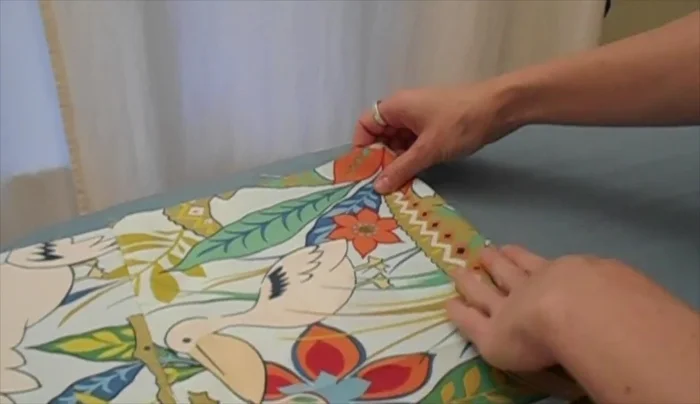
- Press the top edge of the pocket down 1/2 inch and sew along that edge. Repeat for remaining pockets.
- Measure 2 inches from the bottom seam of the back panel and pin a panel in place. Sew along the bottom 1/2 inch from the edge to secure.
Sew Pockets to Back Panel - Repeat step 7 until all nine panels are sewn to the back.
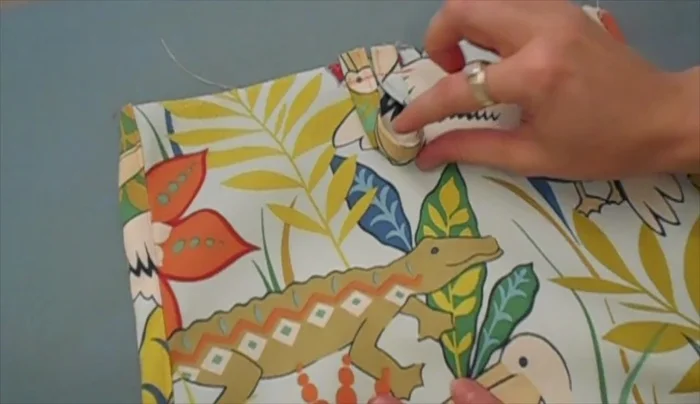
Sew Pockets to Back Panel Close Side Seams
- Sew along each side edge of the organizer (about 1/4 inch or 3/8 inch from the edge) to secure the sides to the back panel.
Close Side Seams Prepare Binding Strips
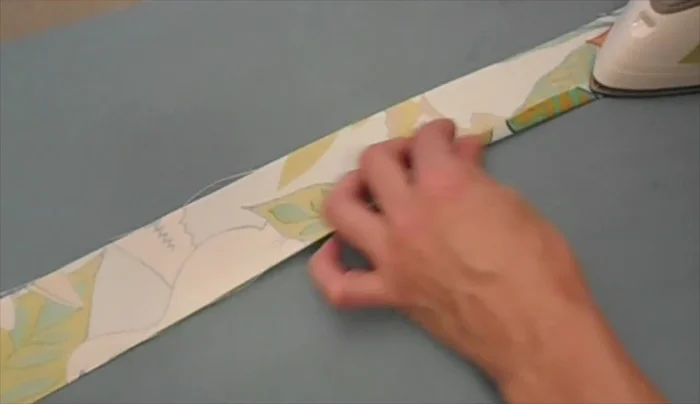
- Fold the long edges of the 2 1/4in strips under less than 1/2 inch, press with an iron, then fold the sides together and iron.
Prepare Binding Strips Attach Binding
- Place the right side of the binding strip right side down onto the organizer, starting about 1/2 inch past the bottom. Sew a 1/2 inch seam from the edge.
- Flip the other side of the binding over, wrap it around the back, and sew about 1/8 inch from the edge of the front of the binding.
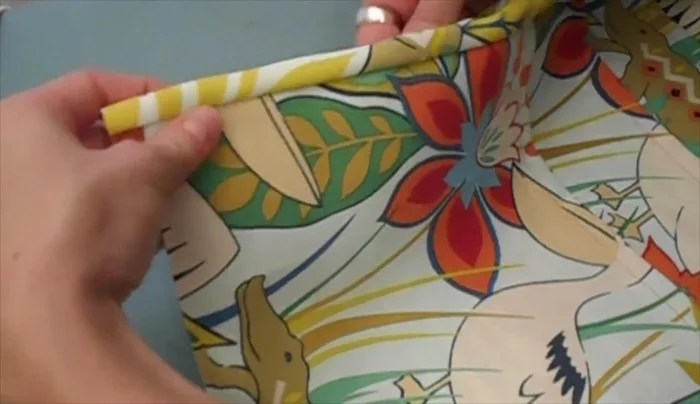
Attach Binding Add Hanging Loop
- Create a small fabric loop for hanging; sew it to the middle of the right side (about 1/2 inch from the top).
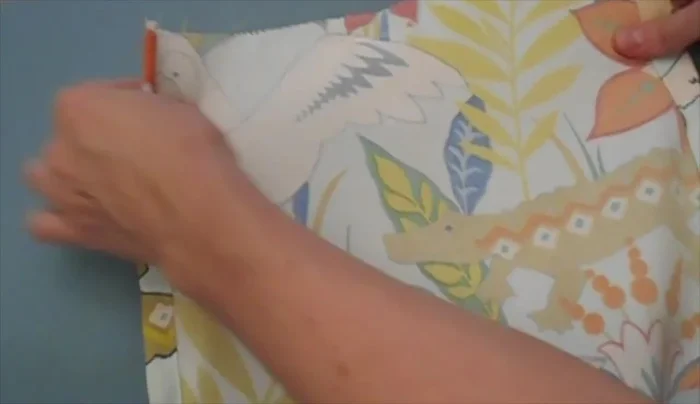
Add Hanging Loop Finish Top Edge
- Fold the top of the organizer back about an inch and a half, and sew 1/2 inch from the bottom.
- Slide the wooden dowel through the top tunnel.
Finish Top Edge


Read more: DIY Super Cute Whale Shower Curtain: A Step-by-Step Tutorial
Tips
- Use a serger for cleaner edges if you have one.
- Match your thread color to the fabric for better aesthetics.