Add a touch of charming greenery to your home or patio with this quick and easy DIY hanging basket! Forget expensive store-bought options – this tutorial will guide you through creating your own beautiful planter using simple sewing techniques and readily available materials. Whether you're a seasoned sewer or a complete beginner, you'll be surprised at how effortlessly you can craft a unique and personalized hanging basket to perfectly complement your style. Think vibrant blooms spilling over the edges, adding a splash of color and life to any space.
This project is perfect for upcycling old fabric scraps or using inexpensive materials, making it both budget-friendly and eco-conscious. No complicated tools or patterns are required, just a needle, thread, and a little bit of your time. Ready to get started and transform those fabric remnants into a stunning hanging planter? Let's dive into the step-by-step instructions!
Preparation and Safety Guidelines
- Fabric (main and lining)
- Interfacing
- Sewing machine
- Iron
- Turning tool (safety pin or bodkin)
- Pins
- Scissors
- Always use strong, durable fabric suitable for outdoor use to prevent tearing or damage from weather and weight. Avoid lightweight fabrics that might rip under the strain of soil and plants.
- Ensure all seams are securely sewn and reinforced, especially the hanging loop, to prevent the basket from ripping or the plants falling out. Double stitching and using a strong thread are recommended.
- When hanging the basket, choose a sturdy hook or support that can safely hold the weight of the filled basket. Avoid placing it in areas susceptible to strong winds or accidental knocks.
Step-by-Step Instructions
Prepare Pattern and Fabric
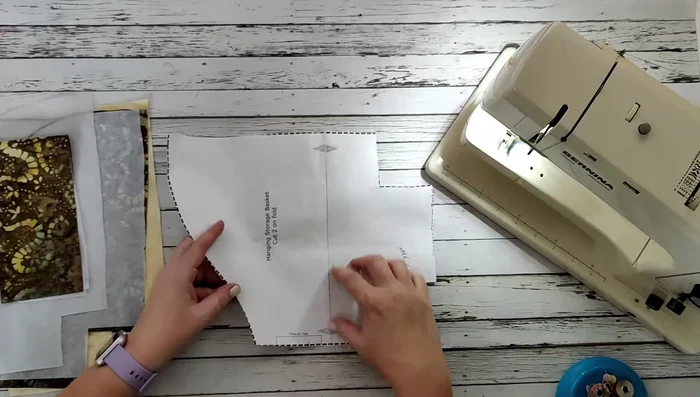
- Download and print the pattern (available in the description). Tape the two pages together.
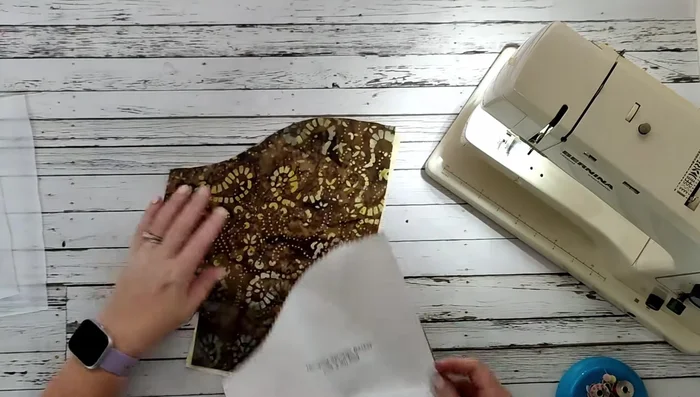
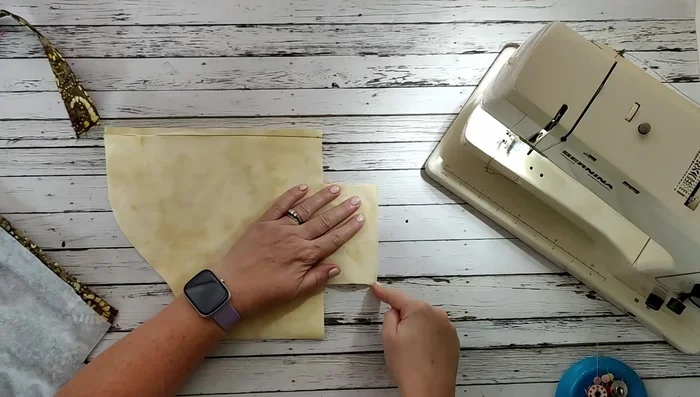
- Cut out the pattern pieces from your main fabric and lining fabric, remembering that the fold is on the indicated side of the pattern, not the other.
- Cut out the strap (14" x 3.5"). Fuse interfacing to the wrong side of both the main fabric pieces and the strap.

Prepare Pattern and Fabric Construct the Strap
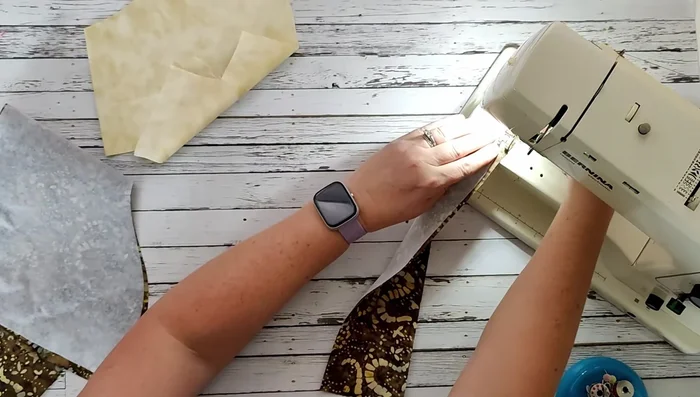
- Fold the strap in half (right sides together), and stitch along the long edge (approximately 3/8" seam allowance). Turn right side out using a turning tool.
Construct the Strap Assemble the Basket Body
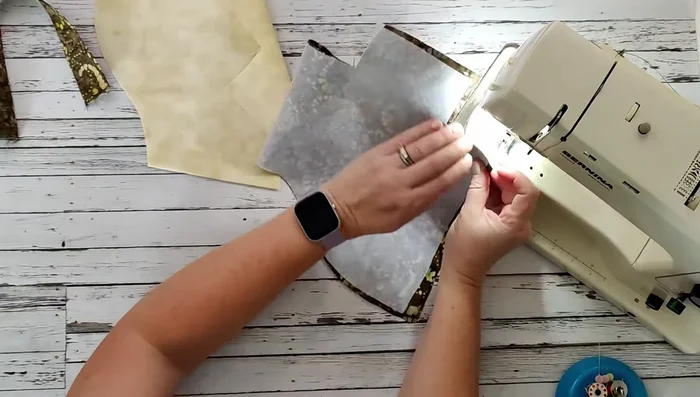
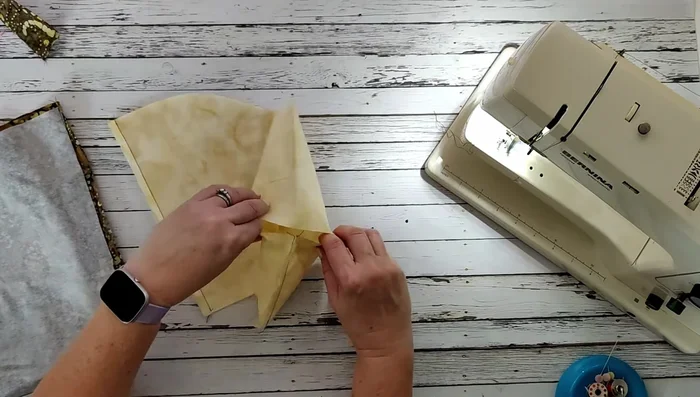
- Fold the main fabric pieces in half (right sides together), and stitch along the long edges (approximately 3/8" seam allowance). Press seams open.
- Stitch across the bottom of the basket pieces to close the seams. Press seams open.
- Create boxed corners at the bottom of the basket by matching and stitching the seams at a quarter-inch seam allowance.
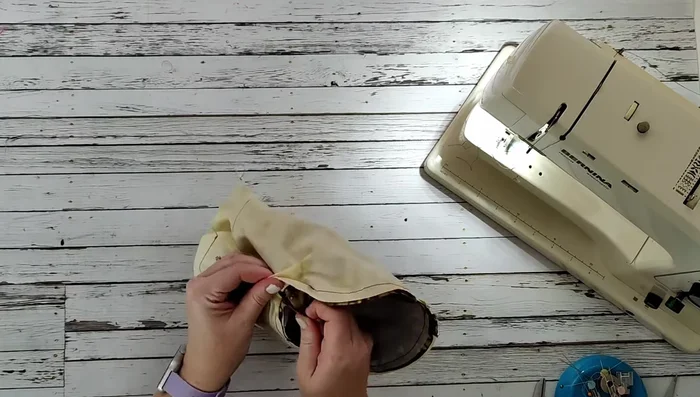
Assemble the Basket Body Join Basket and Lining
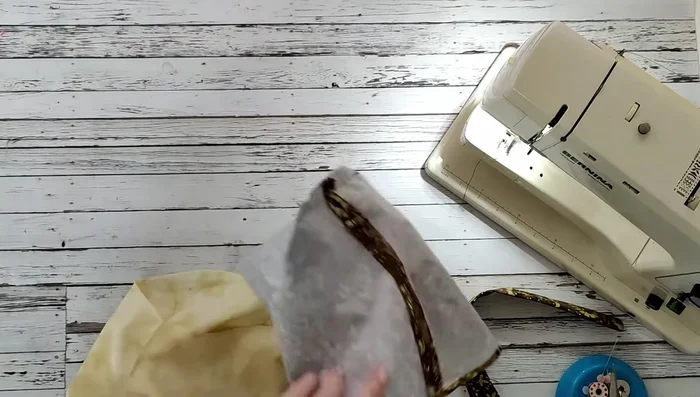
- Place the main fabric (right side out) and lining fabric (wrong side out) together with the strap tucked inside, about an inch from the back seam. Pin all the pieces together, leaving an opening for turning.
- Stitch all the way around the basket, leaving an opening to turn. Remove pins.
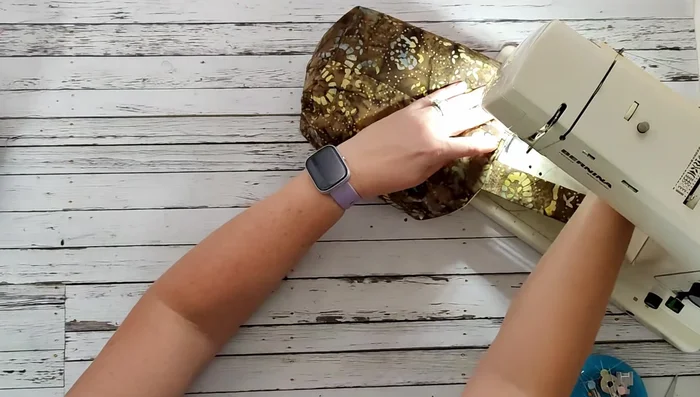
Join Basket and Lining Finish the Basket
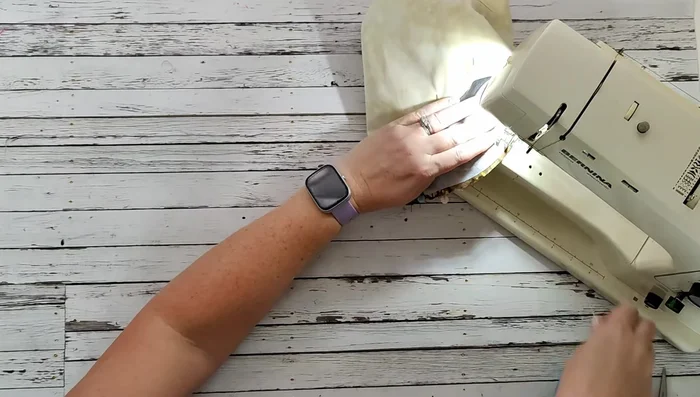
- Turn the basket right side out through the opening. Press seams to make it neat.
- Top stitch around the entire basket to close the opening and add strength. Trim threads.
Finish the Basket

Read more: DIY Super Cute Whale Shower Curtain: A Step-by-Step Tutorial
Tips
- Use heavier interfacing for a sturdier basket.
- For waterproof baskets, use a waterproof fabric.
- Press interfacing to fabric from the center out to avoid pulling.
- Use plenty of pins to ensure all layers are aligned during sewing.