Do you have an old handbag gathering dust in your closet? Don't toss it just yet! With a little creativity and some simple supplies, that forgotten accessory can be transformed into a stunning, one-of-a-kind piece. This tutorial will guide you through an easy and rewarding DIY project, breathing new life into your beloved (or previously overlooked!) bag. Forget expensive boutique prices – you can achieve a designer look without the designer cost. We'll explore techniques for revitalizing worn leather, updating outdated hardware, and adding personalized touches to create a handbag that reflects your unique style.
This easy-to-follow guide will walk you through each step of the process, from assessing your bag's condition and choosing the right materials to the final touches that will make your revamped handbag truly special. Let's turn that old bag into a stylish statement piece! Prepare to be amazed by how much you can accomplish with a few simple steps and a dash of imagination.
Preparation and Safety Guidelines
- Material (cloth, lace, border)
- Scissors
- Sewing machine or needle and thread
- Always work in a well-ventilated area, especially when using paints, dyes, or strong-smelling adhesives. Inhalation of fumes can be harmful.
- Use caution when handling sharp objects like scissors, needles, or seam rippers. Always cut away from yourself and keep your fingers clear of blades.
- If you are unsure about any step or technique, consult online tutorials or seek advice from an experienced crafter before proceeding. Improper techniques could damage the bag or cause injury.
Step-by-Step Instructions
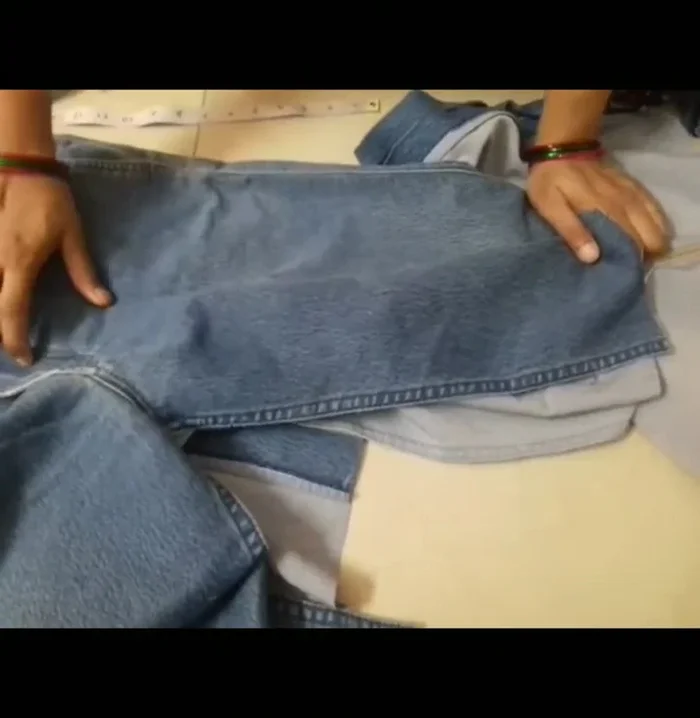
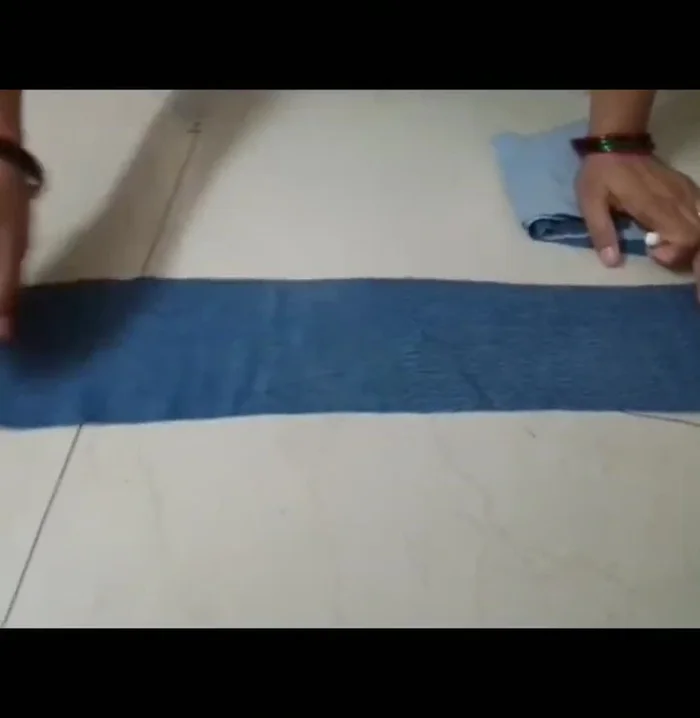
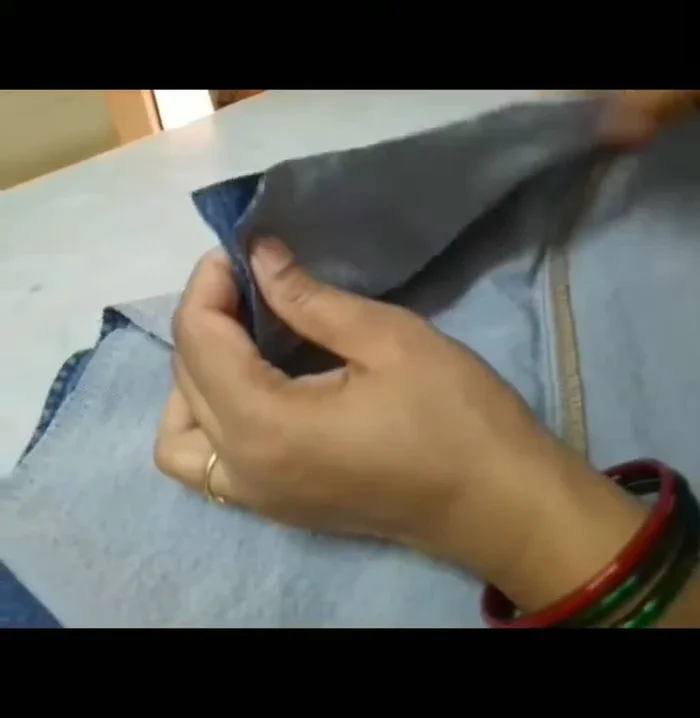
Prepare the Fabric Pieces
- Cut two equal pieces based on your waist measurement. Add extra length for the back. The width should be approximately 600 cm.
- Cut a 36-inch long piece of fabric. This will be the back panel. Ensure the length is consistent.
- Cut two additional pieces, considering extra length for adjustments. The exact measurements will depend on your desired handbag size and shape.

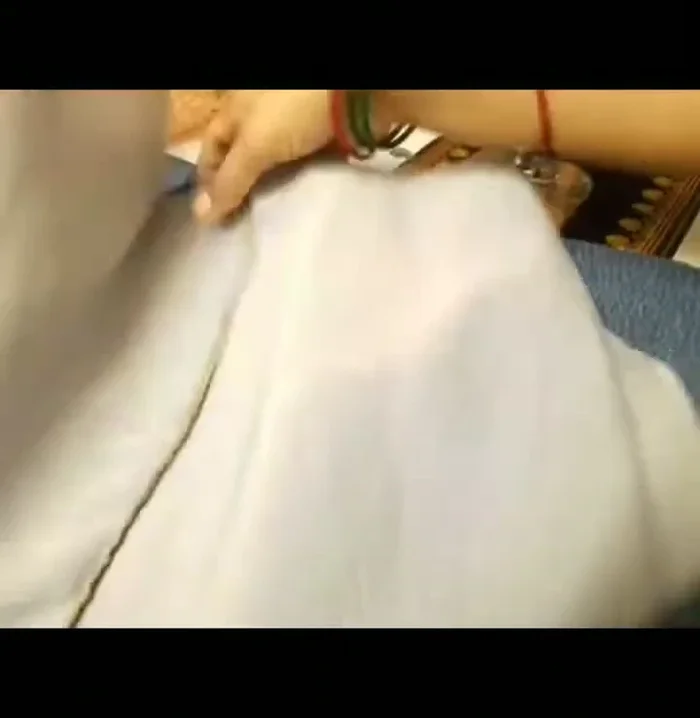
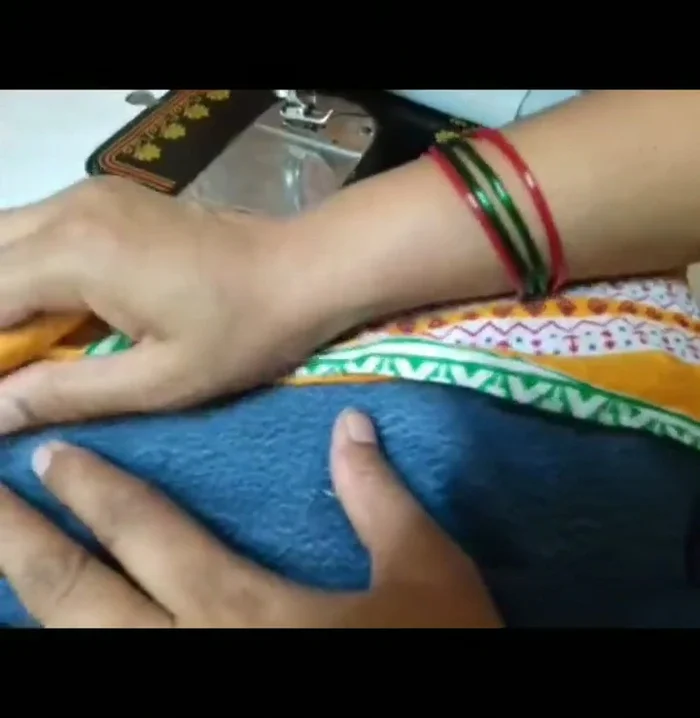
Prepare the Fabric Pieces Assemble the Main Body
- Stitch the side panels to the main body fabric pieces, creating the main structure of the bag.
- Stitch the two main body pieces together, right sides facing inward, leaving an opening to turn it right side out.
Assemble the Main Body Attach Decorative Elements
- Sew the decorative border (or lace) to the bottom edge of the back panel before attaching it to the main body.
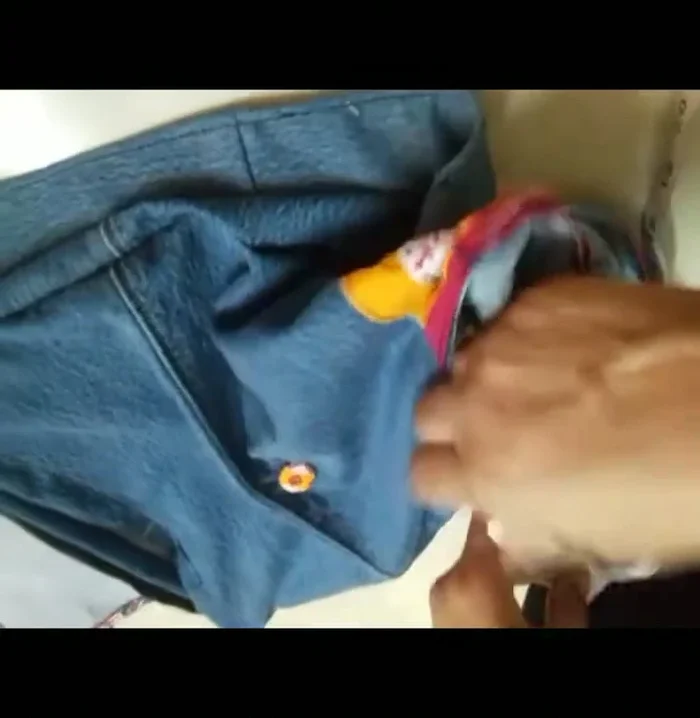
Attach Decorative Elements Attach the Base
- Sew a separate base piece (previously cut and prepared) to the bottom edge of the bag, ensuring it's properly centered and even.
Attach the Base Attach the Handles
- Attach the handles to the top of the bag, centering them for a balanced look. Securely stitch them in place.
Attach the Handles Finish the Bag
- Cleanly finish the edges of the bag to prevent fraying. Consider using a serger or zigzag stitch.
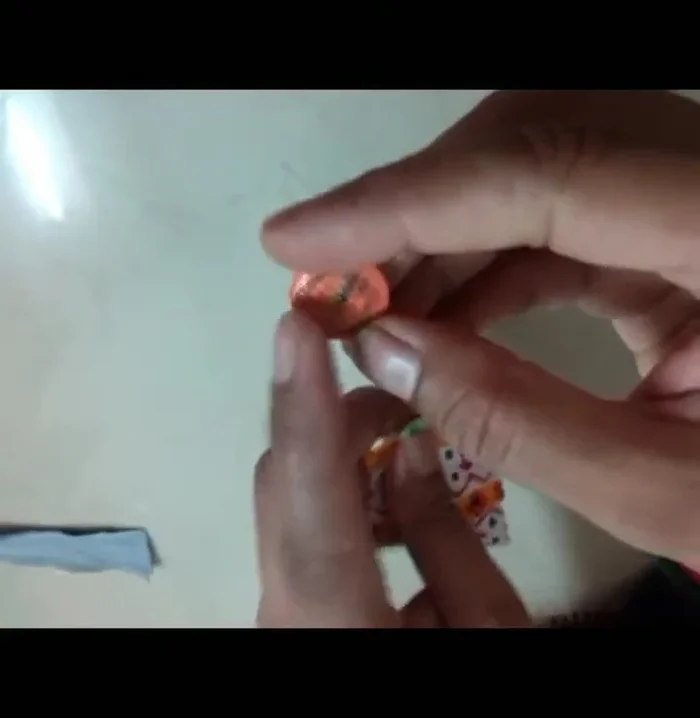
- Attach a button and loop closure to the top of the bag for a secure and stylish finish.
Finish the Bag


Read more: DIY Quilted Makeup Pouch Tutorial: The Easiest and Fastest Method
Tips
- Use high-quality materials for a more durable and aesthetically pleasing handbag.
- Take accurate measurements to ensure a well-fitting handbag.
- Pay attention to details such as even stitching and clean finishing to achieve a professional look.
- Use a variety of decorative elements, such as lace or unique fabrics to personalize your handbag.