Add a touch of bohemian chic to your home décor with this easy-to-make DIY fringe-edged pillow! This tutorial guides you through creating a stunning, textured pillow featuring a trendy fringe detail and a professional-looking invisible zipper closure. Forget about clunky, visible zippers that detract from your beautiful design; we'll show you a simple technique to seamlessly incorporate an invisible zipper for a clean, polished finish. This project is perfect for beginner sewers, requiring minimal supplies and straightforward steps.
Whether you're a seasoned crafter or just starting your sewing journey, you'll be amazed at how quickly and easily you can transform simple fabric into a stylish and unique accent pillow. The satisfying process of creating this fringed masterpiece will leave you wanting to make more! Ready to get started? Let's dive into the step-by-step instructions and learn how to create your own fringe-edged pillow with an invisible zipper.
Preparation and Safety Guidelines
- Pillow
- Fabric
- Matching thread
- Invisible zipper
- Trim or piping
- Piping foot
- Invisible zipper foot
- Always use sharp sewing scissors or rotary cutter to prevent fabric from fraying excessively and ensure clean cuts. Dull blades can cause injury.
- When working with the invisible zipper, take your time and carefully match the zipper teeth to the seam allowance. Rushing can lead to a visible zipper or a broken one.
- Before starting, pre-wash your fabric to avoid shrinkage after the pillow is completed. This will ensure your pillow maintains its size and shape.
Step-by-Step Instructions
Prepare Fabrics and Trim
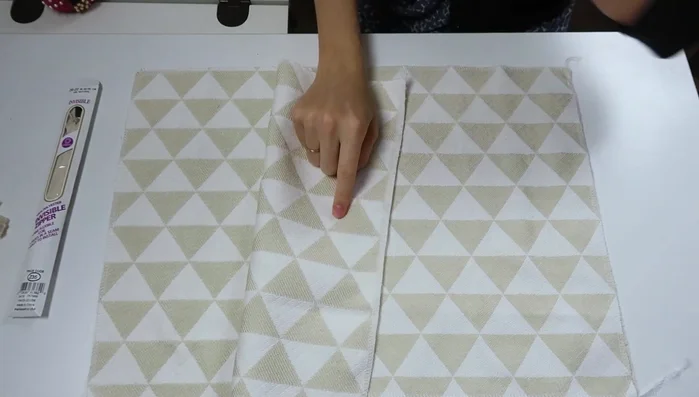
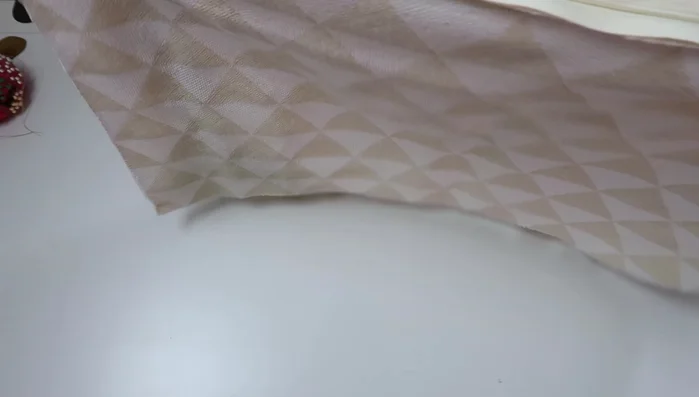
- Cut fabric to pillow size and serge the outside border. Baste trim facing inward around the entire perimeter of one side of the fabric.

Prepare Fabrics and Trim Sew Pillow Front and Back
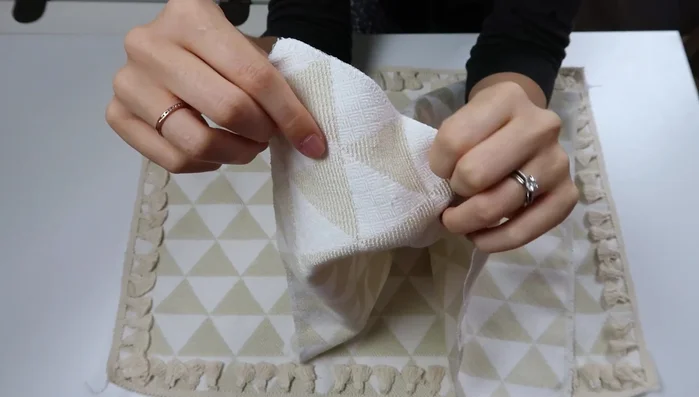
- Place the other fabric piece on top, right sides facing inward, ensuring triangles go in opposite directions. Match up the bottom edge and stitch normally for about an inch and a half, baste in the middle, and then stitch normally on the other inch and a half on the other side. Only the middle section should be basted.
Sew Pillow Front and Back Prepare and Baste Zipper
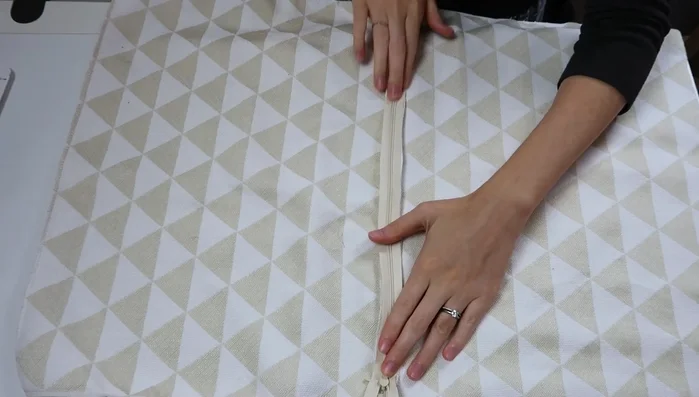
- Open the basted seam. Iron the zipper teeth away from the zipper tape on both sides. Place the zipper along the seam, matching the center of the zipper and the center of the seam. Pin and baste it down with contrasting thread.
Prepare and Baste Zipper Sew Invisible Zipper
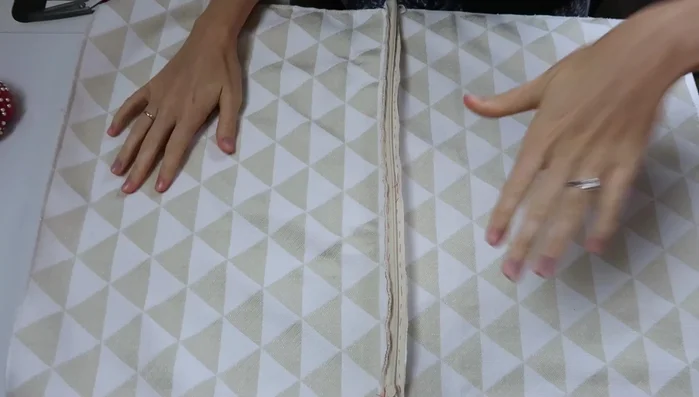
- Remove the original basting stitches holding the seam closed. Zip the zipper all the way down. Using an invisible zipper foot or piping foot, sew right next to the zipper teeth on both sides. Pull the zipper back up and double-check.
Sew Invisible Zipper Finish Zipper and Secure
- Remove basting thread. To shorten the zipper, take several stitches at the bottom where you'll cut and snip off any excess.
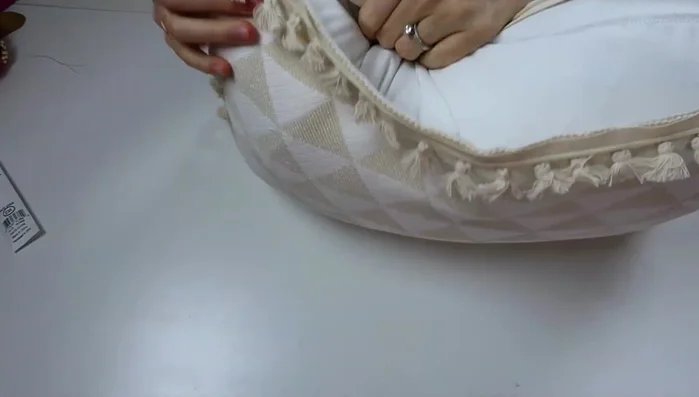
Finish Zipper and Secure Close Pillow and Finish Edges
- Unzip slightly to fit your hand in and tuck fringe/piping inward. Pin and stitch around the sides. Pop out the corners. If any tape is sticking out, pull it back in and stitch closer.
Close Pillow and Finish Edges Insert Pillow Form
- Insert the pillow. Pinch the opening together to avoid straining the zipper and pull the zipper closed.
Insert Pillow Form

Read more: King Size Quilt Tutorial: Efficient Chain Piecing Method
Tips
- Use contrasting thread for basting to easily remove it later.
- Get really close to the zipper teeth when sewing to make the zipper invisible.
- Secure the bottom of the zipper with several stitches before cutting the excess.