Single-use plastic bags are choking our planet, contributing significantly to landfill waste and environmental pollution. We all know we should be using reusable bags, but the reality is, remembering to grab them from the car or cupboard can be a constant struggle. This is why a DIY, foldable, reusable grocery bag is the perfect solution – a sustainable choice that's both convenient and stylish. Imagine effortlessly stowing a compact, lightweight bag in your purse or pocket, ready to expand into a spacious carrier whenever you need it. This ingenious design tackles the inconvenience factor head-on, promoting consistent eco-conscious shopping habits.
This ultimate eco-friendly guide will walk you through the simple steps of creating your own custom reusable grocery bag, from choosing the right fabric to mastering the finishing touches. Get ready to embark on a rewarding crafting project that not only benefits the environment but also allows for personalized expression. Follow along as we unveil the step-by-step process to crafting your own reusable wonder bag.
Preparation and Safety Guidelines
- Fabric (0.8 meters of ripstop nylon or cotton)
- PDF Pattern
- Elastic (7 inches)
- Scissors
- Pins
- Sewing Machine
- Tape Measure
- Iron
- Serger (optional)
- Always thoroughly wash your reusable bags after each use, especially if you've carried raw meat or produce. Bacteria can easily breed in damp fabric.
- Inspect your bags regularly for tears or holes. Damaged bags can easily rip, causing spills and potentially contaminating your groceries.
- Avoid overloading your reusable bags. Overstuffed bags can tear or become difficult to carry, increasing the risk of dropping groceries and injuring yourself.
Step-by-Step Instructions
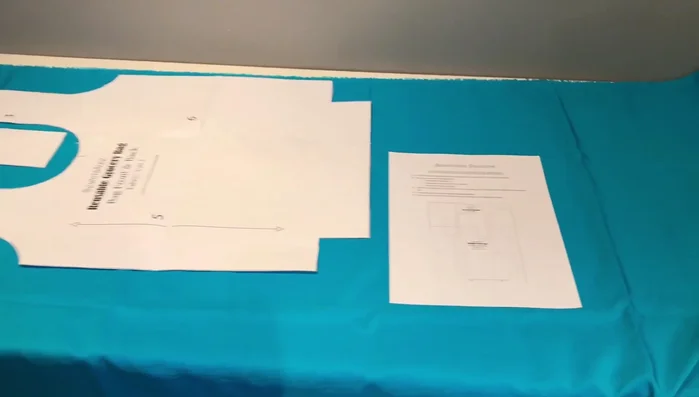
Prepare Pattern and Fabric
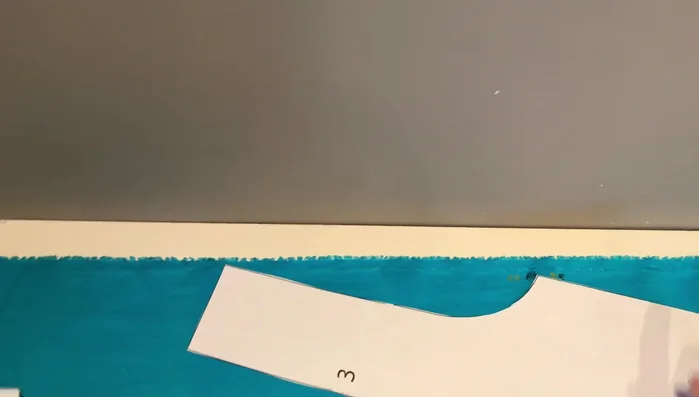
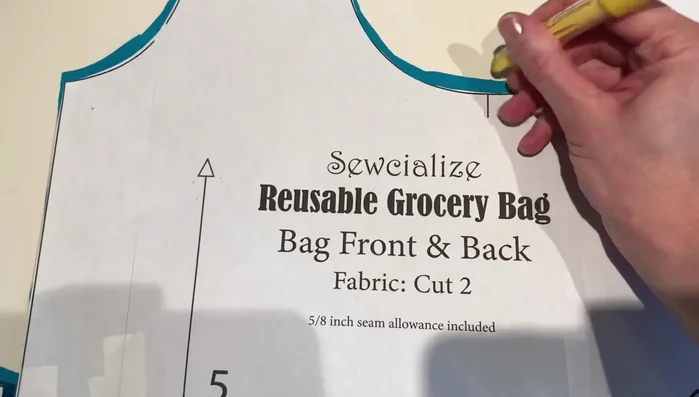
- Print and assemble the free PDF pattern, ensuring edges align perfectly.
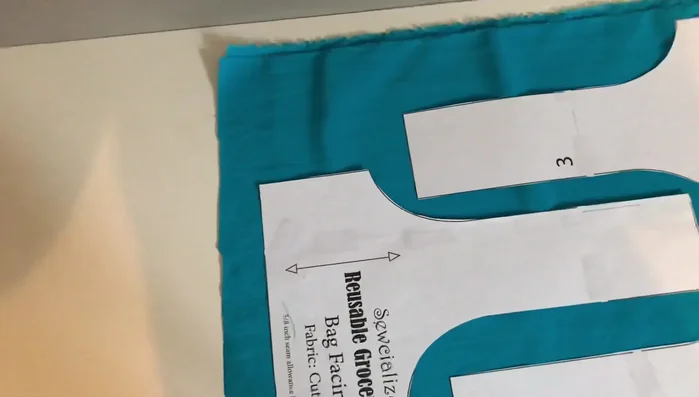
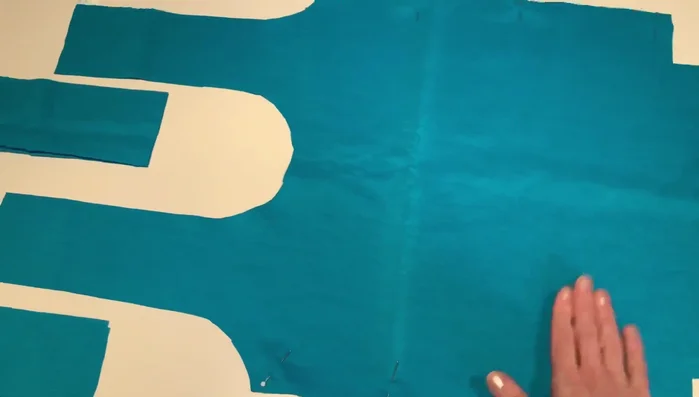
- Fold fabric in half lengthwise, matching selvage edges. Place pattern pieces with handles between each other to maximize fabric use.
- Measure and pin grain lines to ensure pattern pieces are parallel to the selvage and not overlapping. Pin the rest of the pattern pieces and cut them out.

Prepare Pattern and Fabric Sew Bag Body
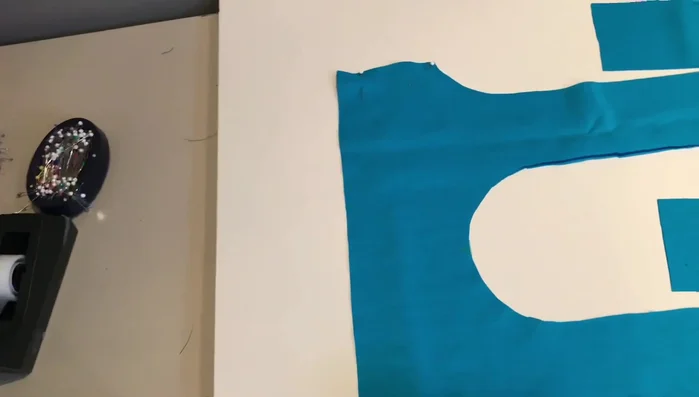
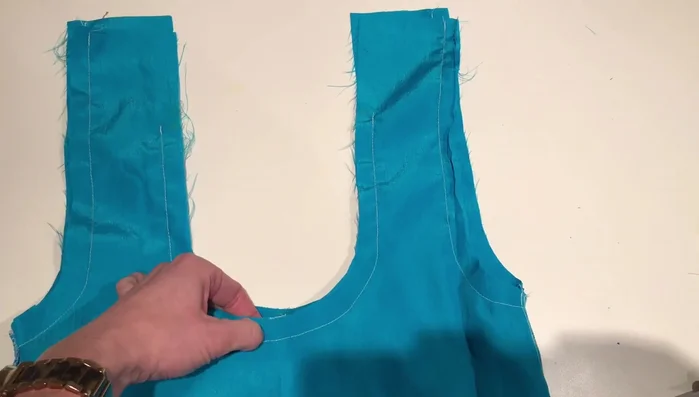
- Mark the center point of the curve (notch) on both the front and back pattern pieces using a pin or tracing wheel.
- Place front and back bag pieces together with right sides touching. Pin along the three long edges and sew with a 5/8 inch seam allowance, leaving corners unsewn.
- Repeat step 5 for the facing piece. Finish seams with a serger or zigzag stitch to prevent fraying.
- Pin the corners of the bag, matching seams. Sew across the short edge to give the bag dimension. Repeat for all four corners.
Sew Bag Body Attach and Finish Straps
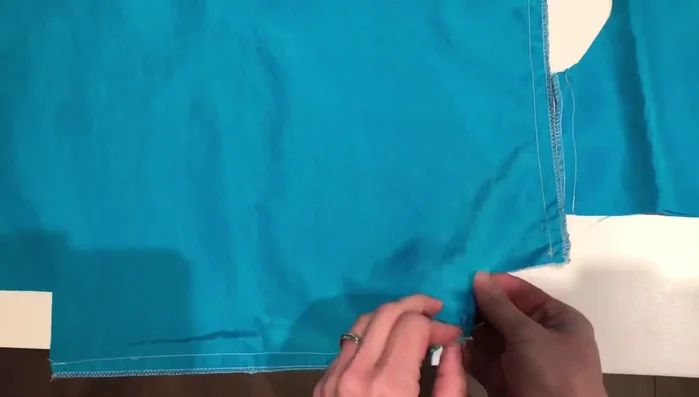
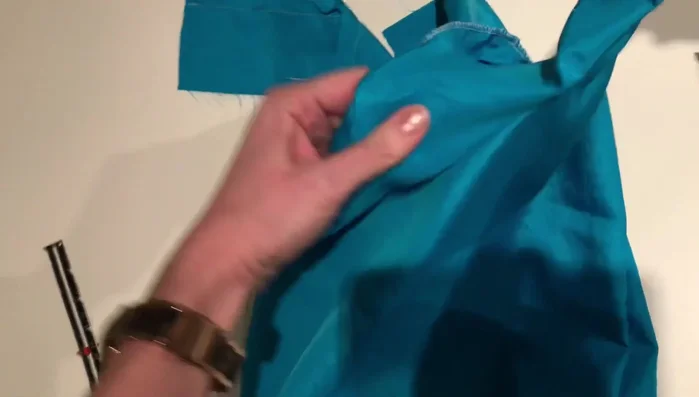
- Turn the bag right side out. Attach the elastic to the center point of one side of the bag, sewing along the 1/10 inch line, reinforcing the stitch to create extra strength.
- Attach the facing piece over the bag, aligning middles and seams. Sew along the 5/8 inch seam allowance, stopping at marked points three and a half inches down from the top. Repeat the sewing on other side seams, leaving the straps open at the top and making chalk marks 3.5 inches from the top of the straps.
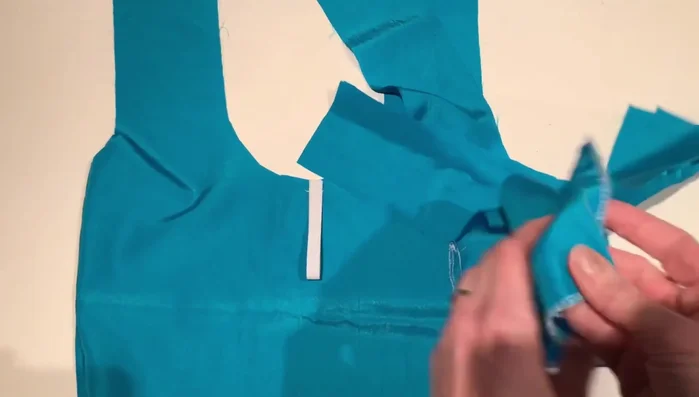
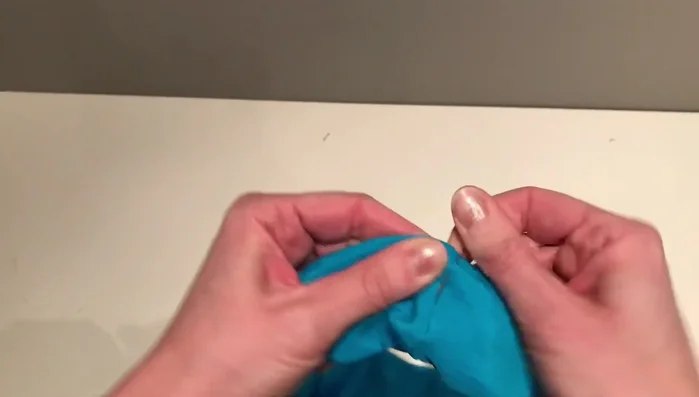
- Clip concave curves to allow the curve to sit smoothly. Flip the straps right side out and turn the facing to the inside.
- Press edges and sew the straps together, leaving an opening at the top. Turn under the seam allowance and press it flat.
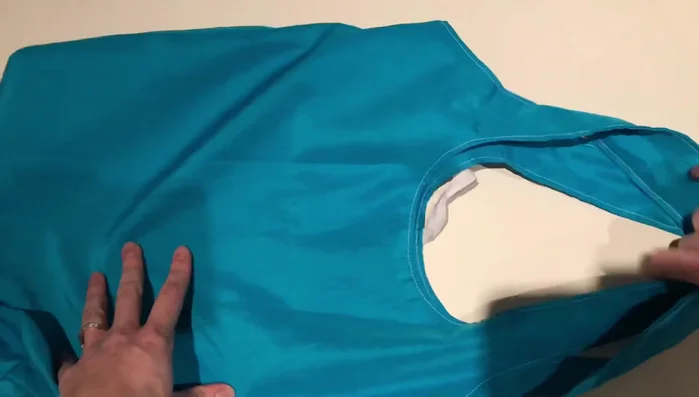
Attach and Finish Straps - Top stitch all the way around the straps and bag's curves using a 2/8 inch seam allowance.
Attach and Finish Straps Fold and Store
- Fold the bag into thirds, tucking in the straps and bottom. Roll it up tightly and tuck the elastic over the top.
Fold and Store

Read more: DIY Quilted Makeup Pouch Tutorial: The Easiest and Fastest Method
Tips
- Use durable fabric like ripstop nylon or cotton, or upcycle an old sheet.
- Use a matching thread for a seamless finish.
- Don't clip your shears past the stitching line when clipping curves.