Christmas is just around the corner, and while finding the perfect gifts is important, the presentation matters too! Forget generic paper bags this year and add a touch of homemade charm with a beautiful, reusable fold-over gift bag. This easy DIY project requires minimal sewing skills and uses readily available materials, making it the perfect festive craft for beginners and seasoned sewers alike. You'll be surprised at how quickly you can whip up these charming bags, adding a personal and thoughtful touch to each present.
This tutorial will guide you through each step of creating your own unique fold-over Christmas gift bags, perfect for holding everything from small trinkets to larger presents. From choosing your fabric to adding those final, festive touches, we’ll walk you through the process, making it simple and enjoyable. Ready to get started? Let's dive into the step-by-step instructions below!
Preparation and Safety Guidelines
- Fabric (outer and lining)
- Elastic
- Button
- Sewing machine or needle and thread
- Pins
- Iron (optional)
- Use sharp scissors or rotary cutter to prevent fabric from fraying and ensure clean cuts. Dull blades can lead to injury.
- Always supervise children when using scissors or sewing machines. Sewing machines have moving parts that can cause injury.
- Ironing the fabric before cutting and sewing helps create crisp folds and prevents wrinkles in the finished product. Be cautious of the iron’s temperature to avoid burning the fabric.
Step-by-Step Instructions
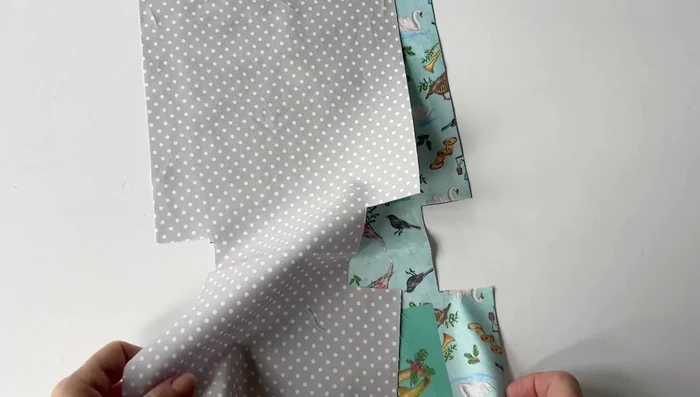
Cut Fabric Pieces
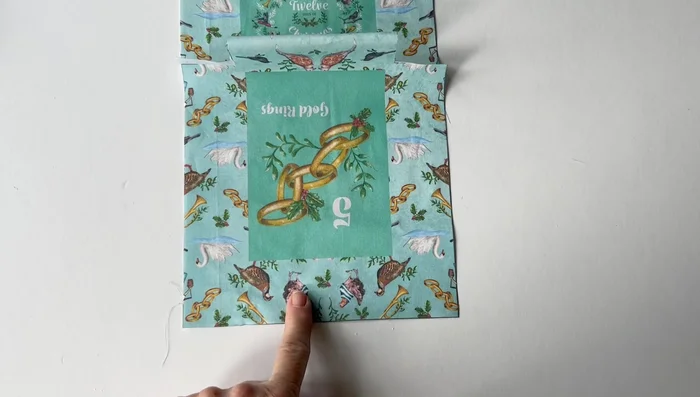
- Cut out the outer fabric piece from the printed panel.
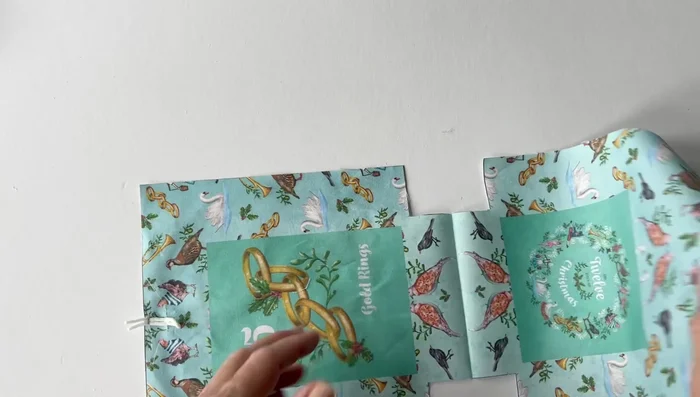
- Cut a lining fabric piece using the outer piece as a pattern.

Cut Fabric Pieces Prepare Outer Fabric
- Mark the center of the top edge of the back of the outer fabric.
- Fold the elastic in half and place it on the center pin, extending ½ inch beyond the raw edge.
- Tack the elastic in place.
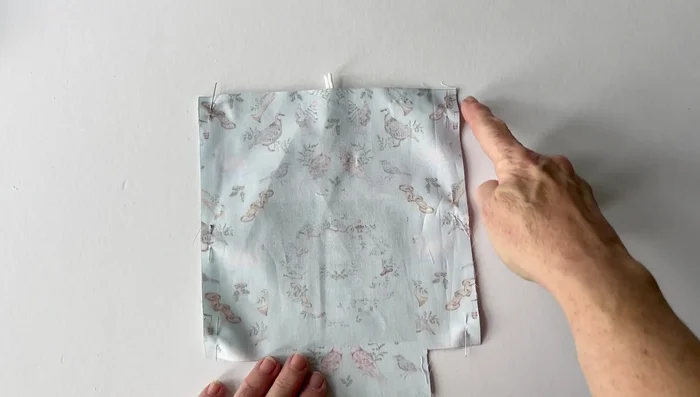
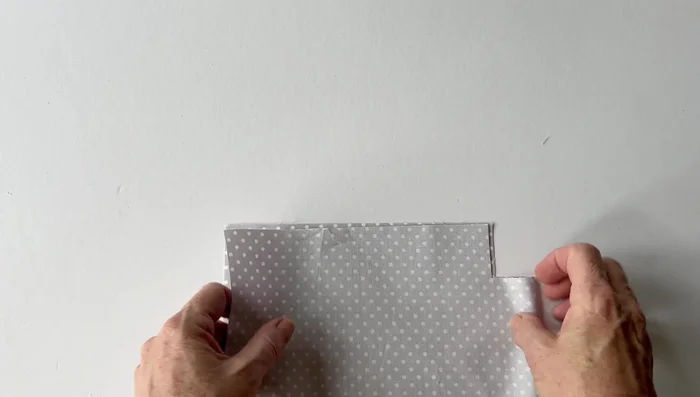
- Fold the outer piece in half, matching raw edges, and crease the bottom edge.
Prepare Outer Fabric - Pin together down both sides, matching raw edges.
- Sew together down both sides.
- Press the seams open.
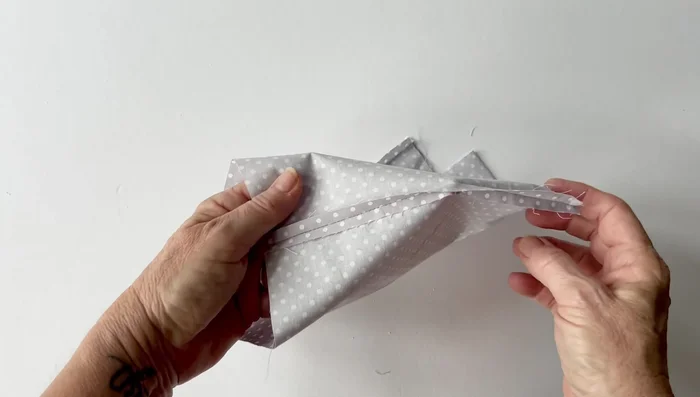
- Make the box corners by pinning and sewing the seams together to create crisp corners. Repeat on the other side.
Prepare Outer Fabric Prepare Lining Fabric
- Fold the lining fabric in half, right sides facing, and pin together down the sides, leaving a 3-inch turning gap.
- Sew the lining together, leaving the turning gap unstitched.
- Press the seams open and box the corners of the lining as you did with the outer fabric.
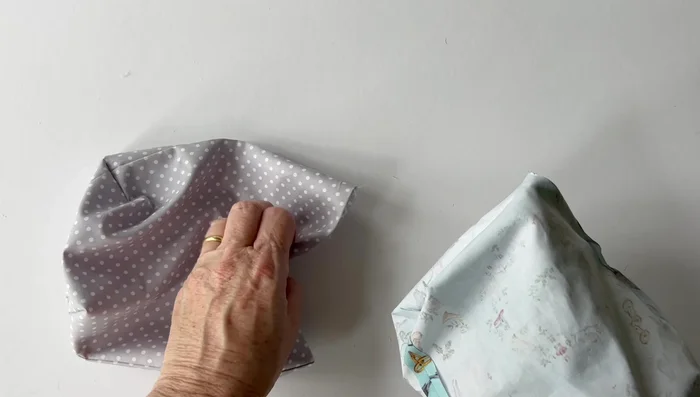
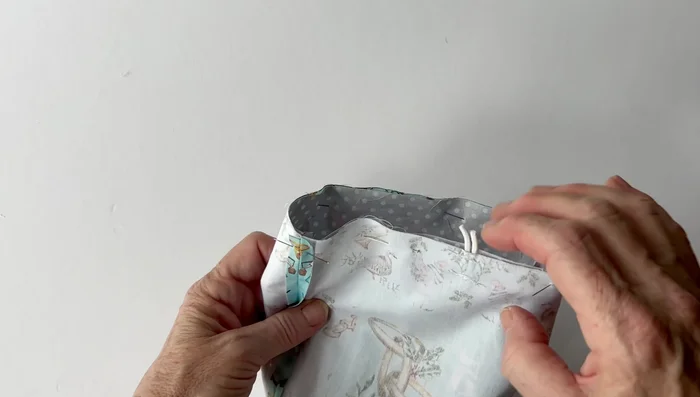
Prepare Lining Fabric Assemble Outer and Lining
- Place the outer and lining right sides facing, match side seams, and pin together.
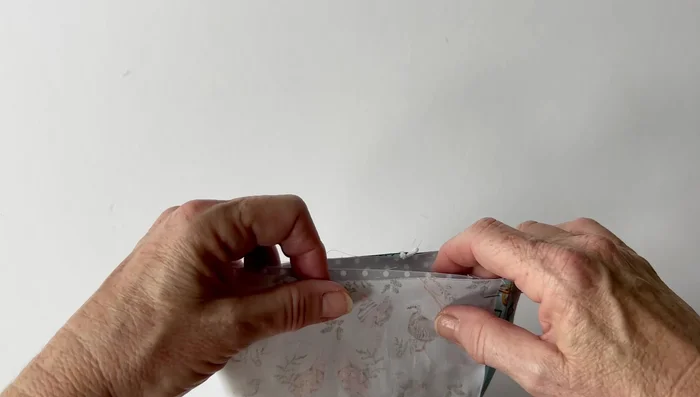
- Pin the top edges together, ensuring elastic tails stick out.
- Sew around the top edge.
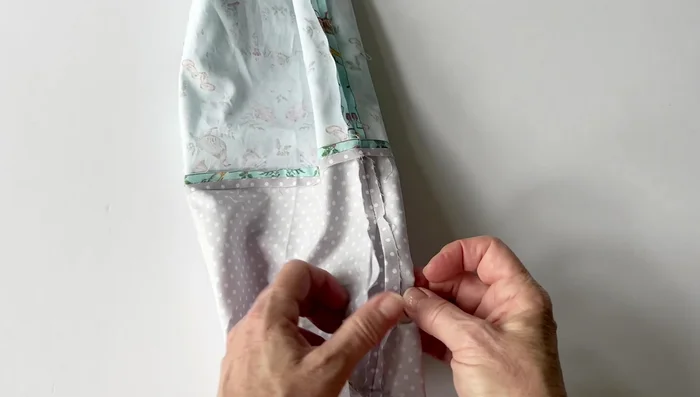
Assemble Outer and Lining Finish the Bag
- Turn the bag right side out through the lining turning gap.
- Stitch the turning gap closed.
- Remove tacking stitches from the elastic, press seams, and topstitch around the top edge.
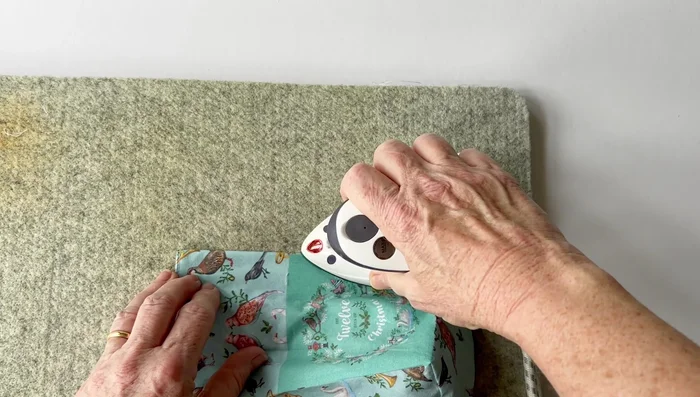
- Press the bottom corners to create crisp edges and structure.
Finish the Bag - Fold the bag and press to create the concertina folds.
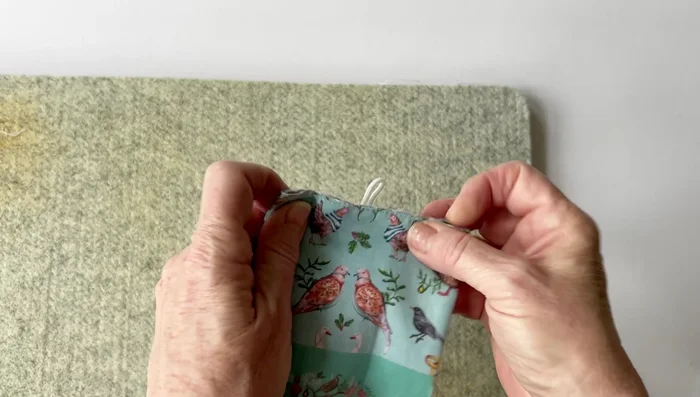
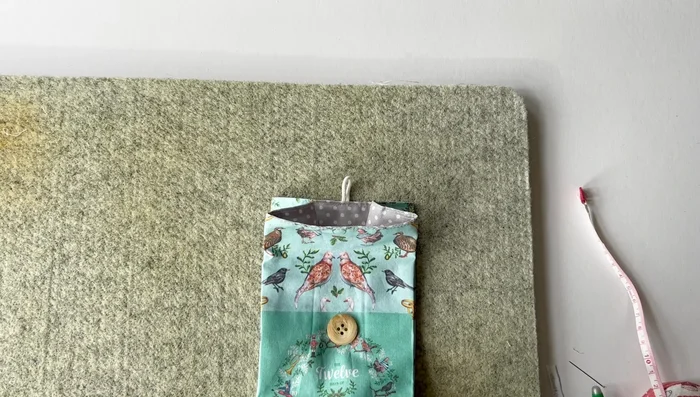
- Fold the top of the bag over by 1 ½ inches, pin, and mark the button placement.
- Sew the button onto the marked point.
- Fold the bag, loop the elastic over the button, and your fold-over bag is finished!
Finish the Bag


Read more: DIY Quilted Makeup Pouch Tutorial: The Easiest and Fastest Method
Tips
- Use an iron to press seams for a neater finish.
- Adding steam while pressing helps create crisp seams.
- Consider adding stitches or rivets to secure the creases for added durability.