Have you ever admired the whimsical charm of a mobile, gently swaying in a breeze? Now imagine creating your own, a delightful flapping bird mobile that adds a touch of playful artistry to any room. This project is surprisingly simple, perfect for crafters of all skill levels, and requires only readily available materials. Forget expensive store-bought decorations; let's unleash your creativity and build something truly unique and personalized. The simple elegance of the design belies the satisfying process of construction, offering a rewarding experience from start to finish.
This guide will walk you through each step, from selecting your materials to the final hanging of your handcrafted mobile. From carefully crafting the individual birds to assembling the complete mobile, we'll ensure you have everything you need to successfully create a beautiful and functional piece of art. So grab your crafting supplies and prepare to embark on this fun and fulfilling DIY adventure. Let’s get started!
Preparation and Safety Guidelines
- Printer paper
- Pencil
- Cardboard (cereal box or similar)
- Tea bag box (optional)
- Desk stapler
- Masking tape
- Scissors
- Saucepan
- Corn flour/cornstarch
- Whisk
- Measuring cups
- Bowl
- Matching plastic pots
- String
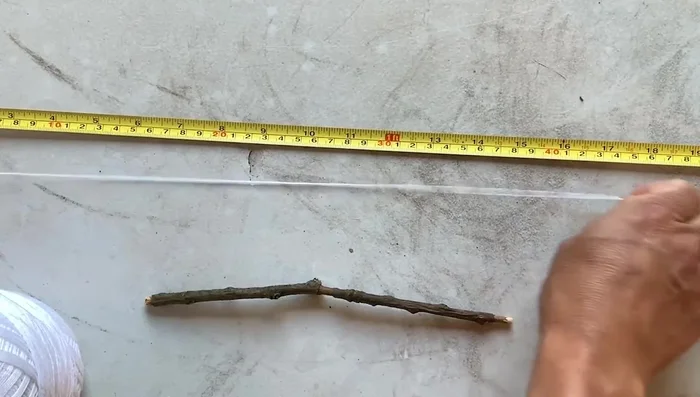
- Stick (approx. 25cm)
- Two identical coins
- Pin
- Markers
- Pencils
- Button
- Adult supervision is required, especially when using sharp scissors or other tools. Children should only participate under close guidance.
- Use lightweight materials to avoid creating a mobile that's too heavy and potentially dangerous. Ensure the mobile is securely hung from a sturdy surface.
- Always test the balance of your mobile before hanging it definitively to ensure it hangs level and doesn't easily tip or fall.
Step-by-Step Instructions
Create the Bird Template
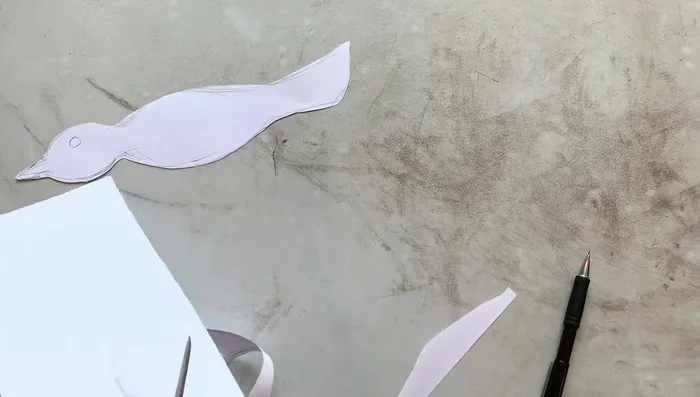
- Draw a bird on printer paper, making the top half wider than the bottom. Include the head, tail, and body, keeping the shoulder area flat for wing attachment. Draw one wing from an above perspective, using almost the entire paper width. Add straight lines where the wing will attach to the body. Keep details minimal for easier cutting and papier-mâché.
- Cut out the paper bird template.

Create the Bird Template Construct the Bird Body and Wings
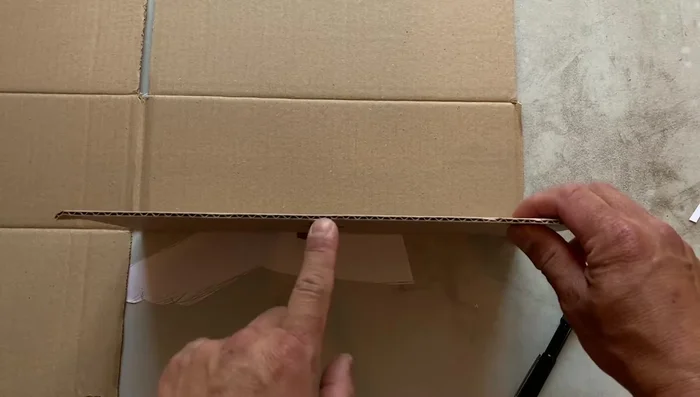
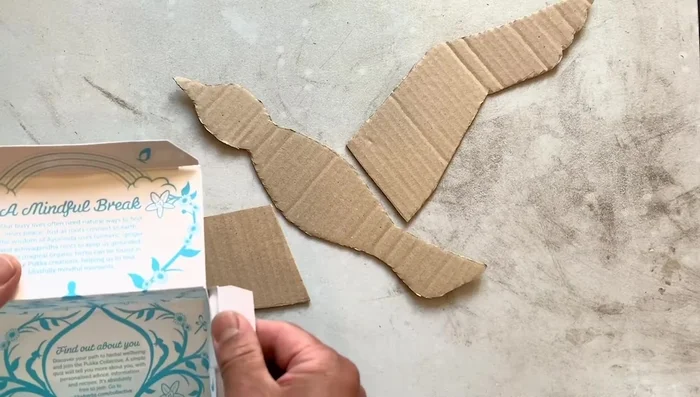
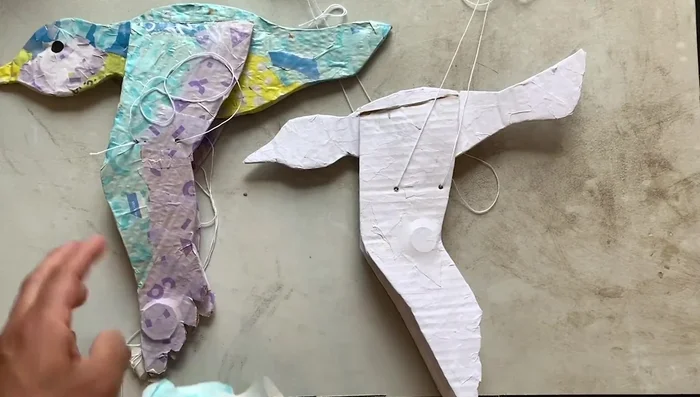
- Transfer the template onto single-layer cardboard and cut it out, avoiding creases.
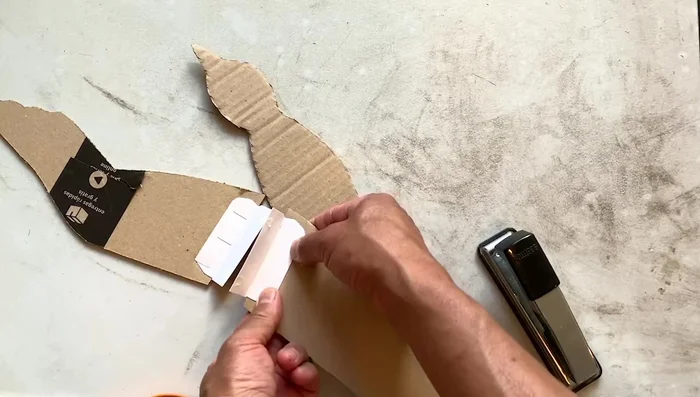
- Cut two pieces from a lightweight box lid to create wing hinges. Attach these to the underside of the wings, flush to the edge, and staple securely. Ensure no sharp staples protrude.
- Attach the wing hinges to the bird's body, ensuring symmetry.
Construct the Bird Body and Wings Apply Papier-Mâché
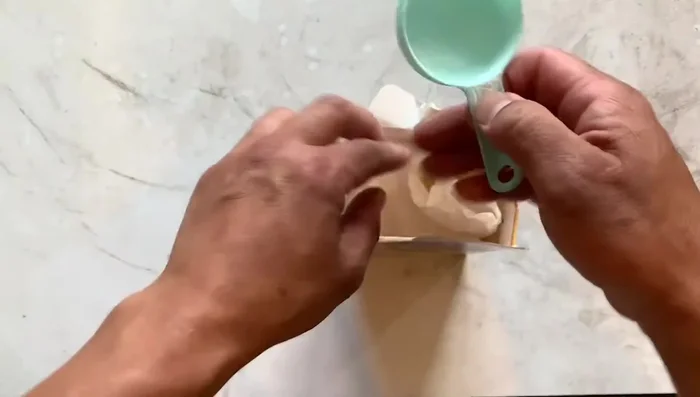
- Make papier-mâché paste (using cornflour/cornstarch and water, or PVA glue and water).
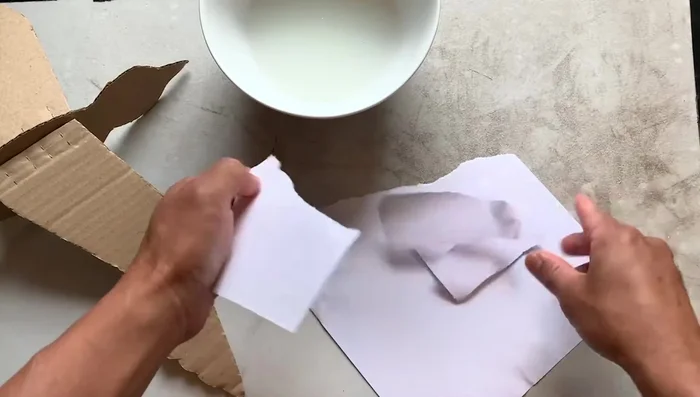
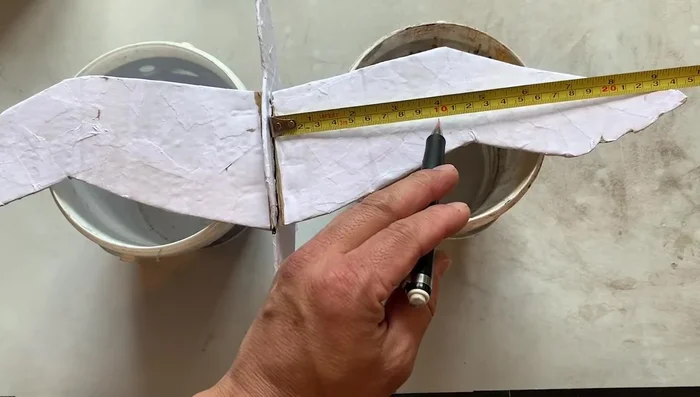
- Tear printer paper into small pieces and apply them to both sides of the cardboard bird, overlapping pieces to avoid wrinkles and air bubbles. Do not papier-mâché the wing hinges. Allow several hours to dry, keeping the wings straight using containers.
Apply Papier-Mâché Prepare for Hanging
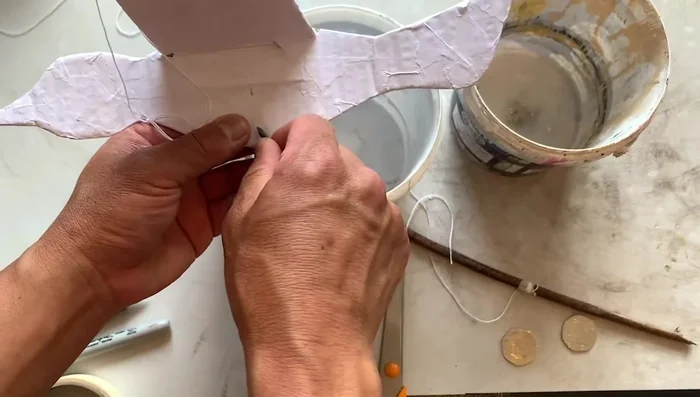
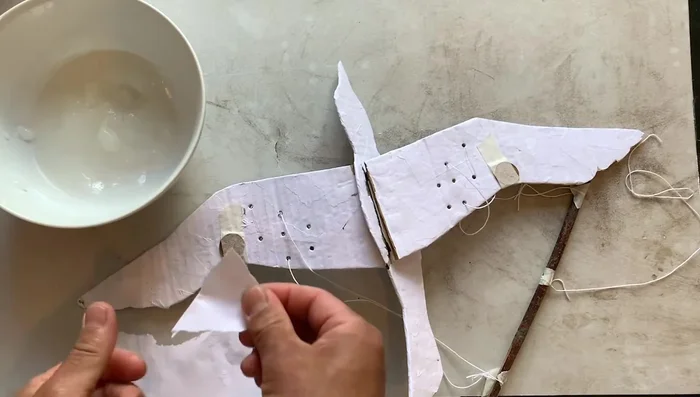
- Once dry, carefully make holes for the strings in the wings and body. Experiment with hole placement to achieve balance.
- Prepare strings (one loop for hanging, two for wings, and one for the body). Attach strings to the holes, adjusting length for balance.
Prepare for Hanging Weight and Balance the Wings
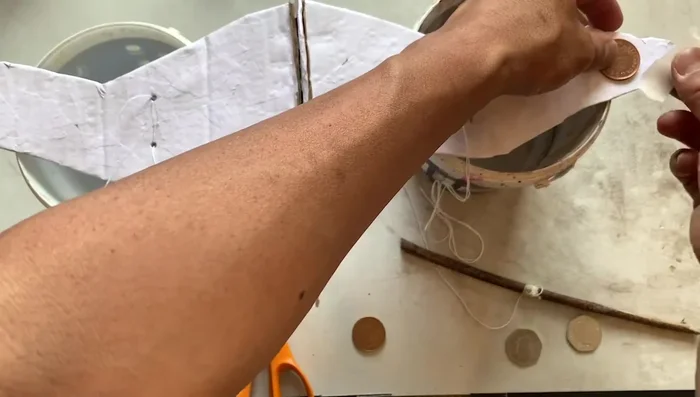
- Attach coins to the wingtips using masking tape to add weight.
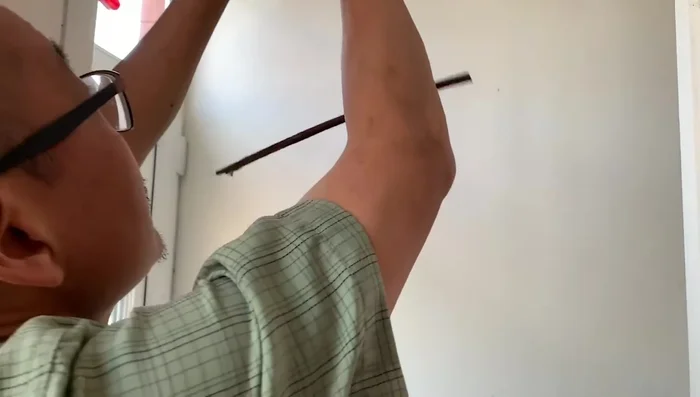
- Hang the bird and adjust string lengths and coin placement to achieve balance. This may require several attempts.
Weight and Balance the Wings Finalize and Decorate
- Attach the body string to a button for easier handling.
- Paper-mâché any unused holes and secure the coins with papier-mâché.
- Decorate the bird using paint, colored paper, markers, or colored pencils. (The video shows an example using markers and colored pencils to decorate the bird.)
Finalize and Decorate

Read more: DIY Fluffy Duck Plushie Tutorial: A Step-by-Step Guide
Tips
- Don't add too much detail when drawing, it makes cutting and papier-mâché harder.
- Avoid creasing the cardboard when cutting.
- Don't get the cardboard too wet when papier-mâchéing; it will get too fluffy.
- Be patient and take your time with the papier-mâché process.
- If you notice a bend starting to form when papier-mâchéing, add extra pieces over the crease.