Are you ready to transform your picnic table from drab to fab with a custom-fitted vinyl tablecloth? Forget flimsy, ill-fitting covers that constantly slip and slide – this tutorial will guide you through creating a durable, perfectly tailored tablecloth that's both beautiful and practical. Imagine showcasing your unique style at your next outdoor gathering, all while knowing you crafted a high-quality piece that will last for seasons to come. Plus, with the right techniques, these stunning tablecloths make fantastic handmade items you can sell, opening up a new avenue for creative entrepreneurship.
This project combines the ease of vinyl with the satisfying skill of sewing, resulting in a professional-looking finish that will impress. Forget struggling with awkwardly sized, store-bought covers; let's dive into the detailed, step-by-step process that will empower you to sew and sell your own stunning picnic table covers.
Preparation and Safety Guidelines
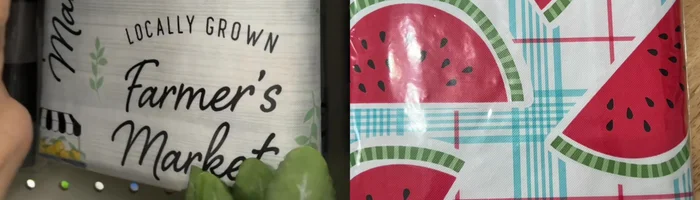
- Vinyl tablecloth (dollar store)
- Flannel-backed tablecloth (dollar store)
- Sewing machine
- Elastic
- Scissors
- Pins
- Measuring tape
- Twill tape (optional)
- Always use appropriate safety equipment when working with sharp objects like scissors or rotary cutters. Protective eyewear is recommended when cutting vinyl.
- Vinyl can be slippery. Ensure your work surface is clean and stable to prevent accidents.
- Work in a well-ventilated area as some vinyl materials may release fumes during cutting and sewing. Avoid prolonged skin contact with vinyl.
Step-by-Step Instructions
Material Acquisition
- Purchase two inexpensive vinyl tablecloths from a dollar store.

Material Acquisition Initial Sizing and Seaming
- Sew the two tablecloths together to create a larger piece suitable for your picnic table.
- Lay the combined tablecloth on your picnic table to determine the required size, adding extra inches for seam allowance and table thickness.
- Cut the tablecloth to the desired size.
Initial Sizing and Seaming Adding Elastic Edge (Tablecloth)
- Place elastic on the flannel side of the tablecloth. Pull the elastic taut and sew it onto the tablecloth using a zigzag stitch.
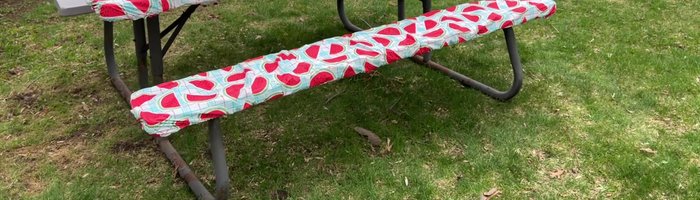
Adding Elastic Edge (Bench Covers)
- Repeat steps 3-5 for the bench covers.
Adding Elastic Edge (Bench Covers)


Read more: DIY Super Cute Whale Shower Curtain: A Step-by-Step Tutorial
Tips
- Add at least 2-3 inches to your measurements to account for the table thickness and seam allowance when sewing on the elastic.
- Use a zigzag stitch to sew the elastic for extra durability.
- Vinyl and flannel don't fray, so you don't need to worry about finishing the edges.
- For vintage tablecloths prone to blowing away, measure 5.5 inches from each corner towards the center and attach twill tape or ribbon, creating a small loop in the center to secure a bow and prevent the cloth from being blown away.