Have you ever wanted to craft an adorable, huggable friend without the hassle of complex sewing patterns? Then look no further! This tutorial will guide you through the simple process of making your very own charming felt monkey plush, perfect for beginners and experienced crafters alike. We'll utilize basic sewing techniques and even incorporate gluing for specific details, making this project accessible and enjoyable for everyone, regardless of your skill level. Forget expensive store-bought toys; let's unleash your creativity and craft something truly special.
Forget complicated instructions and frustrating patterns; this DIY felt monkey plush is all about ease and fun. We’ll use readily available felt, simple supplies, and a straightforward method that minimizes sewing and maximizes cuteness. Get ready to create a personalized keepsake, a unique gift, or simply a delightful addition to your own collection of handmade treasures. Let’s dive into the step-by-step process and bring your adorable felt monkey to life!
Preparation and Safety Guidelines
- Felt
- Thread
- Needle
- Embroidery Needle (optional)
- Scissors
- Pins (optional)
- Hot Glue Gun
- Stuffing
- Adult supervision is required, especially for younger crafters using needles or hot glue guns.
- Always use caution when handling sharp objects like scissors and needles. Keep them away from children when not in use.
- Hot glue can cause burns. Apply it in a well-ventilated area and avoid touching it until it has cooled completely.
Step-by-Step Instructions
Prepare Felt Pieces
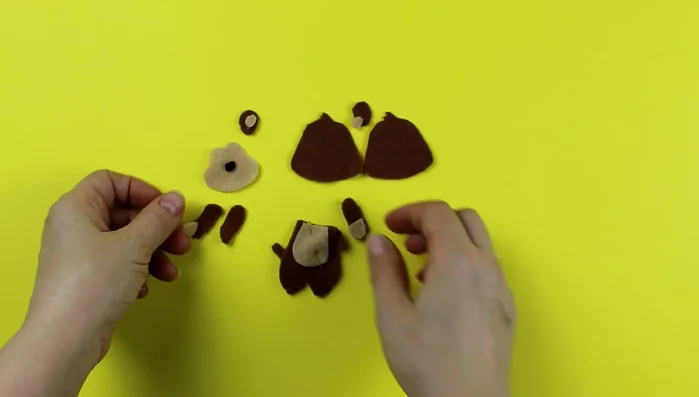
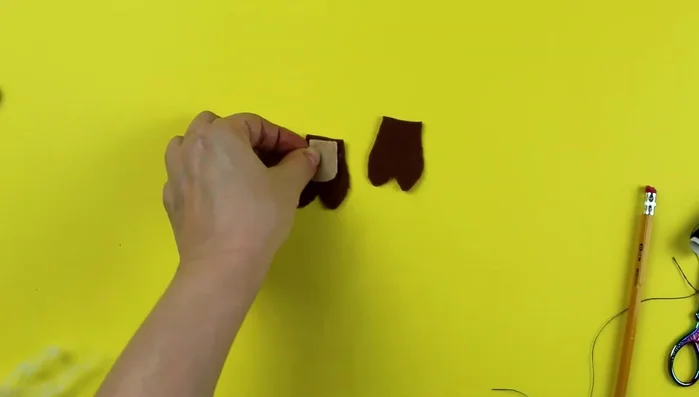
- Cut out felt pieces using a paper pattern.

Prepare Felt Pieces Assemble the Head
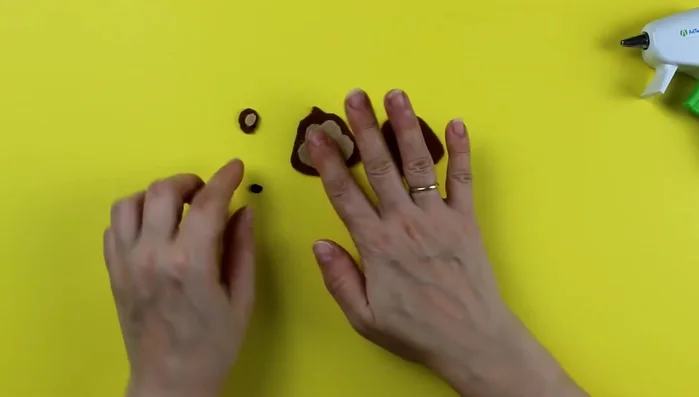
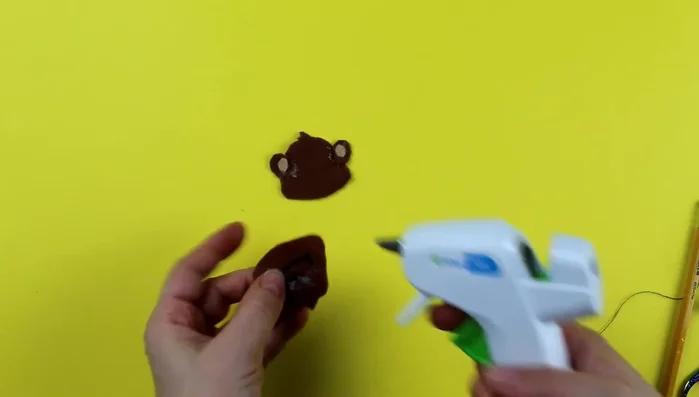
- Glue face features (eyes, nose, etc.) onto the headpiece using hot glue.
- Embroider the mouth or use glue to attach.
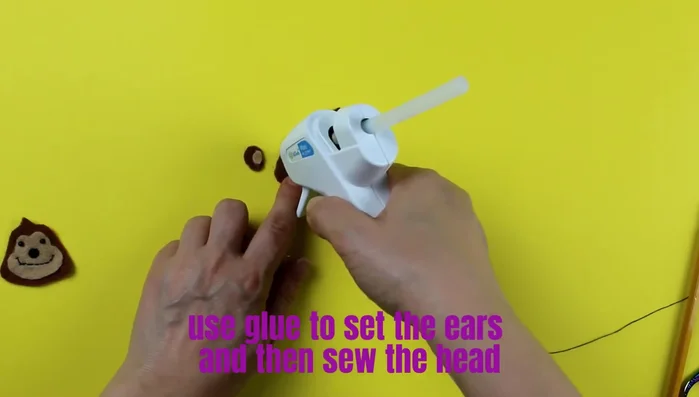
- Glue the ears onto the headpiece.
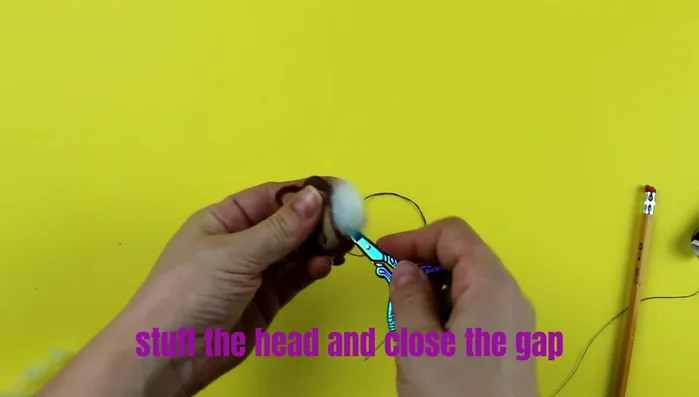
- Sew around the headpiece, leaving a gap for stuffing. Use pins or glue to hold pieces together while sewing.
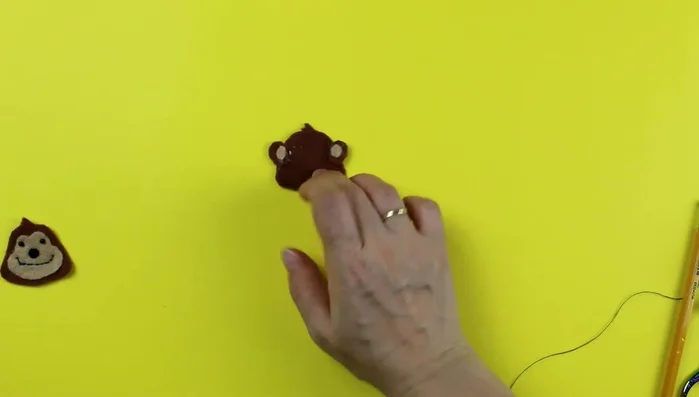
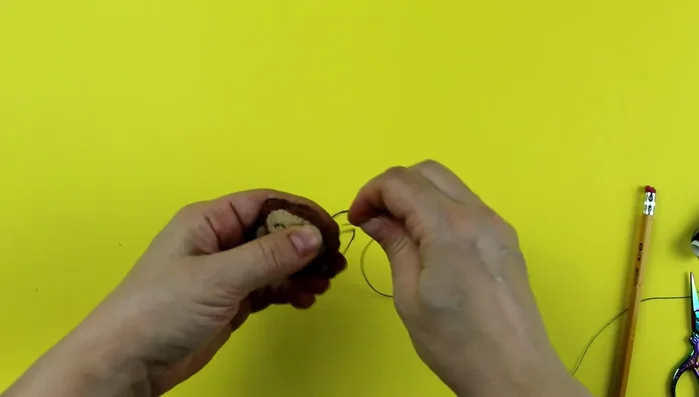
Assemble the Head - Stuff the head firmly.
- Close the gap in the headpiece using a sewing needle.
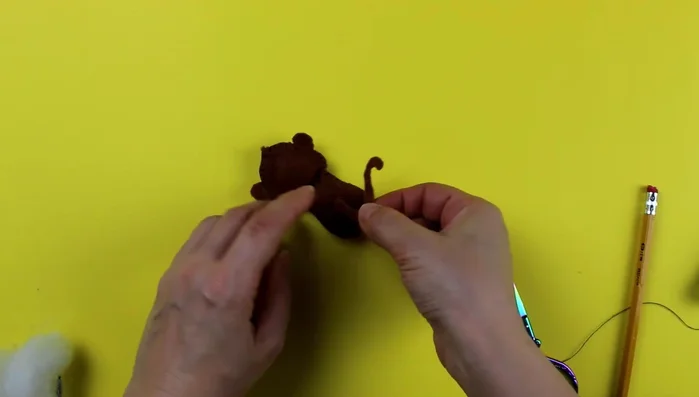
Assemble the Head Assemble the Body
- Glue the belly piece onto the body.
- Sew around the body, leaving a gap for stuffing. Use pins or glue to hold pieces together while sewing.
- Stuff the body firmly.
- Close the gap in the body using a sewing needle.
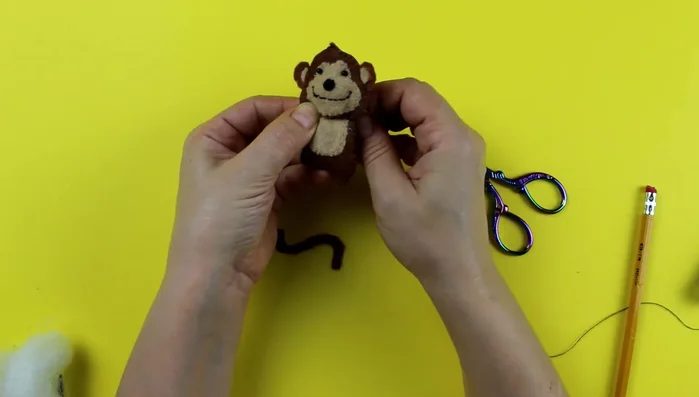
Assemble the Body Attach Head to Body
- Attach the head to the body using a sewing needle. Match the stitches to prevent a visible seam.
Attach Head to Body Attach Tail
- Attach the tail by gluing and then sewing to secure.
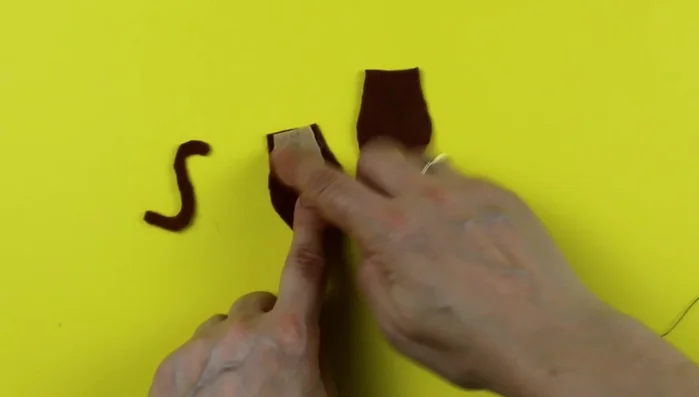
Attach Tail Assemble the Arms
- Sew around each arm, leaving a gap to stuff. Use pins or glue to hold pieces together while sewing.
- Stuff the arms firmly.
- Close the gaps in the arms.
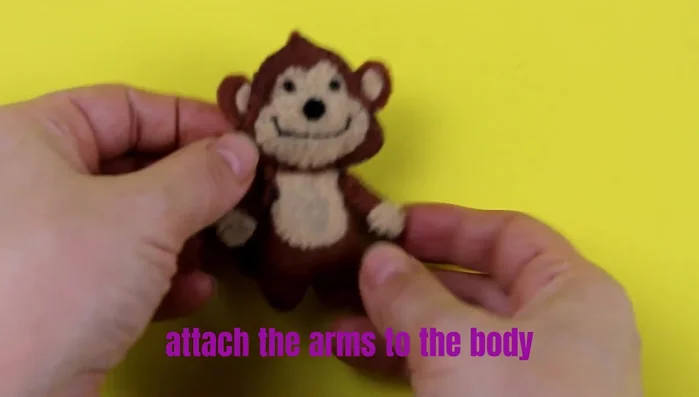
Assemble the Arms Attach Arms to Body
- Attach arms to the body.
Attach Arms to Body


Read more: DIY Fluffy Duck Plushie Tutorial: A Step-by-Step Guide
Tips
- Use a glue gun carefully to avoid burning yourself.
- Hot glue can be used as an alternative to pins for holding pieces together before sewing.
- Use a sharp object to help close the gaps after stuffing.
- Reinforce glued seams with stitches for durability.