Transform your living space with the luxurious texture of faux fur, without the hefty price tag! This comprehensive guide will walk you through creating your own stunning DIY faux fur pillow cover, adding a touch of cozy elegance to any room. Forget expensive designer throws – with just a few simple steps and readily available materials, you can craft a beautiful, personalized pillow that perfectly complements your existing décor. Learning to sew isn't required, making this a truly accessible project for crafters of all skill levels.
This step-by-step tutorial is packed with time-saving tips and tricks to ensure your DIY project is completed efficiently and with minimal fuss. From choosing the perfect faux fur fabric to mastering the finishing touches, we'll cover everything you need to know to create a professional-looking pillow cover in a fraction of the time (and cost!) it would take to buy one. Let's dive into the detailed instructions and get crafting!
Preparation and Safety Guidelines
- Faux fur fabric
- Backing fabric (faux suede recommended)
- Pillow insert
- Zipper
- Scissors
- Ruler
- Sewing machine
- Pins
- Sewing shears
- Always use sharp scissors and a rotary cutter (if using one) to prevent fabric slippage and ensure clean cuts. Avoid reaching across the cutting surface while cutting.
- Handle faux fur gently to avoid pulling or damaging the fibers. Avoid excessive stretching or pulling during sewing.
- If using a sewing machine, ensure your needle is appropriate for the weight of the faux fur fabric. A heavier-duty needle is often recommended to prevent breakage.
Step-by-Step Instructions
Prepare the Backing Fabric
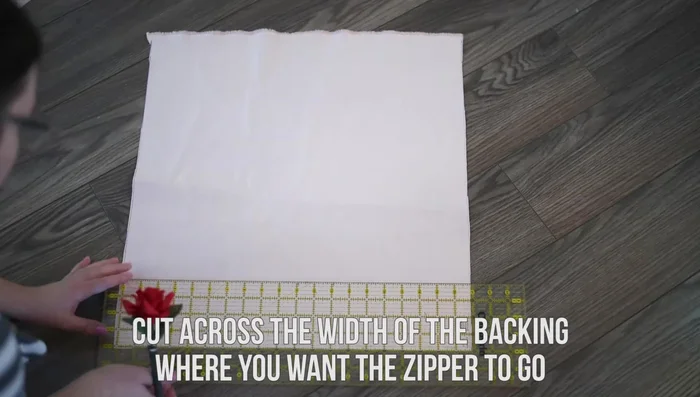
- Cut your backing fabric. The width should match your pillow insert, and the height should be about one inch taller.
- Mark where the zipper will go on the backing fabric (approximately 3 inches from the bottom).
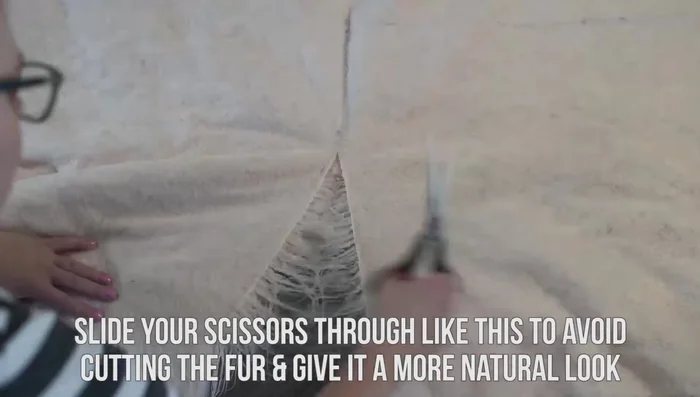
- Cut the backing fabric ONLY, being careful not to cut the fur itself. Use the tips of your scissors to carefully slide through the fabric, avoiding the fur.
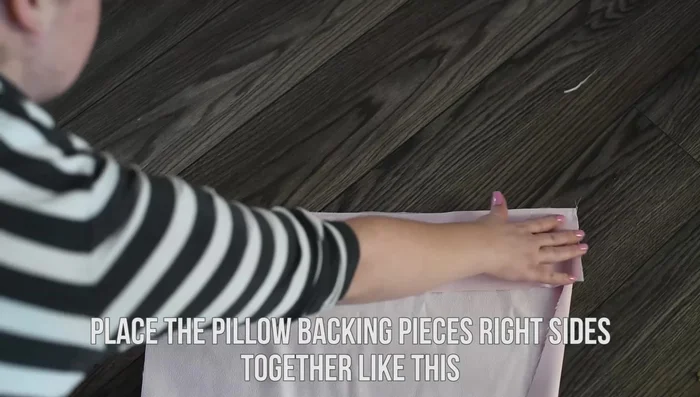
- Place the backing fabric pieces right sides together, with the shorter piece on top. Machine stitch only the first and last couple of inches (using a 1/2 inch seam allowance).

Prepare the Backing Fabric Prepare the Faux Fur Fabric
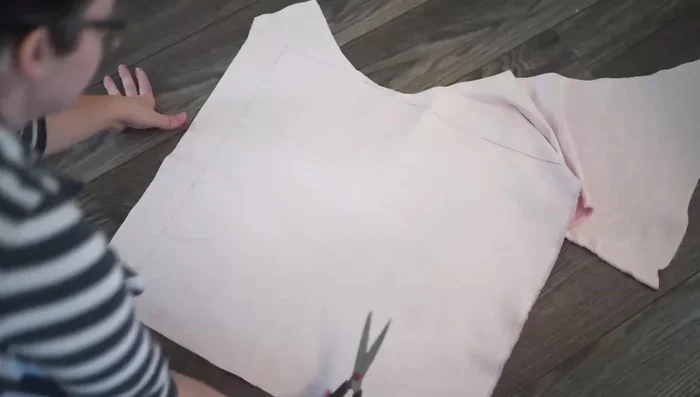
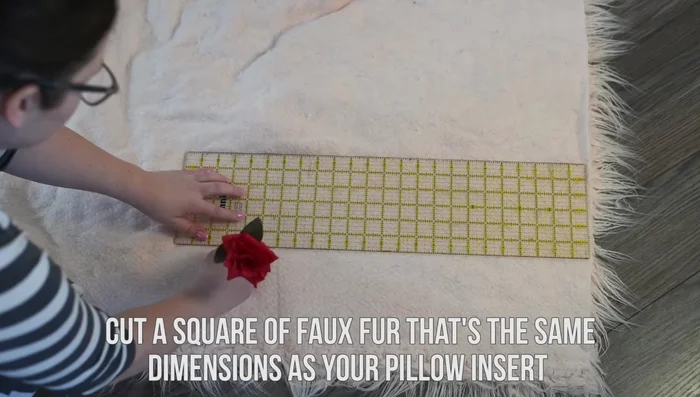
- Cut your faux fur fabric to the same dimensions as your pillow insert.
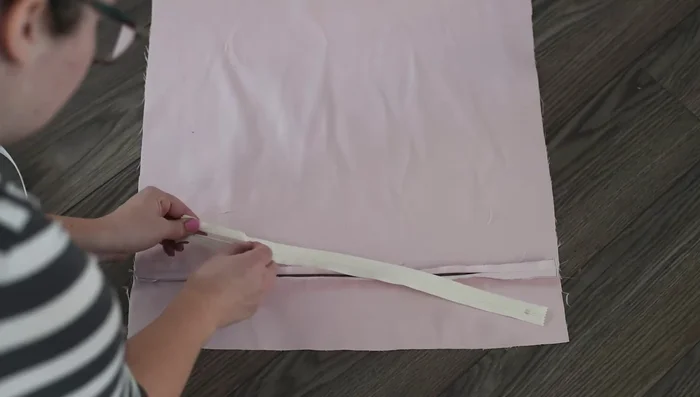
Prepare the Faux Fur Fabric Attach the Zipper
- Press the seam open and pin the zipper in place (zipper facedown, right side of zipper against the wrong side of the fabric).
- Sew the zipper to both sides of the backing fabric. A zipper foot is helpful but not essential.
Attach the Zipper Attach Faux Fur to Backing
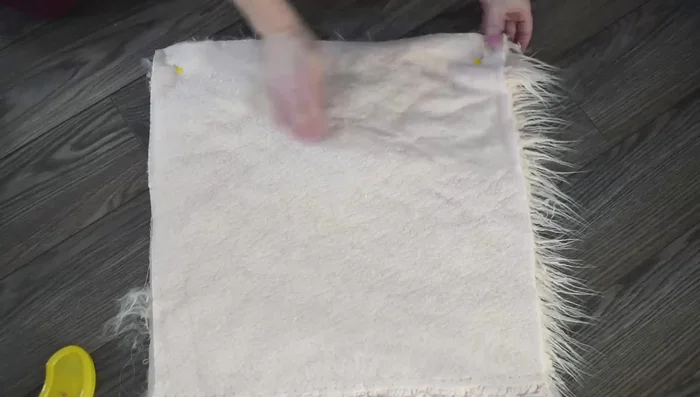
- Place the faux fur piece over the back piece (right sides together). Tuck the fur inside the layers around the edges to prevent it getting caught during sewing. Pin securely.
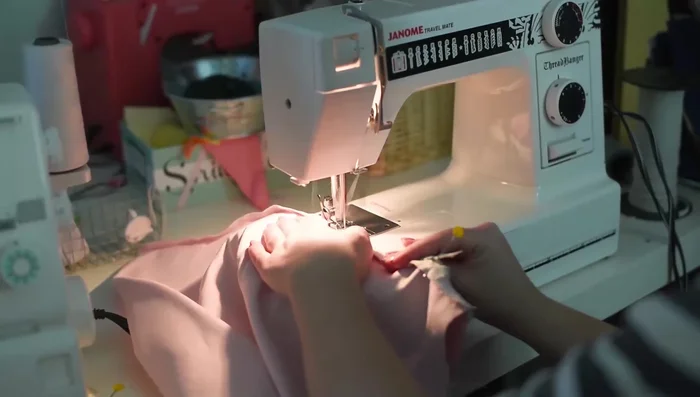
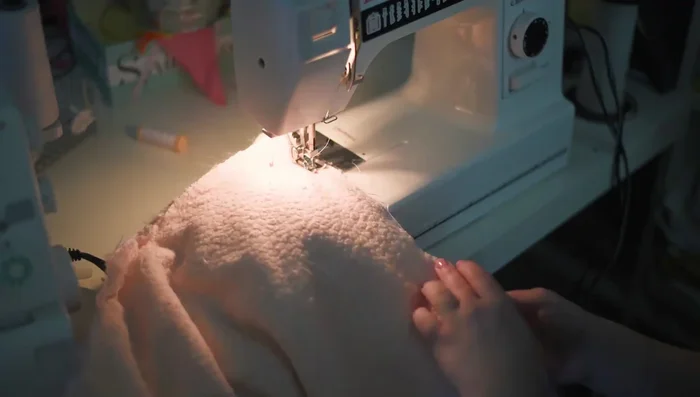
- Sew the fur and backing together using a 1/2 inch seam allowance and a longer stitch length (to ease sewing through the thick fabric).
Attach Faux Fur to Backing Finish and Insert Pillow
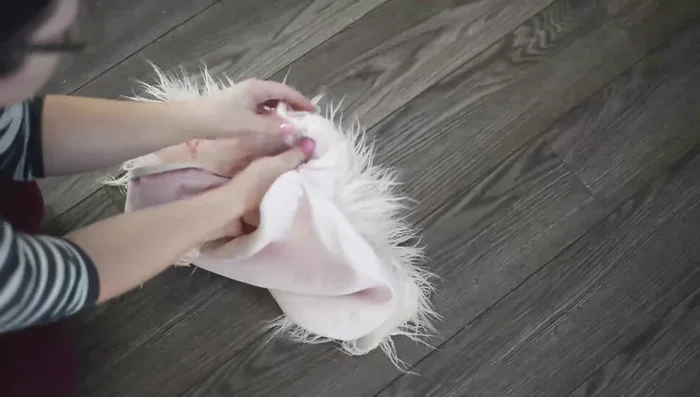
- Clip the corners of the pillow cover close to the stitching. Turn the cover right side out through the zipper and use your fingers (or a blunt tool) to push out the corners.
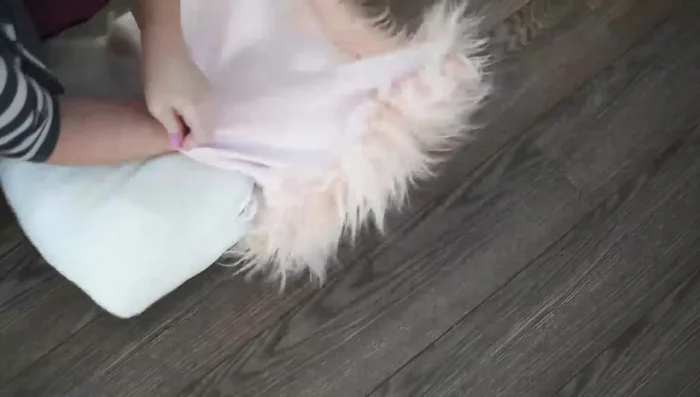
- Insert the pillow form into the cover.
Finish and Insert Pillow
Read more: DIY Super Cute Whale Shower Curtain: A Step-by-Step Tutorial
Tips
- When cutting faux fur, only cut the backing to avoid damaging the fur. Use the tips of your scissors to slide through the fabric.
- Use a longer stitch length when sewing faux fur due to the thickness of the fabric.
- Tuck the fur inside the layers to prevent it from getting caught in the seam during sewing.
- Make the pillow cover slightly smaller than the insert to create a fluffy look.