September's crisp air and the vibrant hues of autumn are the perfect inspiration for crafting something magical – a DIY Fall Flower Fairy doll! This enchanting project blends the whimsical charm of fairies with the rich colours of the season, resulting in a delightful handmade treasure. Whether you're a seasoned crafter or a beginner looking for a fun autumnal activity, this tutorial will guide you through creating your very own unique fairy, brimming with autumnal details. Imagine the joy of gifting this handcrafted doll, or simply adding a touch of autumnal magic to your home décor.
This tutorial provides a step-by-step guide to crafting your own September Fairy, using readily available materials. We'll walk you through creating the fairy's body, designing her autumnal attire using leaves and flowers, and adding those finishing touches that bring her to life. Let's get started and create some autumnal fairy magic!
Preparation and Safety Guidelines
- Flower (with varying fall colors)
- Embroidery floss
- Small embellishments (leaves, etc.)
- Glitter (gold and coppery)
- Mod Podge
- Paint brush
- Sharp scissors
- Glue gun
- Wooden bead
- Floral wire
- Fairy doll (basic tutorial provided)
- Adult supervision is required at all times, especially when using sharp tools like scissors or hot glue.
- Small parts pose a choking hazard for young children. Keep finished dolls and crafting materials away from small children.
- Use non-toxic paints, glue, and other crafting supplies to ensure the safety of your child and the environment.
Step-by-Step Instructions
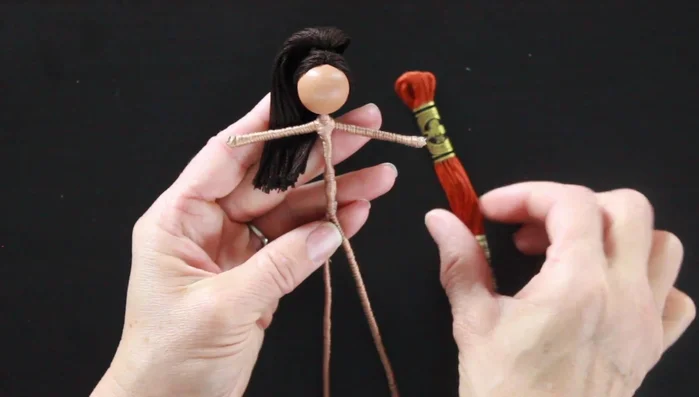
Prepare the Doll
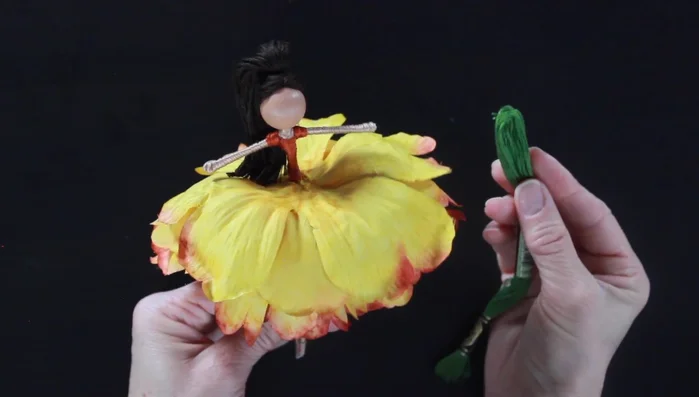
- Prepare the fairy doll's clothing. Wrap embroidery floss around the doll's arms for puffed sleeves and create simple shorts.

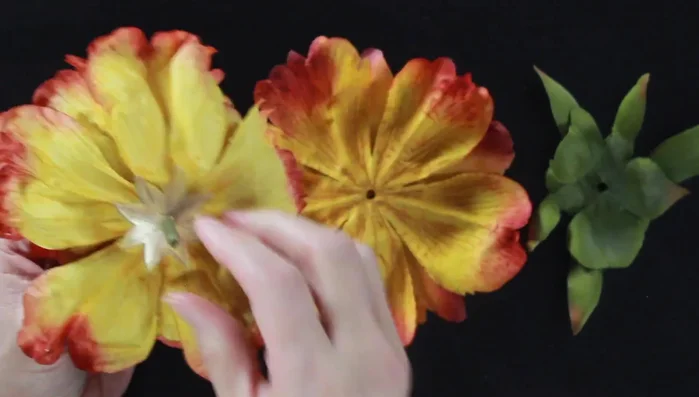
Prepare the Doll Prepare the Skirt
- Disassemble the flower. Separate the petals and layer them to create a full skirt, ensuring varying lengths for visual appeal.
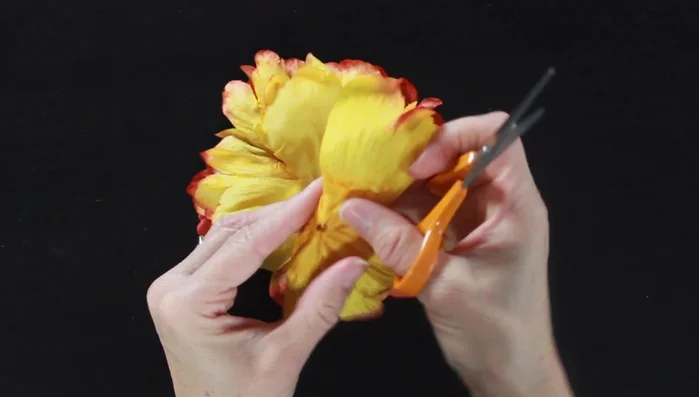
- Cut an 'X' into the center of each petal to facilitate attaching them around the doll's waist.
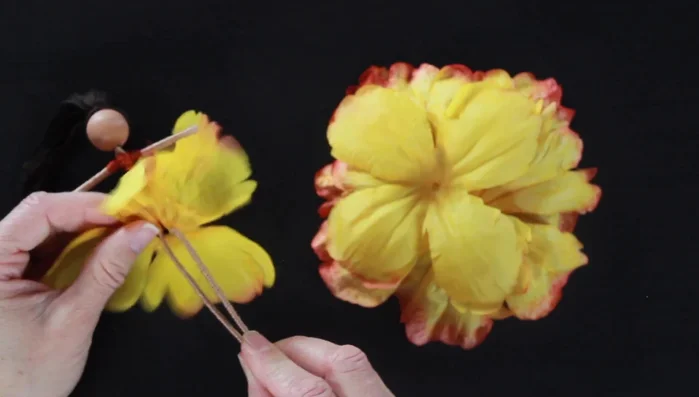
Prepare the Skirt Assemble the Skirt
- Attach the flower petals to create the skirt. Layer the petals, overlapping and staggering them for a full, fluffy effect. Secure with small dabs of hot glue between layers.
Assemble the Skirt Add Accessories
- Add gloves and shoes using embroidery floss. Wrap the floss around the doll's wrists and ankles.
- Incorporate additional embellishments. Tuck small leaves and foliage underneath and on top of the flower petals for added detail and visual interest.
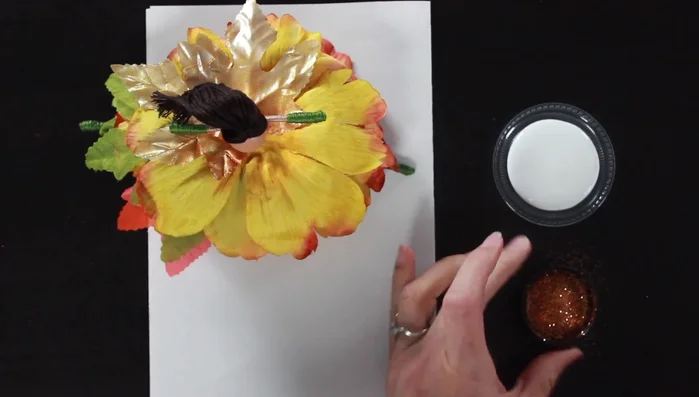
Add Accessories Add Glitter Accents
- Add glitter. Apply Mod Podge around the doll's waist and sprinkle with bronze glitter. Dip the tips of some leaves in glue and gold glitter for extra sparkle.
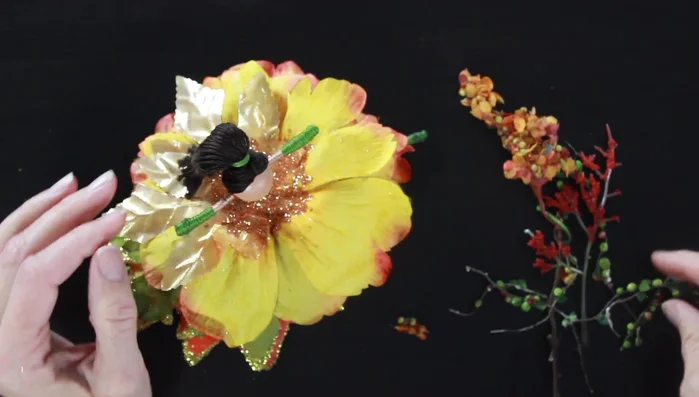
Add Glitter Accents Create and Add Hairpiece
- Create a hairpiece. Use small pieces of green, red, and orange foliage to create a unique hair accessory, adding small amounts of gold glitter.
Create and Add Hairpiece

Read more: DIY Fluffy Duck Plushie Tutorial: A Step-by-Step Guide
Tips
- Use a low-heat glue gun for easier handling.
- Create a full skirt by overlapping and staggering the flower petals.
- Add gloves and shoes *after* the skirt to avoid interference.
- Use different types of glitter to add subtle and bold highlights.