Fabric trays are charming, versatile additions to any home, perfect for organizing clutter or adding a touch of personalized style to a room. Whether you're aiming to declutter your bedside table, add a pop of color to your bathroom, or create a unique gift for a friend, a DIY fabric tray is a surprisingly simple project even for complete beginners. Forget expensive store-bought options; with just a few basic sewing skills and readily available materials, you can craft a beautiful and functional tray in just a short amount of time.
This easy sewing tutorial will guide you through each step, from choosing your fabrics to adding a sturdy base. No prior experience is needed, and we'll break down the process into manageable, easy-to-follow instructions. Ready to create your own customized fabric tray? Let's dive into the step-by-step process and bring your creative vision to life!
Preparation and Safety Guidelines
- Fabric (main and lining)
- Fusible interfacing
- Sewing machine
- Scissors
- Pins
- Iron
- Ruler
- Template (downloadable)
- Always use sharp sewing machine needles and pins to prevent fabric from being pulled or damaged. Dull needles can cause more strain and potential injury.
- Handle your sewing machine with care. Keep fingers clear of the needle and moving parts at all times. Unplug the machine before making any adjustments or cleaning.
- If using fabric scissors, ensure they are only used for fabric. Never attempt to cut other materials like cardboard or wire with them, as this may dull the blades and increase the risk of injury.
Step-by-Step Instructions
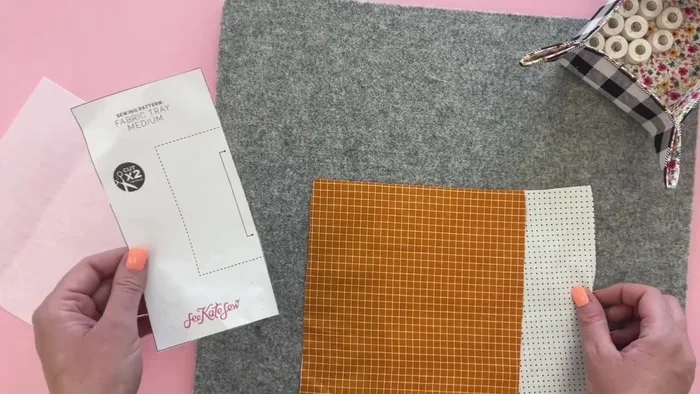
Prepare Fabric Pieces
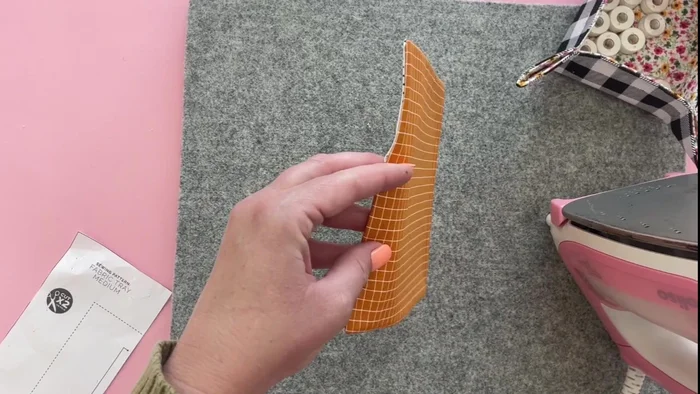
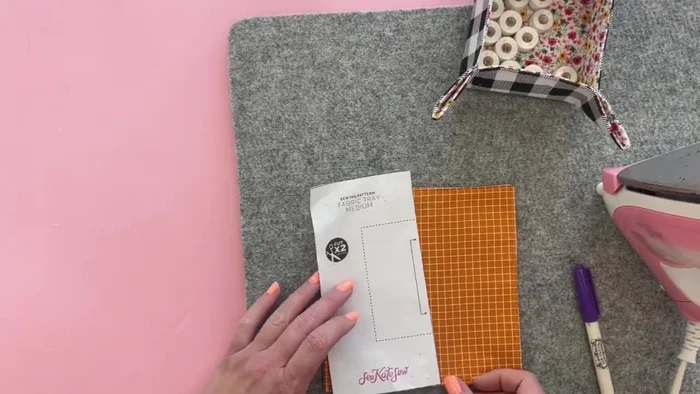
- Download and print the template from the website. Cut out the lining and main fabric pieces on the fold. This will create squares that, when opened, will be larger squares.

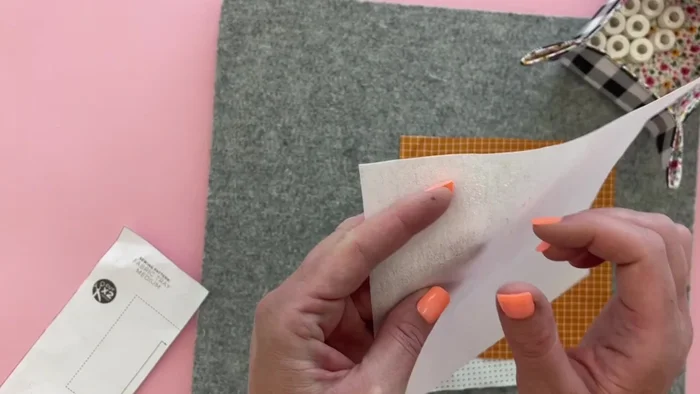
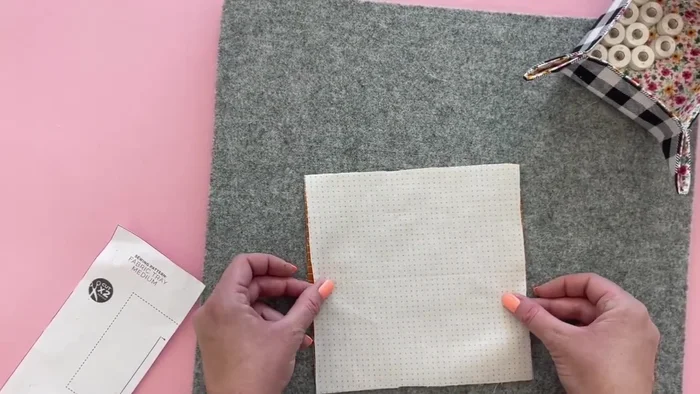
Prepare Fabric Pieces Apply Interfacing
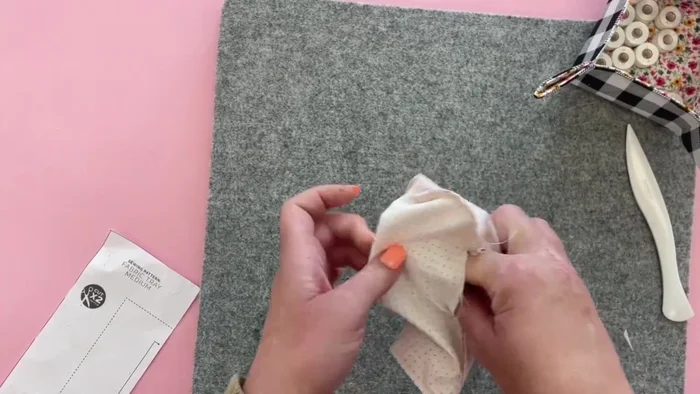
- Apply fusible interfacing to one side of the fabrics (either main or lining). If using thicker interfacing, apply it to only one fabric piece.
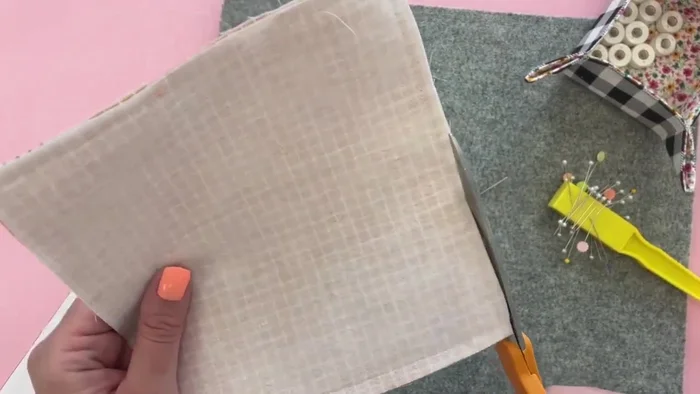
Apply Interfacing Sew and Trim
- Pin the lining fabric (wrong side up) onto the main fabric (right side up). Sew around the perimeter of the fabric, leaving a 2-inch opening on one side. Use a 1/4-inch seam allowance.
- Trim the corners and seam allowance to 1/4 inch. Carefully clip the corners to reduce bulk.
Sew and Trim Turn, Press, and Close Opening
- Turn the fabric right side out using a point turner if necessary. Press the seams to make them crisp and flat. Fold under and press the 2-inch opening and top stitch this to close the gap.
Turn, Press, and Close Opening Top Stitch
- Pin the top edges together, ensuring even alignment. Top stitch around the top edge using a 1/8 inch seam allowance.
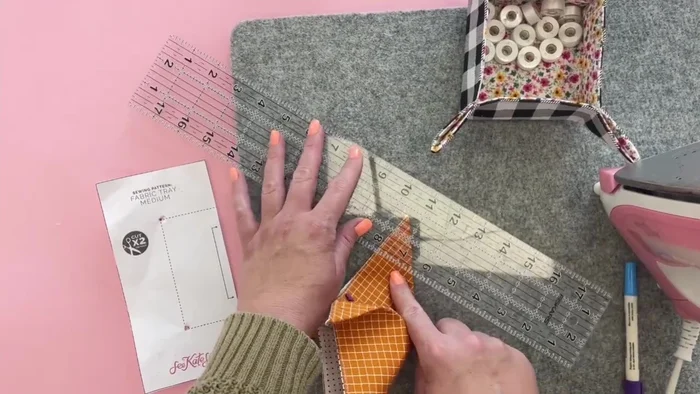
Top Stitch Mark Tray Corners
- Use the template to mark the bottom corners of the tray. Adjust the template by 1/4 inch on three sides to account for seam allowance. Mark points 1.5 inches from each corner on the dotted line that will form the tray's bottom.
Mark Tray Corners Shape the Tray
- Fold the fabric in half to create a triangle. Sew from the marked point straight up, creating a perpendicular line to the edges, and back stitch securely at both ends.
- Repeat step 8 for all four corners. Press the bottom of the tray to enhance its shape.
Shape the Tray

Read more: DIY Super Cute Whale Shower Curtain: A Step-by-Step Tutorial
Tips
- Don't iron the adhesive side of the interfacing.
- Leave the seam allowance where the fabric is folded under to make it easier to turn and press.
- Use a pin to help pull out seams during pressing.