Tired of those plain, boring terracotta pots cluttering your patio or windowsill? Ready to unleash your inner crafter and add a touch of personality to your plant collection? Then you've come to the right place! This beginner-friendly guide will walk you through the simple and rewarding process of creating beautiful, custom fabric pot covers using upcycled materials. Forget expensive store-bought planters – we’ll show you how to transform old clothes, scraps of fabric, or even those forgotten tea towels into stylish and functional accessories for your beloved plants. Upcycling is not only a sustainable choice, it’s a fantastic way to express your creativity and add a unique, handmade touch to your home décor.
This DIY project is perfect for those with limited sewing experience, requiring minimal skills and readily available materials. We'll focus on easy-to-follow instructions and helpful tips to ensure you achieve stunning results. Ready to get started and transform your ordinary pots into extraordinary eye-catchers? Let's dive into the step-by-step process!
Preparation and Safety Guidelines
- Heavyweight fabric (drill cotton, canvas, upholstery fabric)
- Heavyweight interfacing
- Scissors
- Rotary cutter
- Pins
- Heavyweight needles (optional)
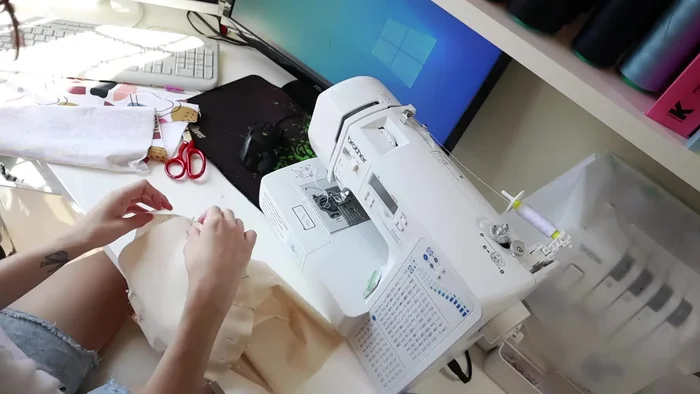
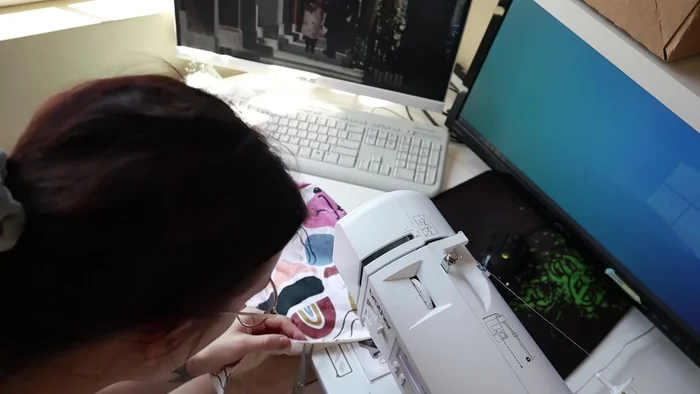
- Sewing machine
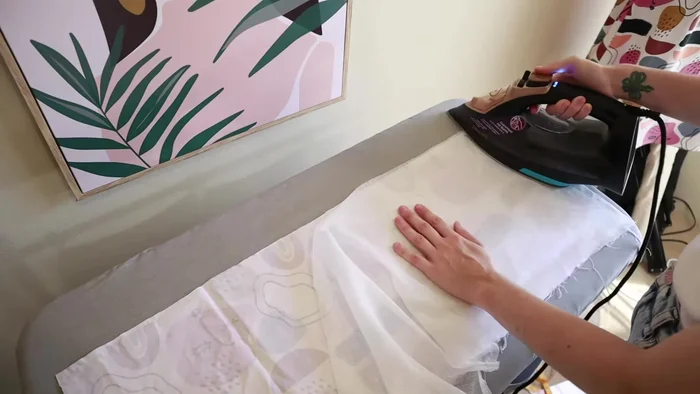
- Iron
- Always use fabric that is clean and free from any chemicals or treatments that could be harmful to plants or pets. Pre-wash fabric if unsure.
- Ensure adequate drainage holes are present in your pot before covering it to prevent waterlogging and root rot.
- If using hot glue or other adhesives, work in a well-ventilated area and avoid contact with skin. Always follow the manufacturer's instructions for safe handling.
Step-by-Step Instructions
Prepare Fabric Pieces
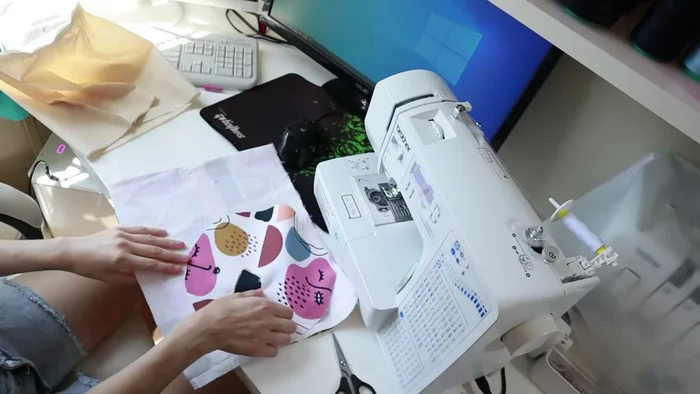
- Create two pattern pieces (rectangle and circle) based on your pot's size, adding seam allowance (1.5 cm recommended). Ensure your fabric is wide enough to accommodate the rectangle's length when folded.
- Interface one or both sides of your fabric pieces for added sturdiness. Place the shiny (glue) side of the interfacing down.

Prepare Fabric Pieces Construct Lining
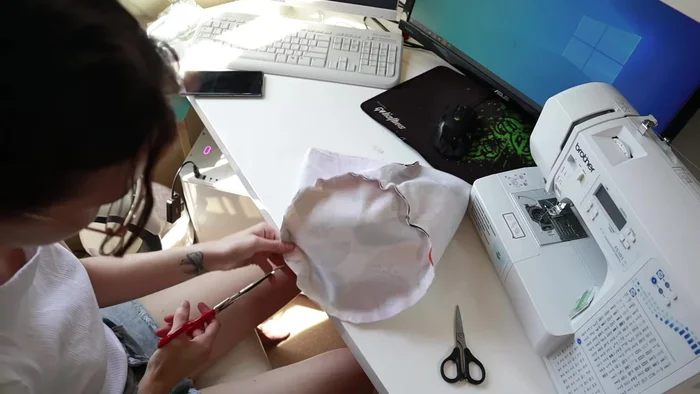
- Sew the rectangle sides of the lining pieces together, leaving the circular edges open. No need to finish seams as they will be inside.
- Pin and sew the circular edge of one lining piece to one edge of the rectangle, matching seam allowances.
Construct Lining Construct Outer Fabric
- Repeat steps 3 and 4 for the outer fabric pieces, ensuring right sides are together. Leave a gap for turning.
Construct Outer Fabric Join Lining and Outer Fabric
- Put the outer and lining pieces together (right sides facing), leaving a gap for turning. Pin and sew around, matching seams.
Join Lining and Outer Fabric Finish and Decorate
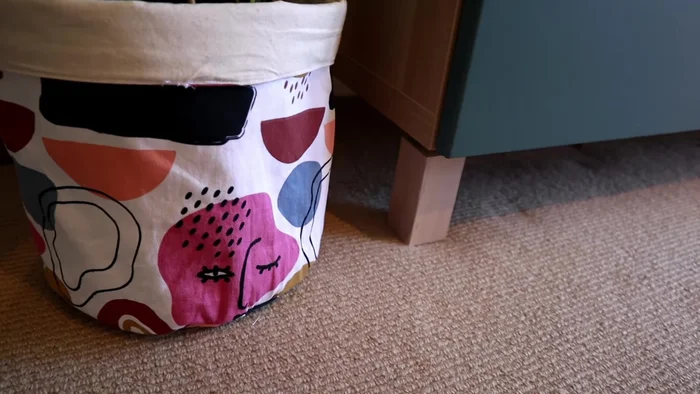
- Turn the fabric right side out through the gap. Clip curves and corners to reduce bulk.
- Top stitch the opening closed to secure the gap and create a neat finish.
- Press seams and add any decorative touches as desired.
Finish and Decorate


Read more: DIY Super Cute Whale Shower Curtain: A Step-by-Step Tutorial
Tips
- Use heavyweight fabric for a sturdy pot cover.
- Leave a larger gap for turning than demonstrated in the video, especially with thick fabric.
- Match up seams carefully for a professional finish.