Tired of using the same old placemats, or perhaps you're looking for a fun and rewarding quilting project that won't consume your entire weekend? Then look no further! This tutorial will guide you through creating beautiful, personalized fabric placemats using a simple yet effective method, perfect for beginners and experienced quilters alike. Forget expensive store-bought options; with just a few basic supplies and a little bit of time, you can craft charming placemats that perfectly complement your dining table or add a pop of color to any occasion. You’ll be surprised how quickly and easily you can transform scraps of fabric into delightful, practical additions to your home.
These DIY fabric placemats are not only aesthetically pleasing but also incredibly durable and easy to clean. Whether you’re aiming for a rustic farmhouse look, a vibrant modern design, or something completely unique, this project offers endless possibilities for customization. Ready to dive in and create your own set of stunning placemats? Let's get started with the step-by-step instructions below!
Preparation and Safety Guidelines
- Fabric panels
- Batting
- Backing fabric
- Sewing machine
- Pins
- Rotary cutter or scissors
- Iron
- Ironing board
- Ruler
- Fabric marker or chalk
- Clips or clothespins
- Washable school glue
- Needle and thread (optional)
- Always use sharp scissors or a rotary cutter to prevent fabric slippage and ensure clean cuts. Dull blades increase the risk of injury.
- If using a sewing machine, be mindful of your fingers and keep them away from the needle at all times. Use a seam ripper to remove mistakes, rather than trying to force fabric.
- When ironing, be aware of the heat setting appropriate for your fabric. High heat can scorch or melt certain materials.
Step-by-Step Instructions
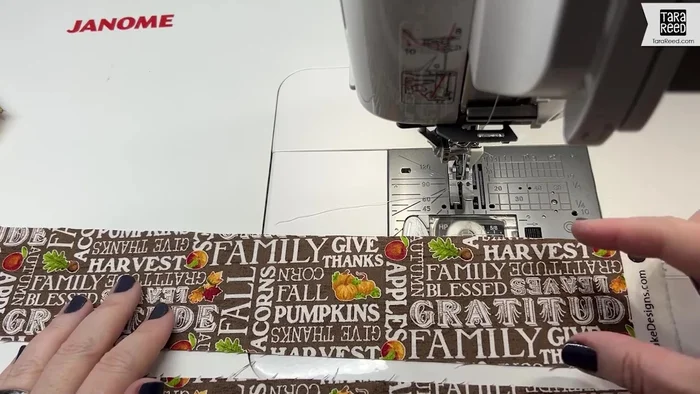
Prepare Materials
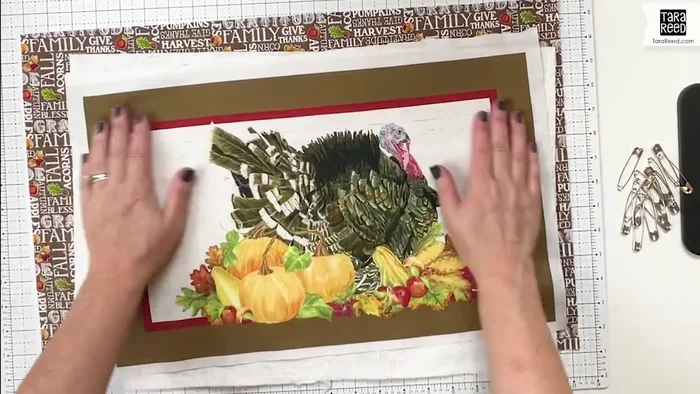
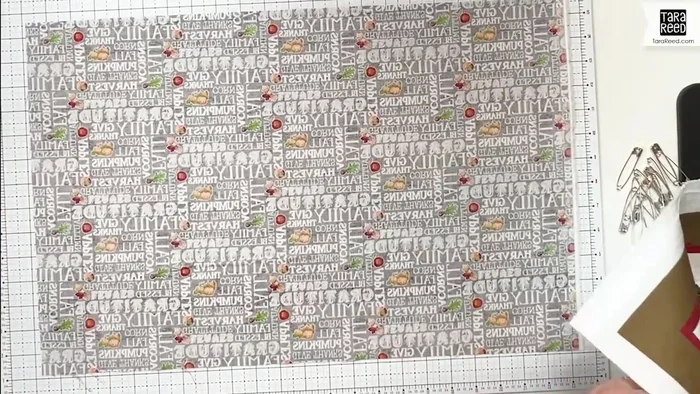
- Cut out the placemat design from your fabric panel, leaving extra fabric around it. Cut a larger piece of batting and a larger piece of backing fabric.

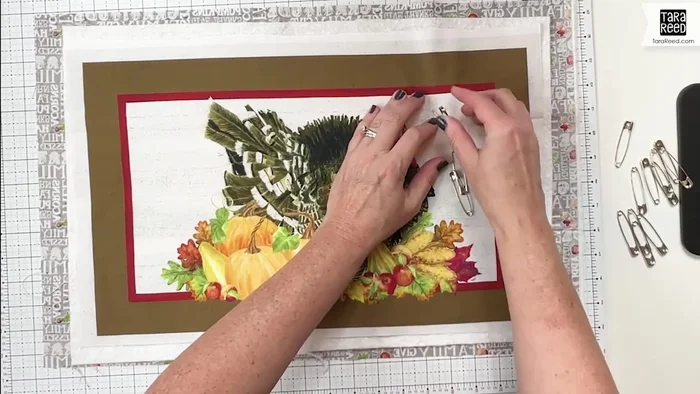
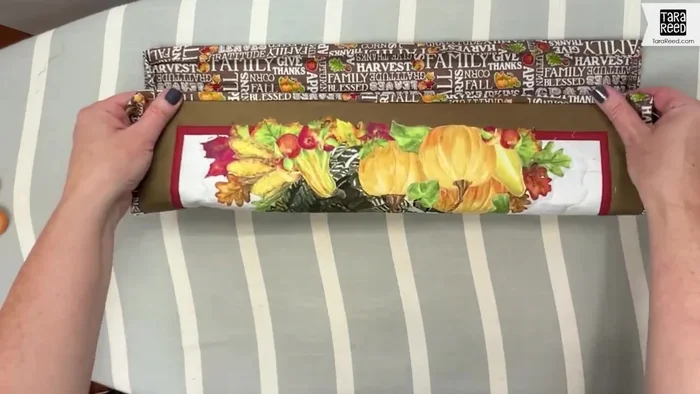
Prepare Materials Assemble Layers
- Layer the backing fabric (right side down), batting, and placemat design (right side up). Pin together.
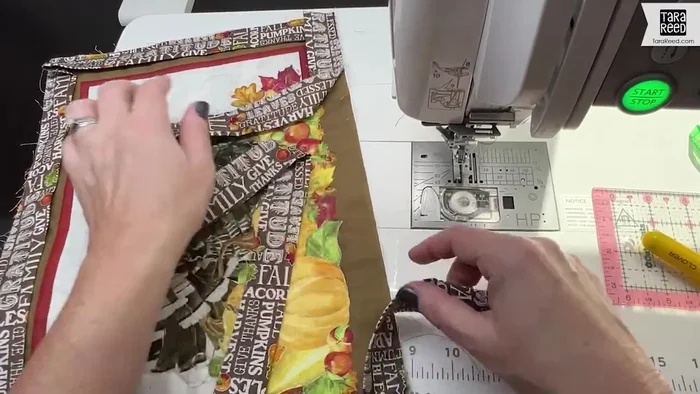
Assemble Layers Quilt Placemat
- Use a sewing machine to quilt the layers together. The tutorial suggests a straight stitch around the outside and inside edges for dimension, followed by free-motion quilting for design.
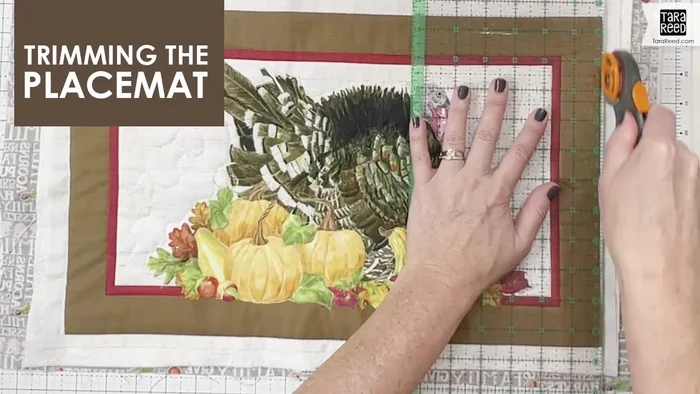
Quilt Placemat Trim Excess Fabric
- Once quilted, trim the placemat to the desired finished size (11x18 inches in this example).
Trim Excess Fabric Prepare Binding
- Cut four 2 1/2-inch wide strips of your chosen binding fabric. Sew two strips together to create a continuous strip, ensuring the directional print is consistent. Press the seam open. Fold the strip in half lengthwise (wrong sides together) and press again.
Prepare Binding Attach Binding
- Place the binding (folded edge inside) along the raw edge of the placemat, leaving 8-10 inches free at the beginning. Sew the binding to the placemat using a 1/4 inch seam allowance. When reaching the corners, miter them by folding the binding to create a 45-degree angle.
Attach Binding Join Binding Ends
- Once you've sewn around all four sides, overlap the binding ends. Fold the binding, mark the fold lines, and sew them together, creating a clean join.
Join Binding Ends Glue and Clip Binding
- Apply washable school glue to the back of the binding, press it down, and secure with clips to prevent it from lifting while drying.
Glue and Clip Binding Machine Stitch Binding
- Once the glue is dry, machine stitch the binding to the placemat from the front side for a consistent finish. Check the back to ensure all edges are caught.
Machine Stitch Binding


Read more: DIY Super Cute Whale Shower Curtain: A Step-by-Step Tutorial
Tips
- Use grippy gloves for better control during free-motion quilting.
- Always double-check the directionality of printed fabrics before sewing to prevent upside-down pieces.
- Check fabric directionality when joining binding strips and before cutting off excess fabric.
- Using glue helps to keep the binding in place while machine stitching.
- Sewing the binding from the front creates a more consistent edge, but may require a few hand stitches on the back to ensure a secure finish.