Tired of tangled cutlery ruining your picnic or lunchbox organization? Say goodbye to chaotic utensil messes with this simple DIY fabric cutlery pouch! This easy-to-follow tutorial will guide you through creating a charming and practical pouch to keep your forks, knives, and spoons neatly contained. Whether you're a seasoned sewer or a complete beginner, this project is perfect for adding a touch of personalized organization to your everyday life, and it's a fantastic way to use up scraps of favorite fabrics. You'll be surprised how quickly you can whip up one (or several!) of these handy helpers.
This project requires minimal supplies and even less time, making it ideal for a quick weekend craft or a satisfying weeknight activity. We'll be using straightforward techniques, making it accessible to all skill levels. Ready to get started on creating your own custom cutlery pouch? Let's dive into the step-by-step instructions!
Preparation and Safety Guidelines
- Fabric (two types)
- Sewing machine
- Turning hook
- Piping turner (optional)
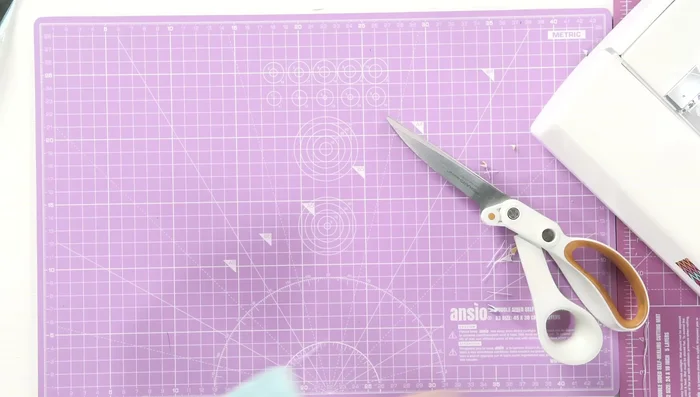
- Scissors
- Pins
- Measuring tape
- Iron (optional)
- Always use sharp scissors or rotary cutter to prevent injury and ensure clean cuts. Dull tools require more force and increase the risk of accidents.
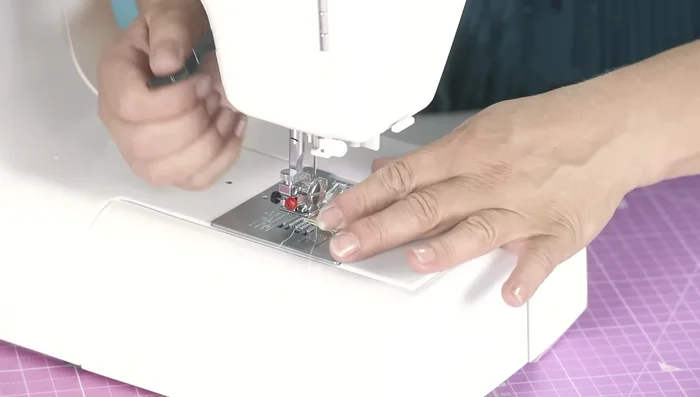
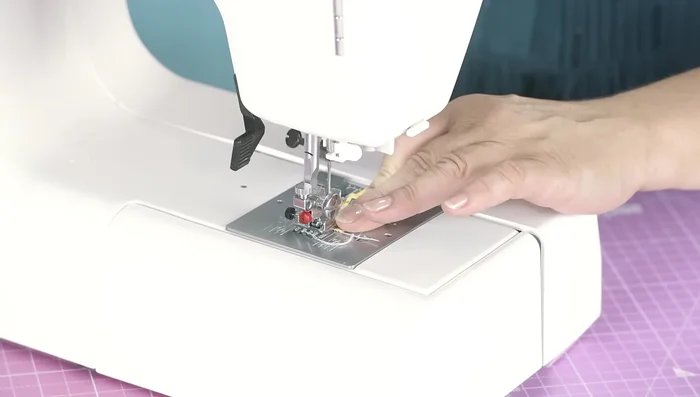
- When using a sewing machine, keep your fingers clear of the needle and presser foot to avoid needle pricks. Never sew over pins.
- If working with fabric containing metal components (like zippers or rivets), be mindful of potential sharp edges and handle with care.
Step-by-Step Instructions
Prepare the Fabric
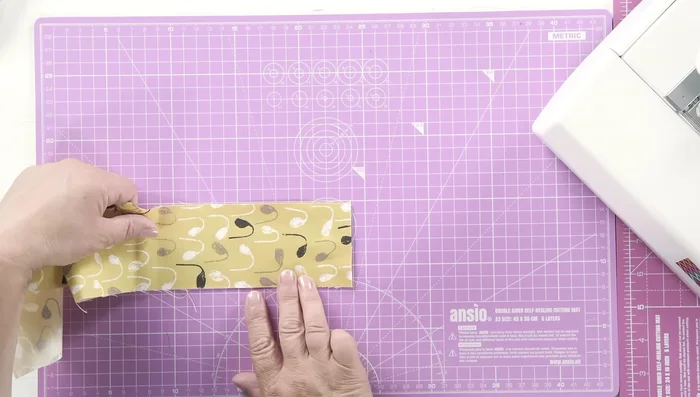
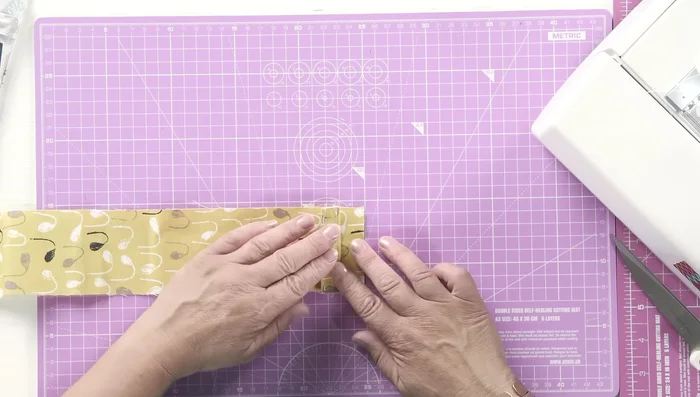
- Cut a 7cm wide and 50cm long fabric strip. Cut off the last 4cm.
- Cut a piece of lining fabric (same length as the main fabric strip, 7cm wide).

Prepare the Fabric Create the Closure
- Fold the 4cm offcut in half (right sides together), sew along the long edge, and turn it right side out using a piping turner or similar tool.
- Flatten the strip, ensuring the seam is centered, and top stitch both sides for neatness.
Create the Closure Assemble the Pouch
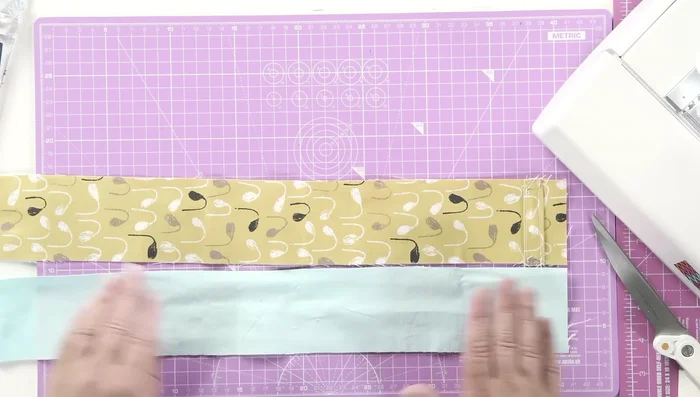
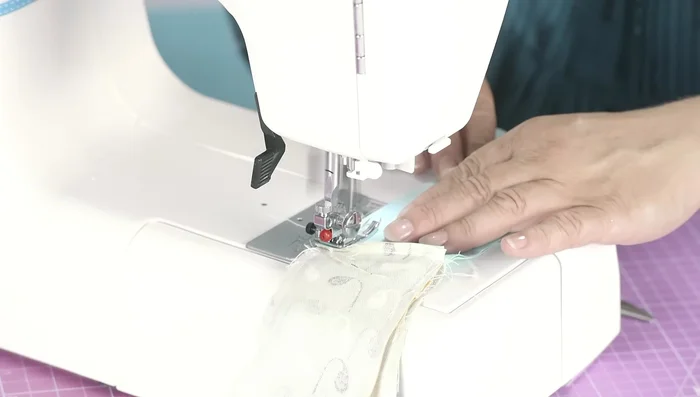
- Sew the two pieces of fabric (main and lining) together at both ends, creating a loop.
- Pin the closure strip (from step 3) 1cm down from the top edge of one side of the loop.
- Sew the closure strip in place with a few stitches.
Assemble the Pouch Sew and Turn
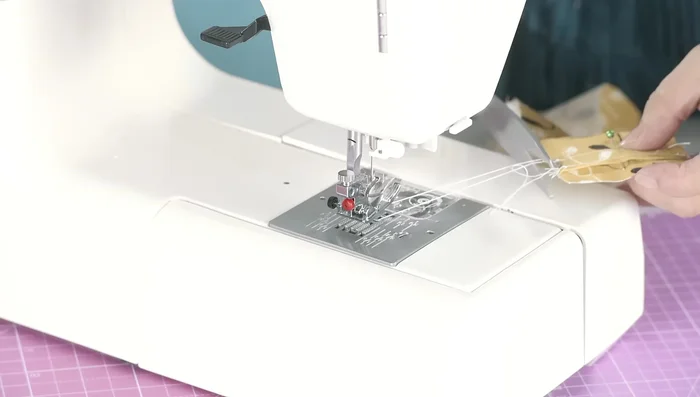
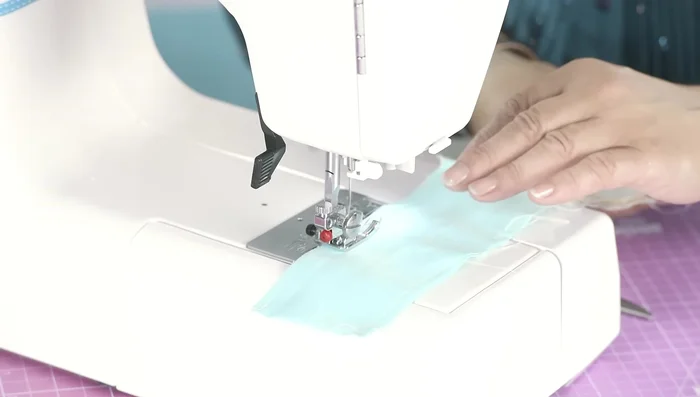
- Sew the two sides of the main fabric together from the top seam down, leaving a gap to turn the pouch right side out.
- Turn the pouch right side out through the gap. Use a turning tool or scissors to help.
- Close the gap using a needle and thread.
Sew and Turn Finishing Touches
- Top stitch the flap for neatness (optional).
Read more: DIY Super Cute Whale Shower Curtain: A Step-by-Step Tutorial
Tips
- Lift your presser foot before removing fabric from the sewing machine to avoid stretching.
- Ensure both sides of your flap are the same length for accurate closure.
- Double check the closure strip is the right way around before stitching.
- Miter the corners of the napkin for a neat finish (optional).