Are you drowning in a sea of fabric scraps, buttons, and notions? Does the mere thought of tackling your sewing space send shivers down your spine? Then it's time to reclaim your creative haven! This ultimate guide to organized sewing introduces the simple yet incredibly effective solution: DIY fabric cubes. These versatile storage solutions are not only aesthetically pleasing but also incredibly functional, offering a customizable way to organize everything from quilting cotton to embroidery floss, zippers to bias tape. They're surprisingly easy to make, even for beginner sewers, transforming chaotic piles into a streamlined and inspiring workspace.
Forget expensive, mass-produced storage containers; take control and create perfectly tailored storage specifically designed for your needs. This guide will walk you through every step of the process, from choosing the right fabric and measuring your cubes to finishing touches that elevate their look and durability. Ready to transform your sewing space into the organized haven you’ve always dreamed of? Let’s dive into the step-by-step instructions.
Preparation and Safety Guidelines
- Fabric squares (outside and lining)
- Heavy iron-on interfacing
- Binding (2-inch wide strip)
- Sewing machine
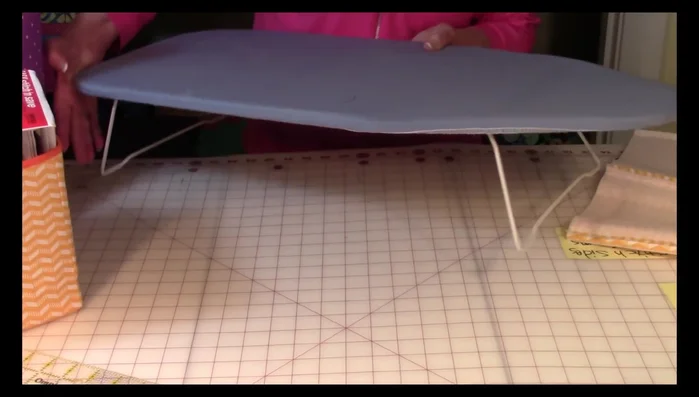
- Iron
- Ironing board
- Pins
- Pencil
- Measuring tape
- Always use sharp scissors or rotary cutters to prevent fabric slippage and ensure clean cuts. Dull blades increase the risk of injury.
- When using a sewing machine, always keep your fingers clear of the needle and moving parts. Use a seam ripper carefully to avoid pricking yourself.
- If working with interfacing or fusible materials, use a pressing cloth to protect your iron and prevent scorching or sticking.
Step-by-Step Instructions
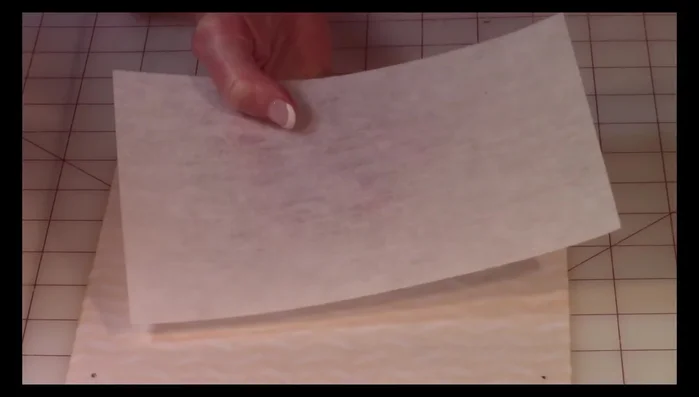
Prepare Fabric Squares
- Measure and Cut Fabric Squares:
- Fuse Interfacing to Fabric:
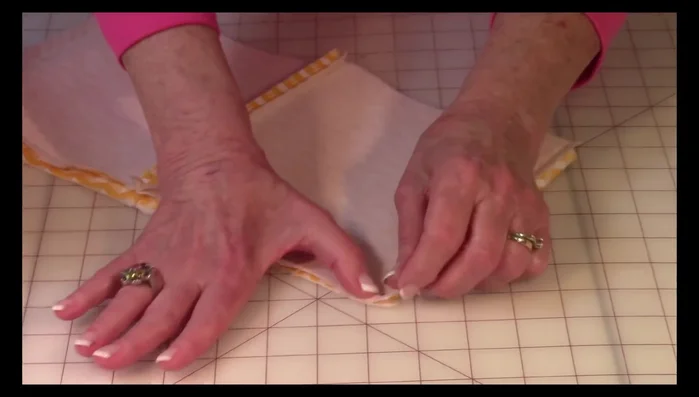
- Mark Seam Allowances:

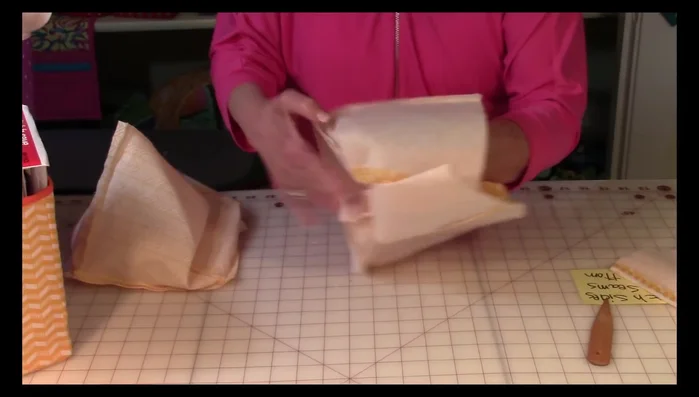
Prepare Fabric Squares Assemble Outer Cube
- Stitch Fabric Squares Together:
- Press Seams Open:
- Attach Bottom Square:
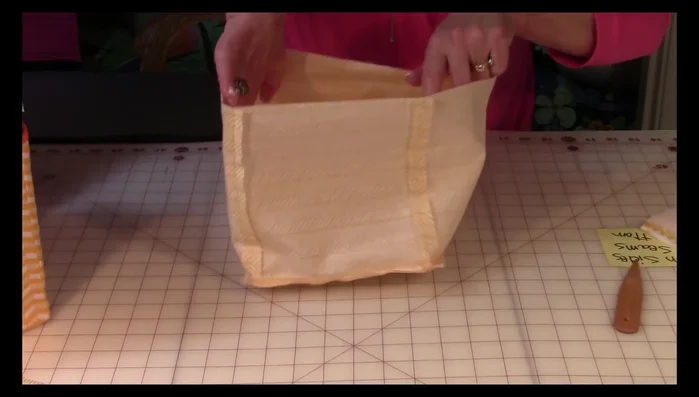
Assemble Outer Cube Create and Attach Lining
- Create Lining Cube:
- Turn and Insert Lining:
- Pin and Stitch Lining to Outer Fabric:
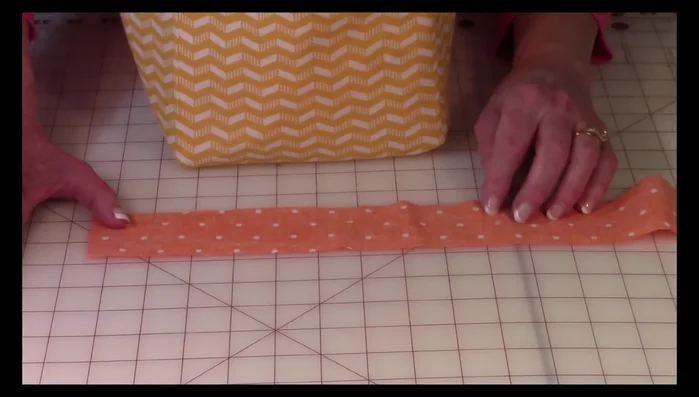
Create and Attach Lining Finish and Bind
- Prepare and Attach Binding:
Finish and Bind


Read more: DIY Super Cute Whale Shower Curtain: A Step-by-Step Tutorial
Tips
- Use heavy iron-on interfacing for sturdy cubes.
- Always add seam allowance (3/8 inch for squares, 1/4 inch for binding).
- Press seams open for a clean finish.
- Follow interfacing package instructions for proper fusing.
- Stitch close to the edge when attaching lining to prevent fraying.