Are you drowning in a sea of small items – buttons, beads, craft supplies, or even tiny toys? Clutter can quickly overwhelm even the most organized spaces, making it difficult to find what you need when you need it. A simple and effective solution is often the easiest one, and in this case, that solution is a DIY fabric cube box. Forget expensive, pre-made organizers; this project is both budget-friendly and incredibly satisfying to create. You'll be surprised at how quickly you can transform scraps of fabric into a stylish and functional storage solution, perfectly tailored to your needs and décor.
This guide will walk you through the remarkably simple process of making your own fabric cube box, requiring minimal sewing skills and readily available materials. From choosing your fabric to the final stitch, we’ll provide clear instructions and helpful tips to ensure a beautiful, sturdy, and personalized organizer. Ready to conquer your clutter and create a space that’s both organized and aesthetically pleasing? Let’s dive into the step-by-step instructions below!
Preparation and Safety Guidelines
- Four buttons
- Small tissue box
- Two 14-inch square fabrics
- 14-inch square fusible interfacing (Pellon Craft Fuse #808 recommended)
- Hot iron
- Damp cloth
- Scissors or rotary cutter
- Sewing machine
- Pins
- Chopstick or similar tool
- Always use sharp fabric scissors to prevent frayed edges and ensure clean cuts. Dull scissors can lead to uneven fabric and make sewing more difficult.
- If using a sewing machine, be mindful of your fingers and keep them away from the needle. Always use a sewing machine needle appropriate for your fabric type.
- When working with hot glue, use caution and apply it in a well-ventilated area. Avoid touching the hot glue immediately after application to prevent burns.
Step-by-Step Instructions
Prepare Fabric
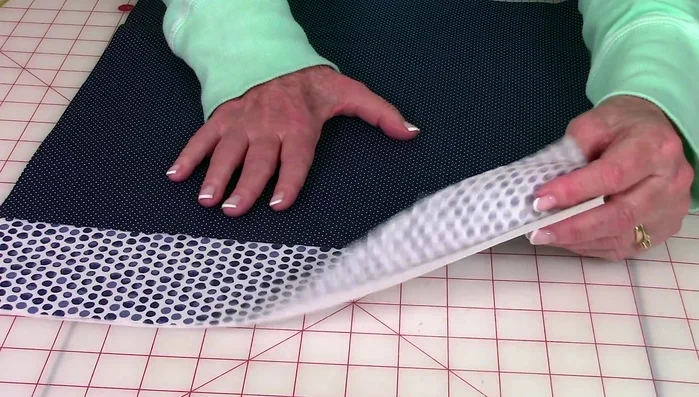
- Fuse interfacing to the wrong side of one fabric piece.

Prepare Fabric Sew the Fabric Cube
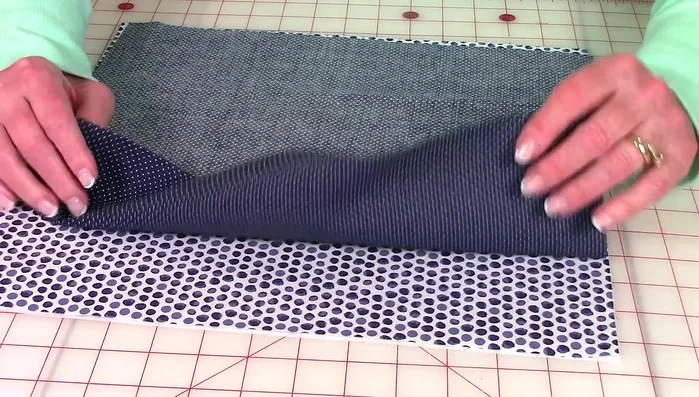
- Place fabrics right sides together, aligning edges. Pin all four sides, leaving a small opening on one side.
- Stitch a 1/4-inch seam allowance around all four sides, leaving the opening unsewn. Use back stitches at the beginning and end, and pivot at the corners for neat seams.
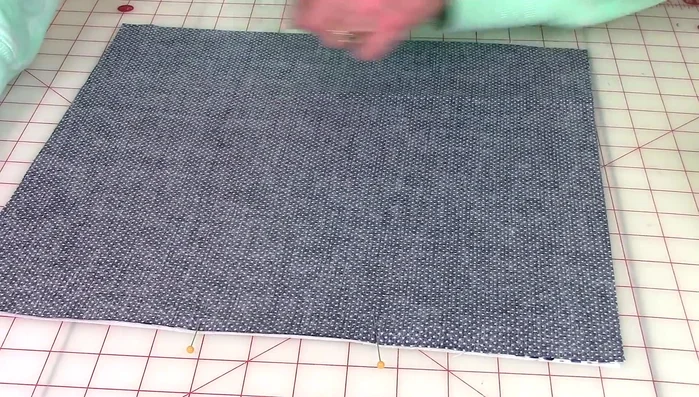
Sew the Fabric Cube Finish Seams and Turn Right Side Out
- Press the seam allowances open at the opening. Trim the corners, leaving about 1/8 inch of fabric around the seam.
- Turn the fabric right side out using a tool to push out the corners.
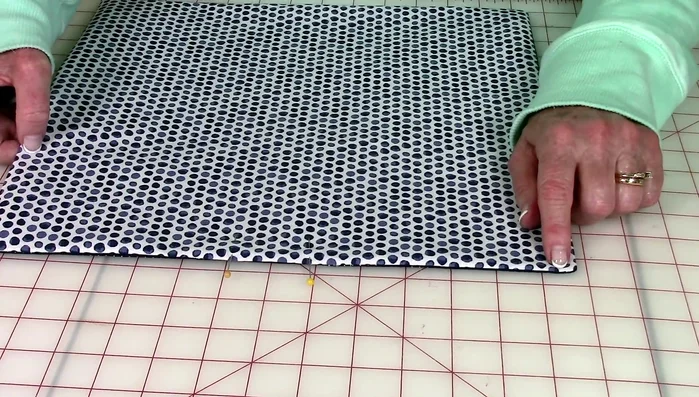
Finish Seams and Turn Right Side Out Close the Opening
- Pin the opening closed, ensuring edges are neatly folded inside. Press the edges flat.
- Stitch close to the edge around all four sides.
Close the Opening Shape the Cube
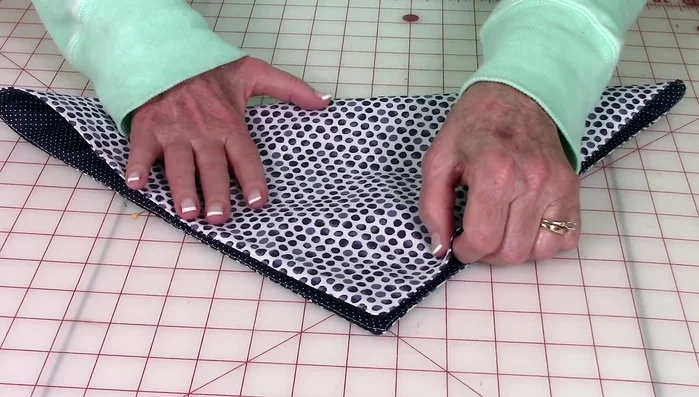
- Fold the cube in half, marking the center fold with pins on both sides.
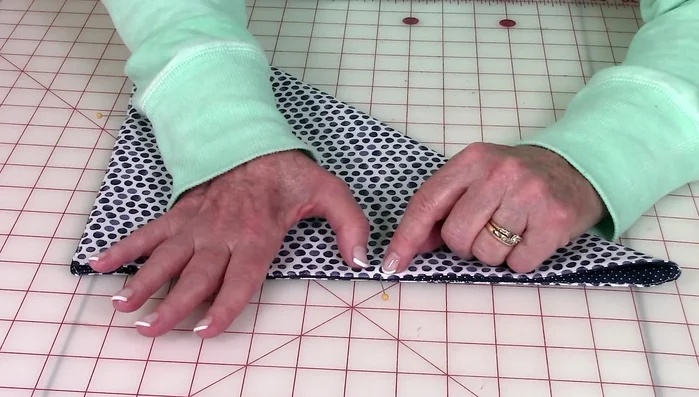
- Fold the cube corner-to-corner, and pin through both layers at the center points.
- Stitch a few tack stitches at each pinned point to secure the folds.
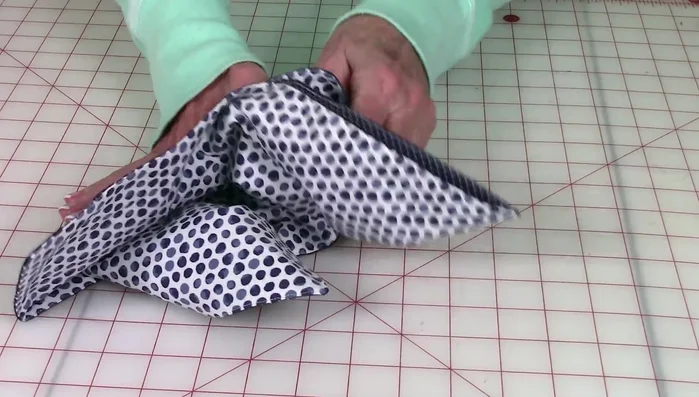
Shape the Cube Insert Tissue Box and Secure Top
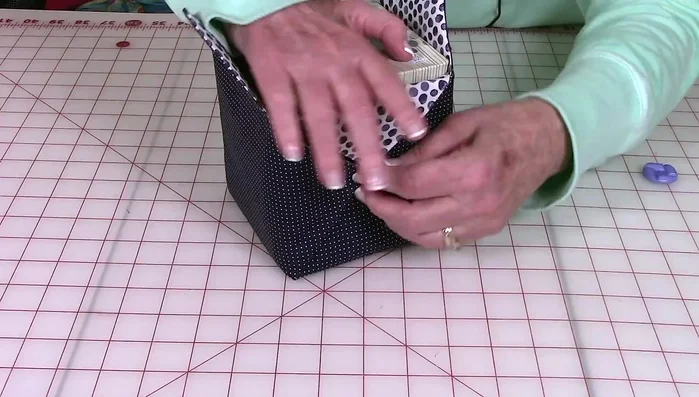
- Push the outer fabric through the openings created by the tack stitches, shaping the cube. Insert the tissue box.
- Fold the top flaps over and temporarily pin them in place. Attach buttons to each corner to hold the flaps.
Insert Tissue Box and Secure Top


Read more: DIY Super Cute Whale Shower Curtain: A Step-by-Step Tutorial
Tips
- Use a damp cloth and hot iron with steam when fusing the interfacing to the fabric.
- Pivot at the corners while sewing to create sharp corners.
- Use a chopstick, pencil eraser, or similar tool to easily push out the corners after turning right side out.
- Take your time shaping the cube and inserting the tissue box.