Ever dreamed of owning a pinball machine but balked at the hefty price tag? What if you could create a unique, personalized version without breaking the bank? This guide reveals the exciting possibility of building your own DIY fabric-covered pinball machine, a project that blends creativity, resourcefulness, and a touch of nostalgic charm. Forget mass-produced uniformity; this project lets you express your individual style, choosing fabrics and designs that reflect your personality and home décor. Imagine the satisfying click-clack of the flippers, the satisfying score-chasing, all within a custom-made machine that you built yourself.
This unique approach uses readily available materials and surprisingly simple construction techniques to create a visually stunning, fully functional (though scaled-down) pinball experience. From sourcing materials to the final assembly, we’ll take you through each step of the process, ensuring even complete beginners can confidently embark on this rewarding project. Let's dive into the step-by-step guide and start building your dream pinball machine!
Preparation and Safety Guidelines
- thin paper
- fabric
- embroidery frame
- Tambor hook (crochet needle)
- sewing machine
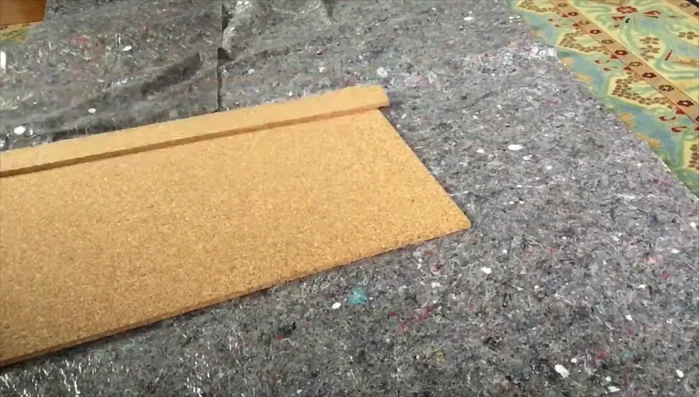
- wood
- screws
- Always disconnect the pinball machine from the power source before working on any electrical components or making any modifications. Failure to do so could result in serious injury or death.
- Use caution when handling sharp objects like scissors, knives, and sewing needles. Always cut away from yourself and keep your fingers clear of the blades.
- Ensure adequate ventilation when using adhesives or paints. Work in a well-ventilated area and wear appropriate respiratory protection as recommended by the product manufacturer.
Step-by-Step Instructions
Design and Preparation
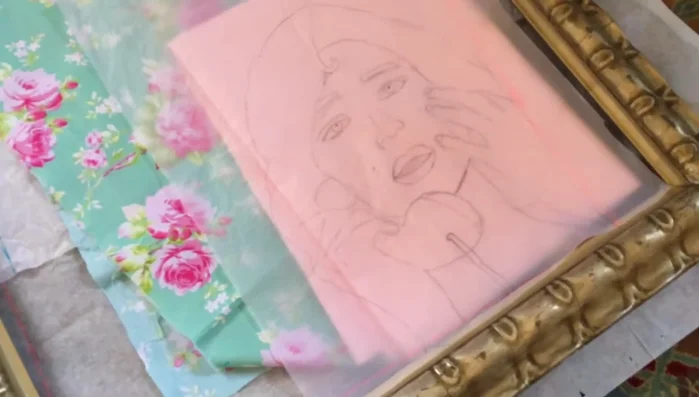
- Trace the pinball frame dimensions and designs onto thin paper. Use magazine images or hand-drawn elements.
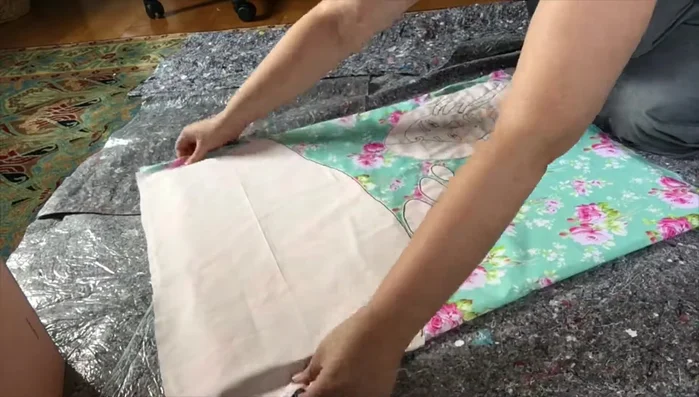
- Choose your fabric.
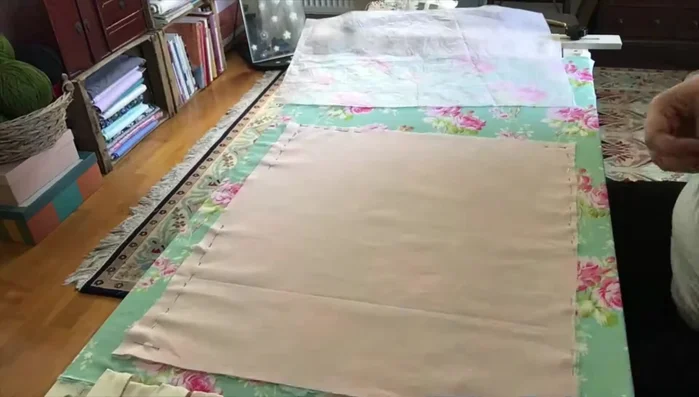
- Position your design fabric (right side up) on top of your background fabric. Secure and trace the design.

Design and Preparation Embroidering the Design
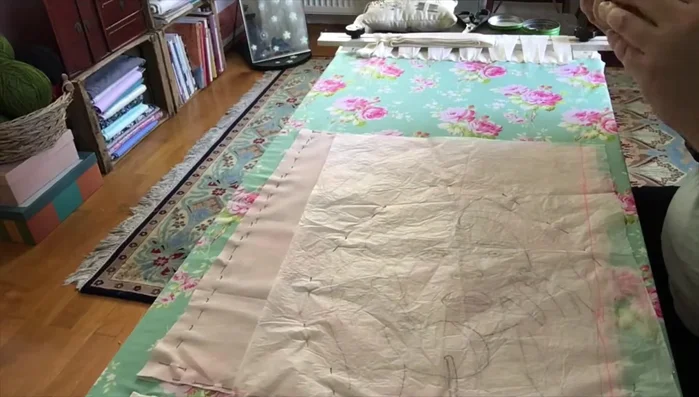
- Use a Tambor hook to trace and stitch your design onto the background fabric.
- If your design is too large for the embroidery frame, use back stitches.
Embroidering the Design Adding Extra Elements
- Cut and add backing fabric for any additional elements (e.g., thought bubbles).
Adding Extra Elements Cutting and Finishing the Fabric
- Carefully cut around the outside of your design to remove excess fabric.
Cutting and Finishing the Fabric Constructing the Wooden Base
- Cut down the board to size and piece together if necessary. Protect your work surface.
- Glue and secure the wooden board pieces together, then let it dry overnight.
Constructing the Wooden Base Attaching Fabric to Base
- Attach the fabric-covered design to the wooden board using screws.
Attaching Fabric to Base


Read more: DIY Super Cute Whale Shower Curtain: A Step-by-Step Tutorial
Tips
- Make a copy of your design before reusing it.
- Remember safety precautions when using tools.
- Protect your floors while working.