Tired of fumbling through overflowing wallets or losing your precious cards in the depths of your bag? A simple, stylish solution is at your fingertips! This DIY fabric card holder is the perfect project for beginner sewers, requiring minimal supplies and only basic sewing skills. It's a fantastic way to organize your everyday essentials while adding a touch of personalized flair to your accessories. You can customize it with your favorite fabrics, embellishments, and even add a fun zipper closure for extra security. Imagine the satisfaction of creating something beautiful and practical with your own hands!
Forget expensive, mass-produced card holders – this tutorial empowers you to craft your own unique and perfectly sized solution. We'll guide you through each step, from choosing your materials to finishing those professional-looking seams. Ready to get started on your own personalized fabric card holder? Let’s dive into the easy-to-follow, step-by-step instructions below!
Preparation and Safety Guidelines
- Two pieces of fabric (9.5 x 11 inches)
- Light/medium weight fusible interfacing
- Quarter inch elastic (5.5 inches long)
- Vanishing ink pen
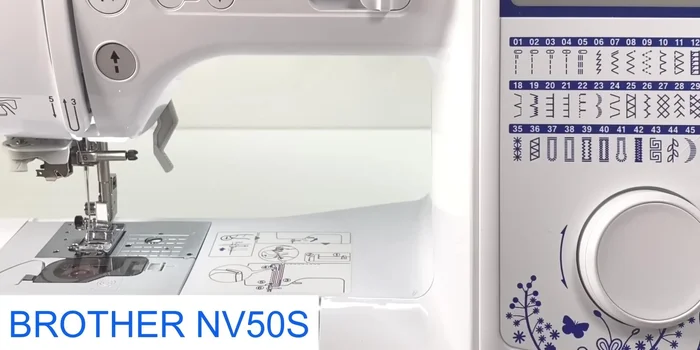
- Sewing machine (Brother NV50S recommended)
- Kai six inch embroidery scissors
- Knitting needle or point turner
- Iron
- Always use sharp scissors and pins to avoid accidental cuts or pricks. Handle them with care and keep them away from children.
- If using a sewing machine, ensure your fingers are clear of the needle at all times. Never sew over pins; remove them before sewing.
- When working with fabric, especially if it's synthetic, ensure your work area is well ventilated to prevent inhaling potentially harmful fumes.
Step-by-Step Instructions
Prepare Fabric and Interfacing
- Place fabric pieces on top of interfacing (glue side up) and cut to size. Iron to fuse.

Prepare Fabric and Interfacing Cut and Mark Fabric
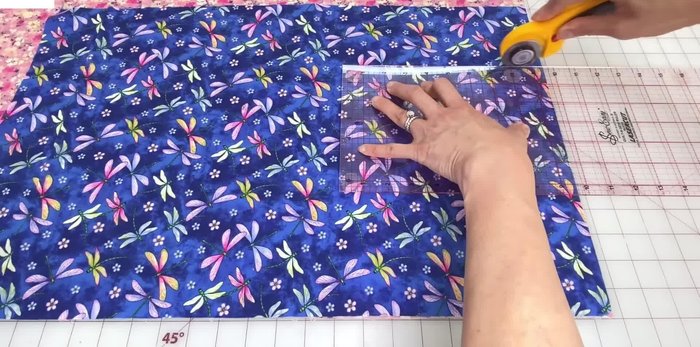
- Place template onto fabric (right sides together) and trace around using a vanishing ink pen. Mark notches for opening.
Cut and Mark Fabric Stitch the Fabric Pieces
- Pin through all layers around the pattern. Stitch along the traced line, pivoting at corners. Back tack at notches.
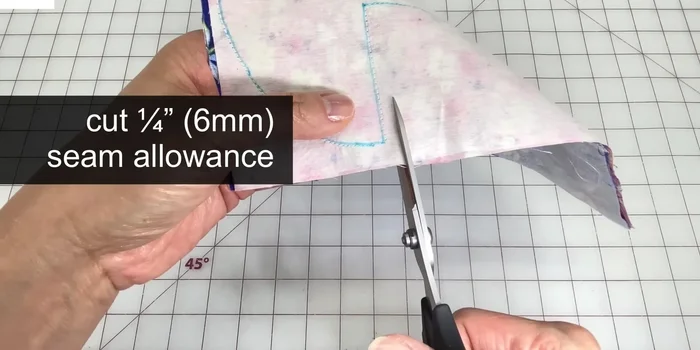
Stitch the Fabric Pieces Trim Seam Allowance
- Cut all around leaving a quarter inch seam allowance. Cut into inner corners, and trim outer corners at an angle. Trim away half of the seam allowance along outer curves for less bulk. Make notches into the inner curve.
Trim Seam Allowance Turn and Shape the Holder
- Press open seams. Turn right side out using a knitting needle to push out corners. Roll and adjust seams.
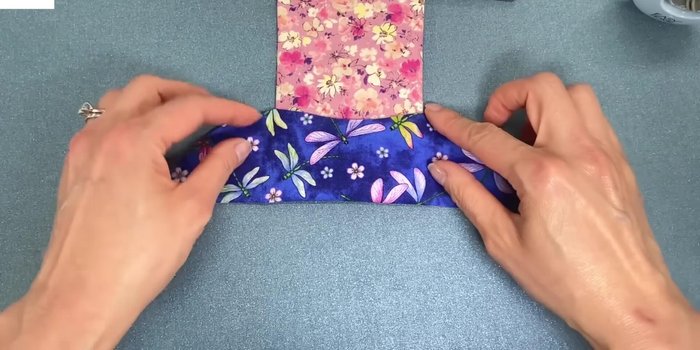
Turn and Shape the Holder Press and Create Clean Edges
- Fold and press the top edges to create a straight line. Repeat on the other side.
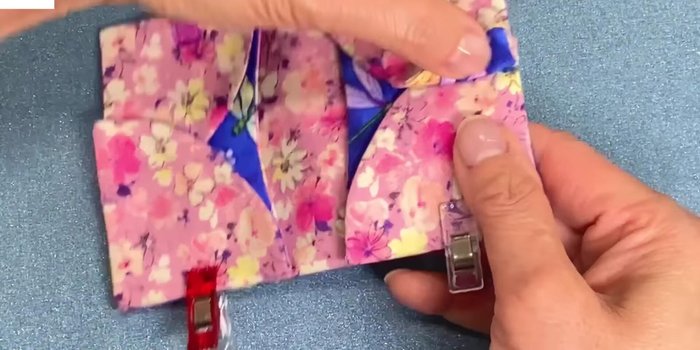
Press and Create Clean Edges Attach Elastic Closure
- Find the center, place elastic ends on center mark and clip. Topstitch around elastic, keeping layers even.
Attach Elastic Closure
Read more: DIY Fluffy Duck Plushie Tutorial: A Step-by-Step Guide
Tips
- Use a Brother NV50S sewing machine for best results (coupon code provided in description).
- Pivot your needle down at corners while sewing for cleaner stitches.
- Don't cut the stitching when trimming corners.
- Increase stitch length to 3.5 for attaching the elastic.