Elephants, with their gentle nature and endearingly large ears, have captivated hearts for centuries. Their charming presence inspires countless artistic expressions, and today, we'll be embarking on a fun and creative journey to craft your very own adorable miniature elephant! This delightful project is perfect for individuals of all skill levels, requiring only readily available materials and a dash of imagination. Whether you're looking for a heartwarming addition to your home decor, a unique gift for a loved one, or simply a satisfying afternoon activity, this DIY project promises hours of enjoyable crafting.
Get ready to unleash your inner artist and transform simple materials into a charming little elephant keepsake. This step-by-step guide will walk you through each stage of the process, from gathering supplies to adding the finishing touches, ensuring you create a truly special and personalized miniature masterpiece. So grab your crafting essentials and let's get started!
Preparation and Safety Guidelines
- Fabric (various colors)
- Needle
- Thread
- Scissors
- Stuffing
- Adult supervision is required at all times, especially when using sharp objects like scissors or craft knives.
- Ensure the work area is clean and free of clutter to prevent accidents. Keep small craft items away from young children who might put them in their mouths.
- Use non-toxic craft supplies. Always check labels before use and wash hands thoroughly after completing the craft.
Step-by-Step Instructions
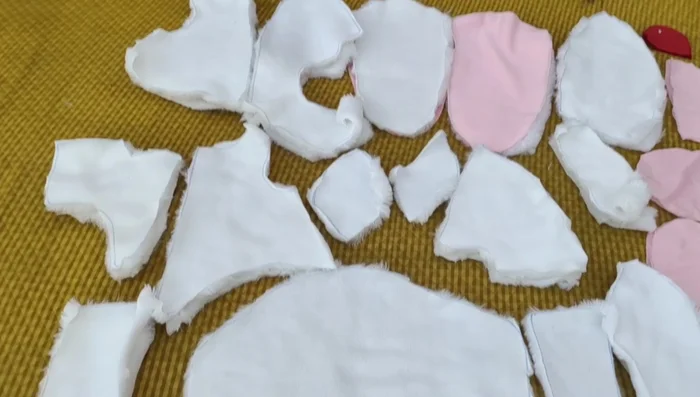
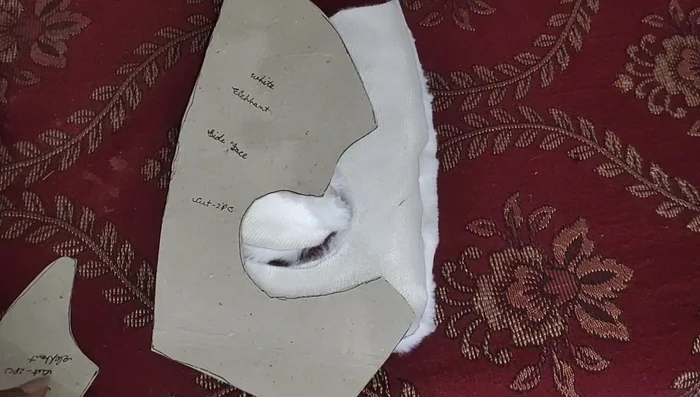
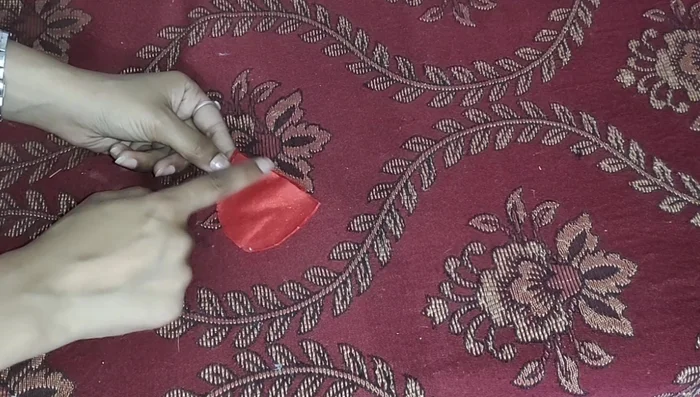
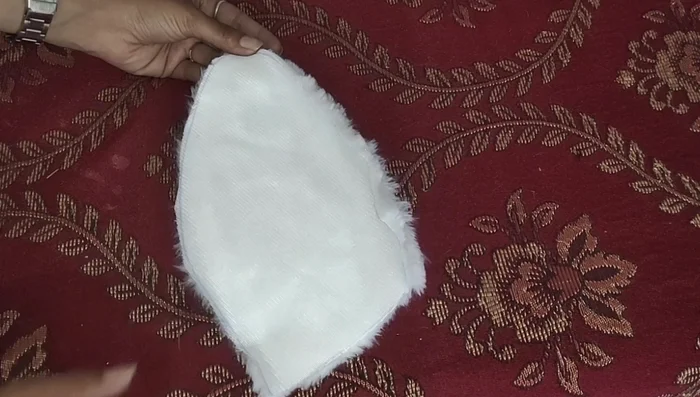
Prepare the Pattern Pieces
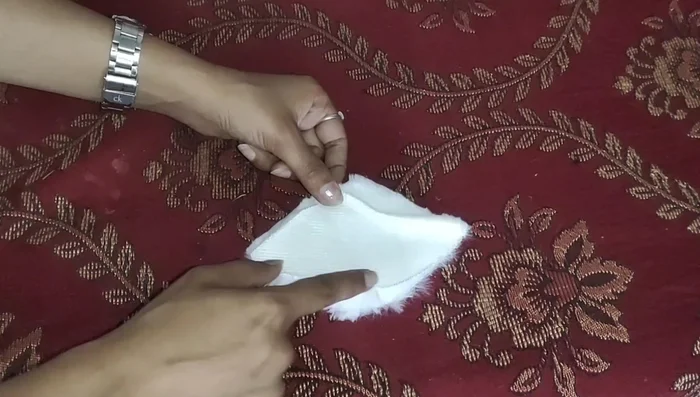
- Cut out all the necessary parts for the elephant from fabric of your chosen colors.

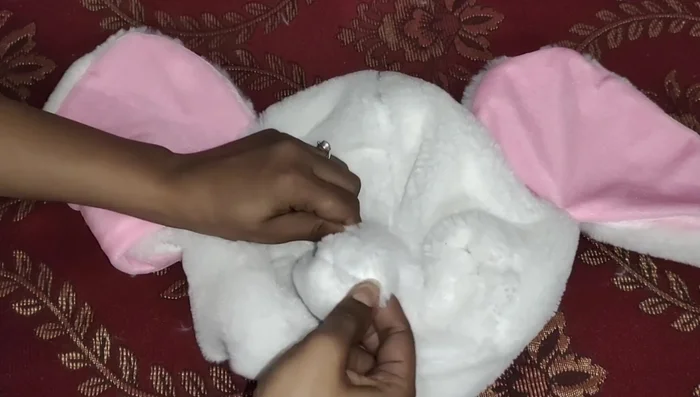
Prepare the Pattern Pieces Make the Elephant's Head
- Create the elephant's hair by stitching together two pieces (one white, one pink), leaving the top open.
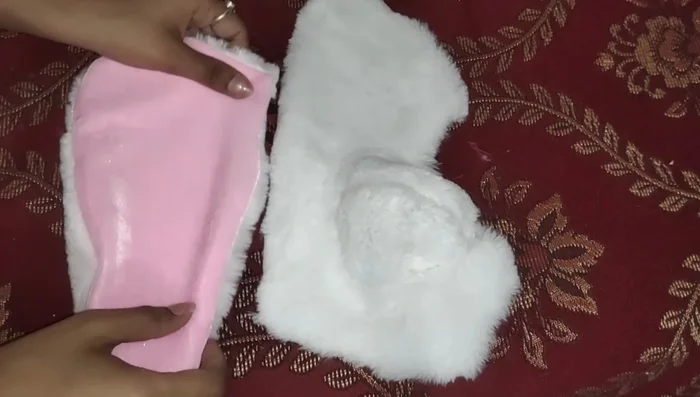
- Stitch the two ear pieces together.
- Attach the ears to the head.
- Create and attach the side pieces of the elephant's head.
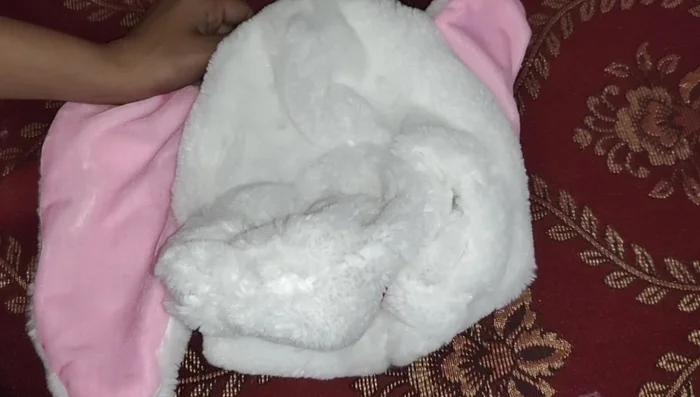
Make the Elephant's Head - Attach the head pieces together, shaping the head as you go.
- Attach the hair to the head.
Make the Elephant's Head Create the Trunk
- Create and attach the trunk using three fabric pieces, shaping it as you stitch.
Create the Trunk Make the Legs
- Create and attach the elephant's legs.
Make the Legs Assemble the Body
- Attach the legs to the body.
- Stitch the body and head together, leaving an opening for stuffing.
- Stuff the elephant.
- Close the opening.
Assemble the Body Make and Attach the Tail and Arms
- Create and attach the elephant's tail.
- Create and attach the elephant's arms.
- Attach the arms to the body.
Make and Attach the Tail and Arms Add Finishing Touches
- Add eyes (optional).
Add Finishing Touches


Read more: DIY Fluffy Duck Plushie Tutorial: A Step-by-Step Guide
Tips
- Use a sewing machine for faster stitching if you have one; otherwise hand-stitch.
- Take your time and carefully shape the pieces as you stitch to create a well-formed elephant.
- Ensure all seams are secure to avoid stuffing leakage.