Ever dreamed of owning a stunning, elegant dress without the hefty price tag of designer boutiques? This DIY sewing tutorial will show you how to craft a simple yet breathtaking dress, perfect for any occasion, from a casual brunch to a special evening event. Forget about complicated patterns and hours of frustrating alterations; this design is surprisingly accessible, even for beginners with basic sewing skills. We'll guide you through every step, using readily available materials and straightforward techniques to achieve a truly impressive result.
This project promises a rewarding experience, allowing you to unleash your creativity and personalize your garment with unique fabric choices and embellishments. From selecting the perfect fabric to mastering the finishing touches, we’ll ensure you create a dress that reflects your individual style and makes you feel confident and beautiful. Let's dive into the step-by-step process and start sewing your elegant dream dress!
Preparation and Safety Guidelines
- Fabric (2-2.5 yards)
- Velvet Bias Tape (3 yards)
- Sewing Machine
- Scissors
- Iron
- Measuring Tape
- Pins
- Always use sharp, well-maintained sewing machine needles and pins to prevent fabric snags and injuries. Dull needles require more force, increasing the risk of accidents.
- Handle fabric scissors with care and keep them away from children. Never use fabric scissors for anything other than cutting fabric.
- If using a sewing machine, always unplug it before making any adjustments or cleaning. Keep your workspace clear and free of clutter to avoid tripping hazards.
Step-by-Step Instructions
Prepare Fabric and Draft Front Pattern
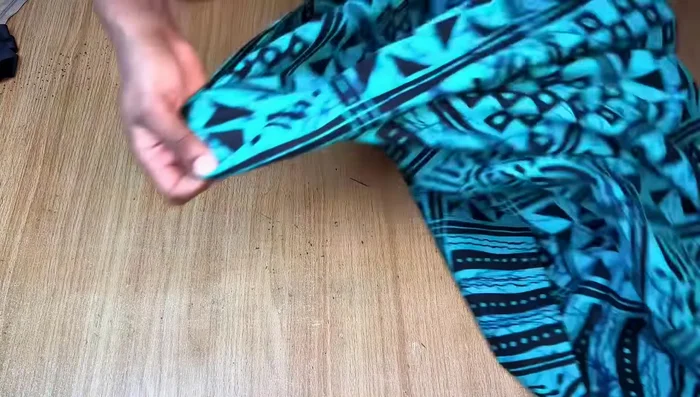
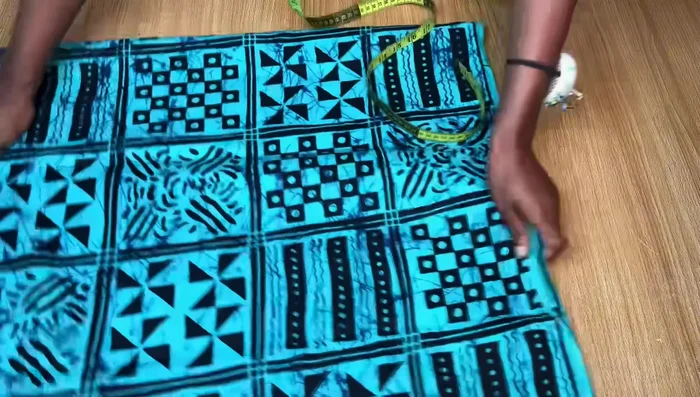
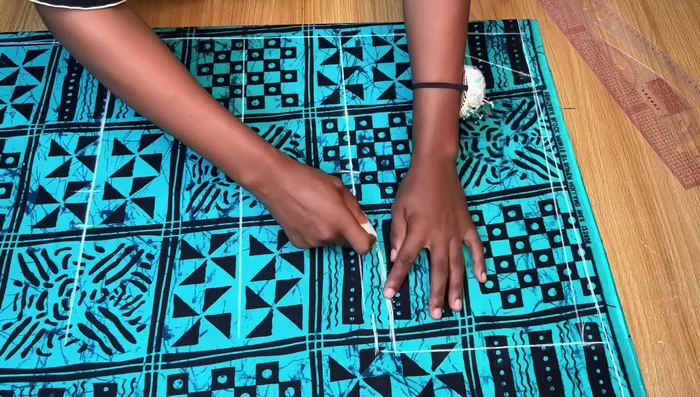
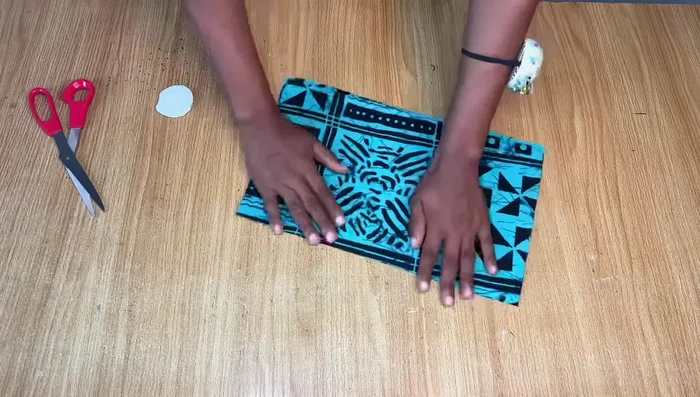
- Fold your fabric in half, ensuring enough length for your measurements. Iron the fabric to keep it flat.
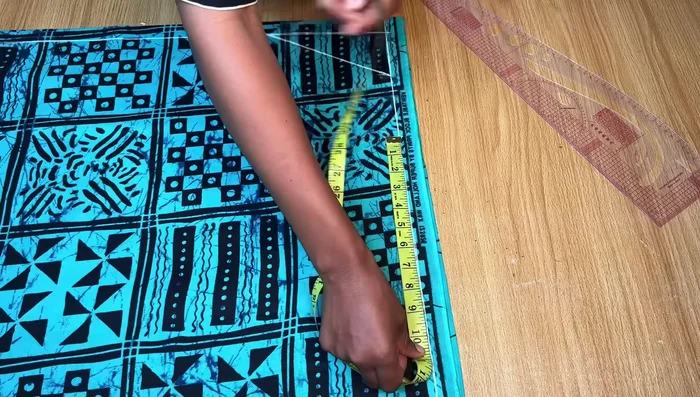
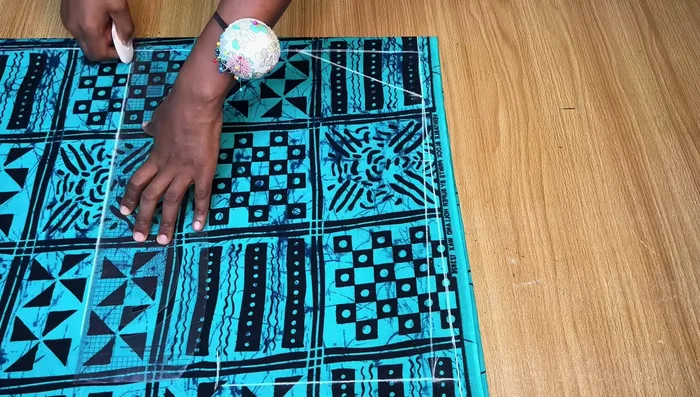
- Mark a straight line at the top (shoulder line). From the center fold, mark 1 inch inward for the slit allowance. Draw the neckline, measuring 3 inches inward from the slit allowance line and 6.5 inches down for the neck depth.

Prepare Fabric and Draft Front Pattern Take Measurements and Complete Front Pattern
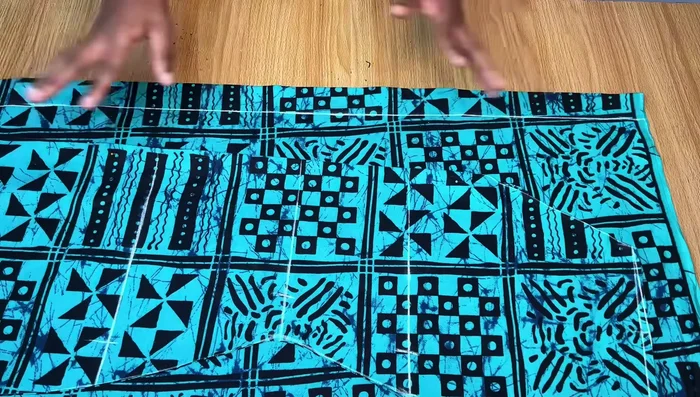
- From the slit allowance line, measure half your shoulder measurement inward. Measure the desired sleeve length (e.g., 9 inches) down from this point. Add 1 inch for shoulder slope and connect to the neckline. From the shoulder slope, measure down 8 inches for sleeve width and connect to the shoulder line.
- Mark your shoulder-to-waist, shoulder-to-bust, shoulder-to-hip, and shoulder-to-hem measurements. Add seam allowance (1.5 inches) to your bust, waist, and hip measurements, dividing each by four before marking on the pattern.
- Draw smooth lines to connect the armhole, bust line, waistline, hip line, and hemline. Adjust armhole width if necessary (reduce by 1 inch if too wide).
- Fold the neckline allowance before cutting to maintain length. Cut out the front pattern, separating it into two pieces at the center slit.
Take Measurements and Complete Front Pattern Draft and Cut Back Pattern
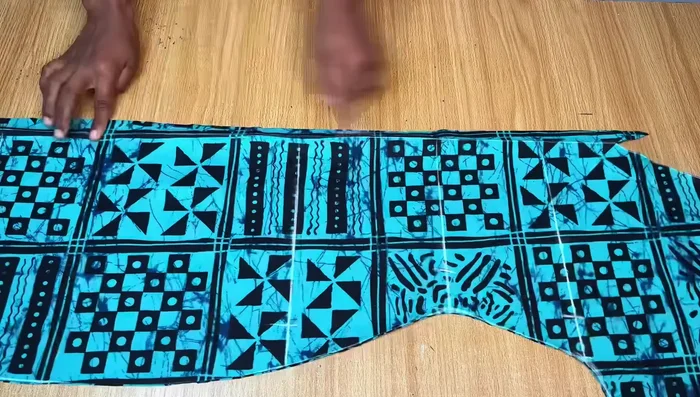
- Fold fabric in half. Mark a 1.5-inch zipper allowance from top to bottom. Place the front pattern on the zipper allowance line, pinning it down. Extend the shoulder line for the back neckline. Measure 1.5 inches down from the shoulder line for neck depth. Connect to the zipper allowance line.
- Trace the front pattern onto the back, adjusting the neckline. Cut out the back pattern, separating it into two pieces.
Draft and Cut Back Pattern Finish Back Neckline
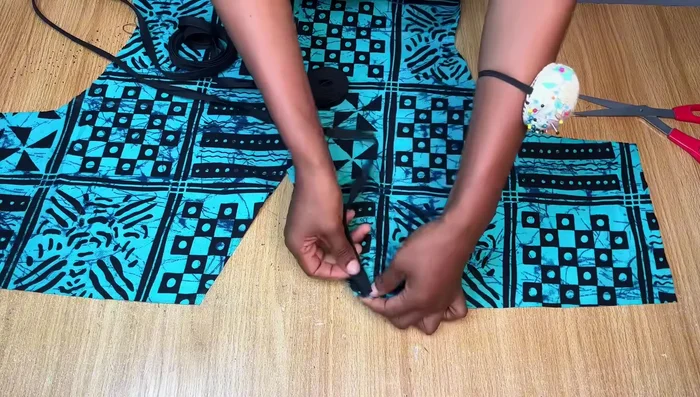
- Stitch from the neckline to about 6 inches above the hem to create a secure fold. Iron and fold the allowance, creating a clean finish.
- Stitch bias tape around the neckline, creating a neat and finished edge. Stitch both sides of the bias tape to secure it.
Finish Back Neckline Attach Zipper
- Pin the zipper to the back, ensuring it’s concealed. Stitch the zipper securely.
Attach Zipper Assemble Dress
- Pin and stitch the shoulder seams of the front and back pieces together.
- Fold and stitch the sleeves. Stitch the side seams, leaving openings for pockets.
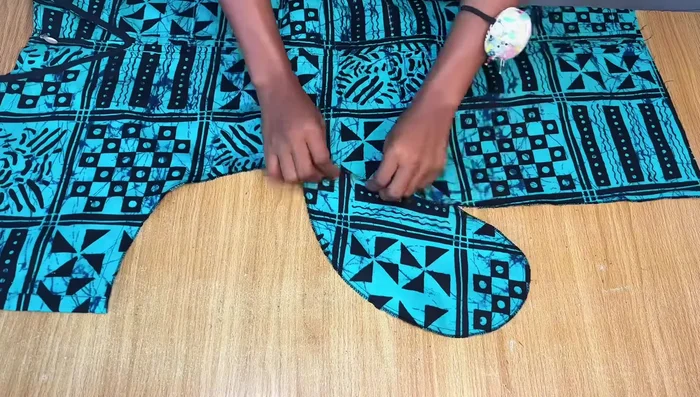
Assemble Dress Add Pockets and Hem
- Cut out pocket pieces (freehand cutting is acceptable). Stitch the pockets to the side seams, leaving the top open.
- Hem the bottom of the dress.
Add Pockets and Hem


Read more: Raglan Sleeve Sewing Tutorial: A Step-by-Step Guide
Tips
- Always add seam allowances when drafting your pattern.
- Use a ruler when drawing lines on your pattern for accuracy.
- Fold the neckline allowance before cutting to prevent the neckline from being too short.
- When attaching the zipper, ensure it’s concealed to create a clean finish.
- When attaching pockets, stitch the straight parts separately before stitching the curved areas.