Sewing your own clothes can seem daunting, but creating a simple dress is surprisingly achievable, even for beginners! This isn't about intricate patterns or complex techniques; instead, we're focusing on an easy-to-sew dress perfect for those just starting their sewing journey or anyone looking for a quick and satisfying project. Forget expensive boutique prices and embrace the satisfaction of crafting something beautiful with your own two hands. This project emphasizes ease and practicality, utilizing straightforward techniques and readily available materials.
We'll guide you through each step of the process, transforming simple fabric into a wearable and stylish garment. Whether you’re looking for a summer sundress, a casual everyday piece, or a fun project for a weekend afternoon, this guide will walk you through every detail, from choosing your fabric to the final hem. Get ready to delve into our step-by-step guide and discover how easy it is to sew your own beautiful dress!
Preparation and Safety Guidelines
- Fabric
- Pattern Paper
- Scissors
- Measuring Tape
- Pins
- Sewing Machine
- Iron
- Always use sharp sewing scissors and needles to prevent accidental injury. Keep them out of reach of children.
- Before starting to sew, carefully measure your fabric and body to ensure a proper fit. Adjust pattern pieces as needed.
- If using a sewing machine, unplug it before changing needles, adjusting settings, or making any repairs.
Step-by-Step Instructions
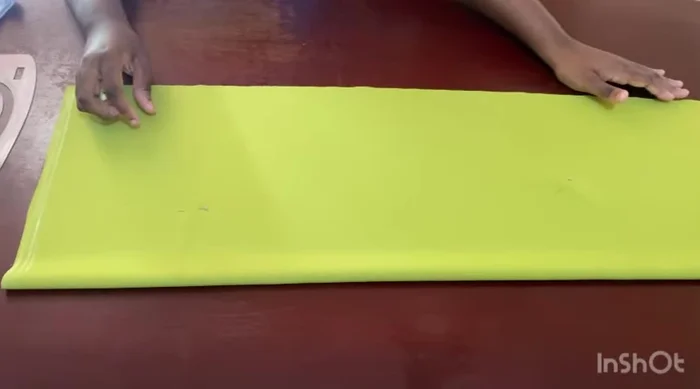
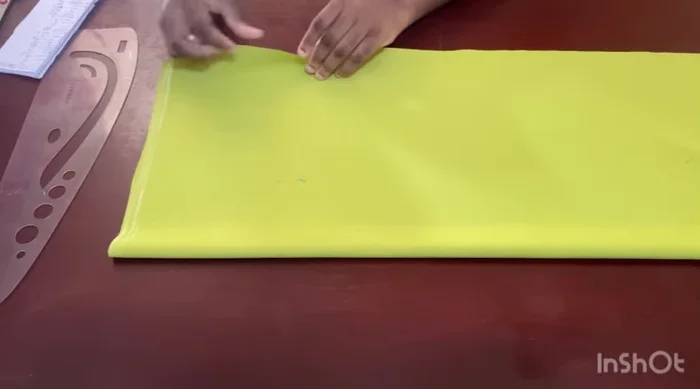
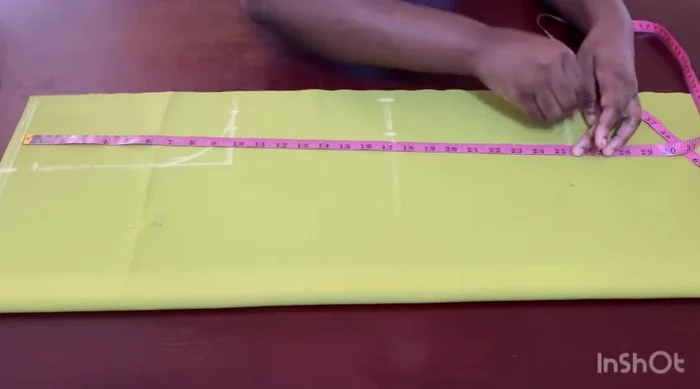
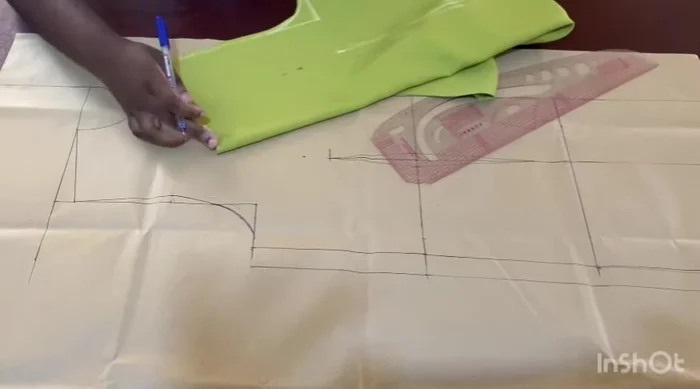
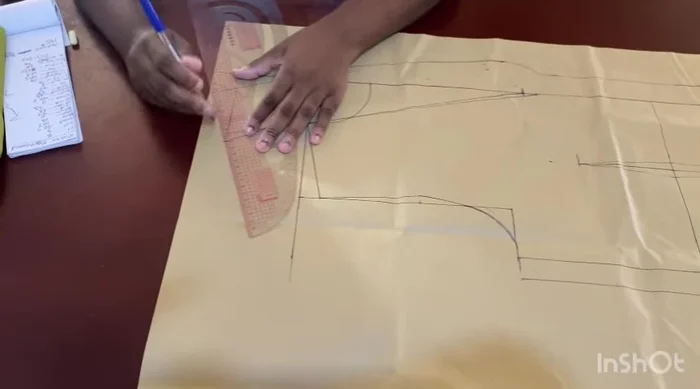
Prepare the Fabric and Take Measurements
- Start with the back panel. Measure hip divided by 4 + 1 inch. You'll need approximately 2-2.5 yards of fabric.
- Fold fabric in half, add 1 inch to the widest part of the body divided by four.
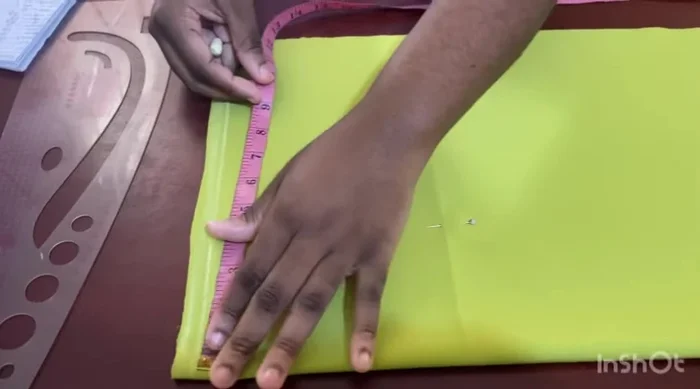
- Mark shoulder measurement divided by 2 (approximately 7.5 inches), shoulder slope (1 inch down), armhole length, and bust divided by 4 + 1 inch (sewing allowance).
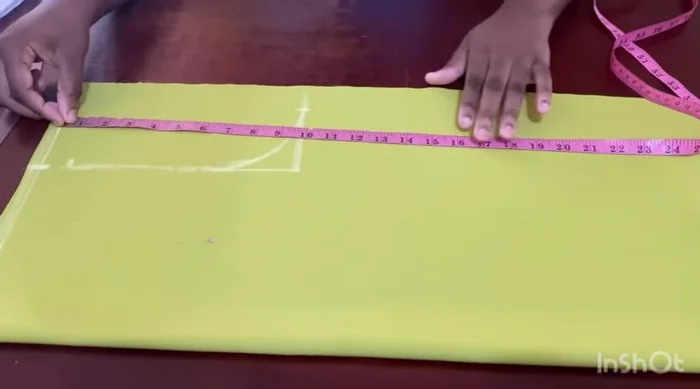
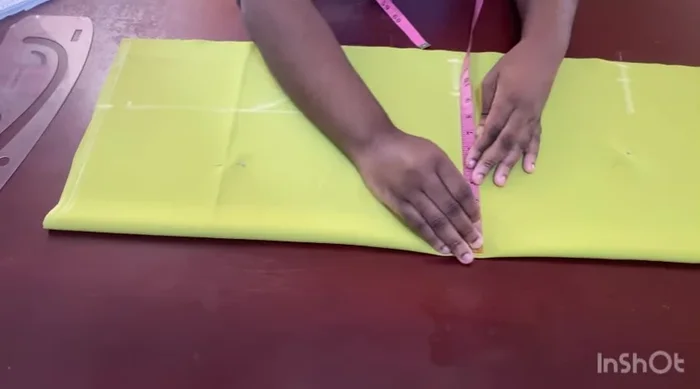
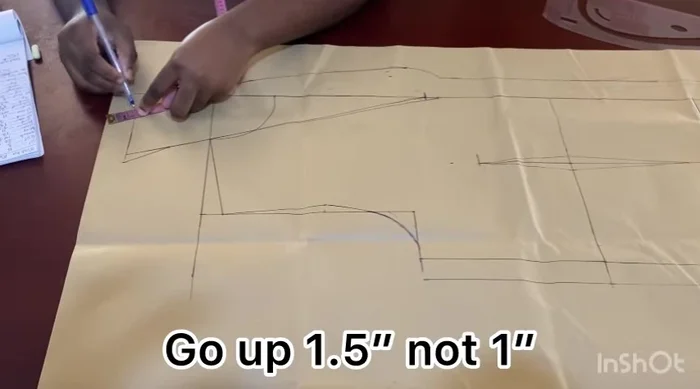
- Connect the marked points to create the basic back panel shape. Measure shoulder to waist (17.5 inches), waist divided by 4, and add 2 inches for a simple dart and 1 inch seam allowance.

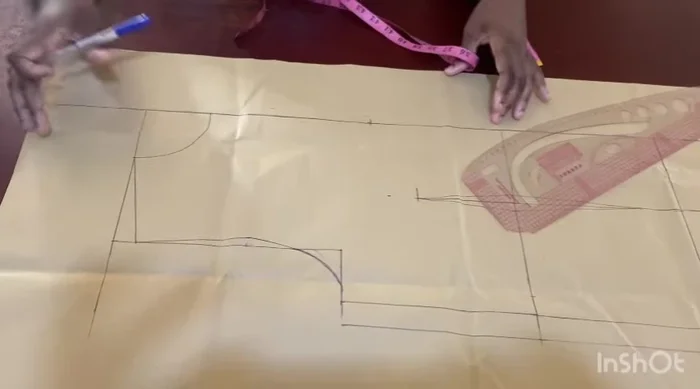
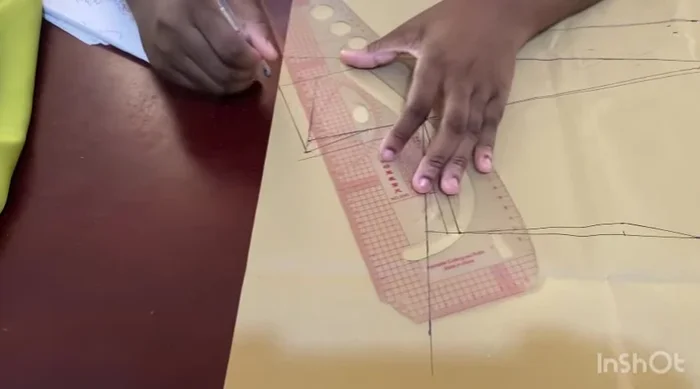
Prepare the Fabric and Take Measurements - Mark shoulder to hip (25.5 inches) and hip measurement divided by 4, adding seam allowance.
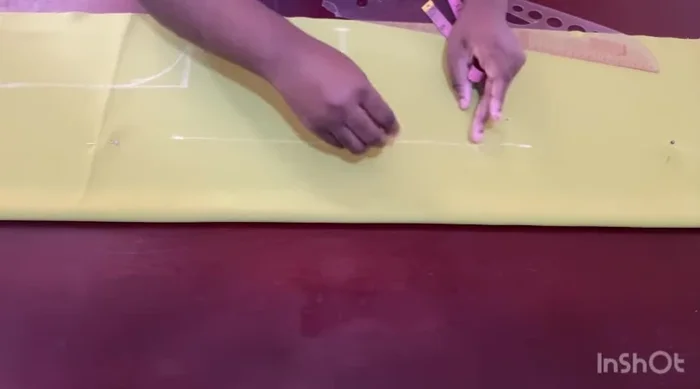
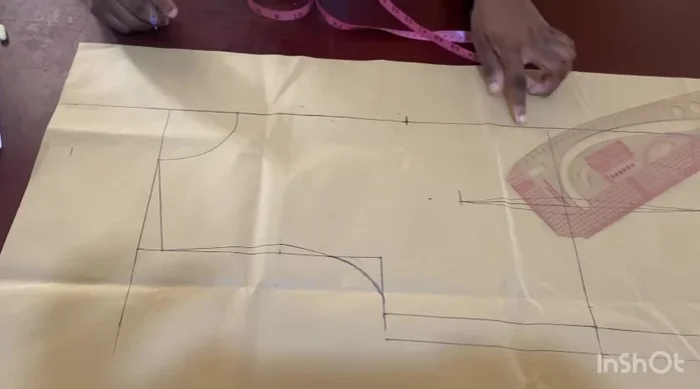
- Mark the nipple-to-nipple line (plus 0.5 inches) on the waist, hip, and armhole lines; connect these points.
- Mark dots for the dart; the top dot reaches the chest line, and the bottom dot stops 2 inches before the hip line.
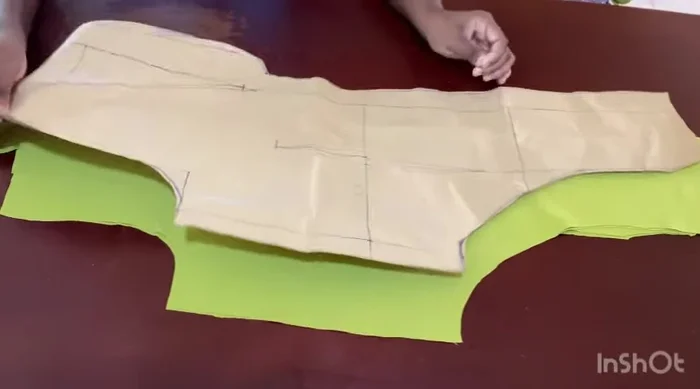
Prepare the Fabric and Take Measurements Cut the Back Panel
- Cut out the back panel.
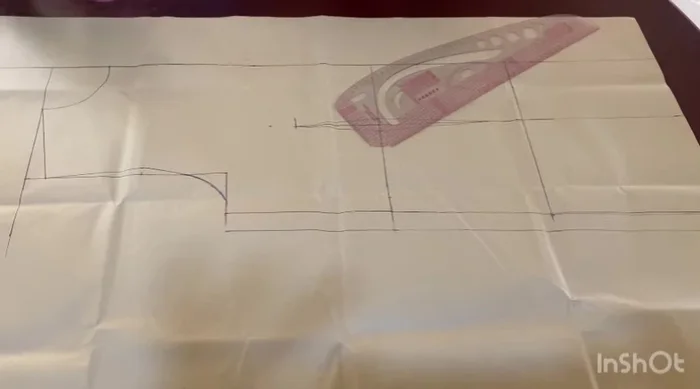
Cut the Back Panel Create the Front Panel
- The front panel may appear straighter than expected initially.
- Trace the neckline; the V-neck depth depends on personal preference (in this case, 11 inches).
- Measure the back neckline curve (approximately 3.5-3.75 inches) and transfer this measurement to the front neckline.
- Connect the points to form the front neckline, adjusting the depth as needed. Mark 3.5 inches from the top of the neckline along the center front.
Create the Front Panel - Extend this 3.5-inch line to connect with the 11-inch neckline mark. Mark a point halfway between the top of the neckline and the 11-inch mark.
- Mark 0.5 inches away from this halfway point; connect this point to the neckline's beginning.
- Mark the desired collar width (3.5 inches in this example) and blend it into 1-1.5 inches at the bottom for a button-down effect.
- Add 1 inch to the end of the collar, then connect it to the end of the neckline.
Create the Front Panel - Adjust seam allowances (0.5-1 inch).
- Cut out the front panel.
Create the Front Panel Cut Side Panels and Facing
- Cut out the side panels (4 inches down from the waist, curved to the hipline).
- Cut facing pieces to finish the neckline and armholes.
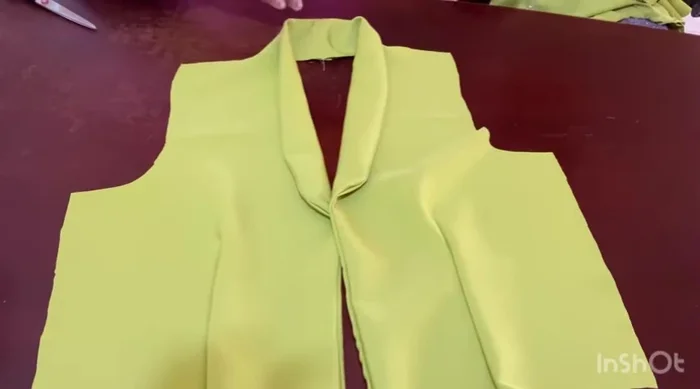
Cut Side Panels and Facing Assemble the Dress
- Join the front and back panels, sew shoulder seams. Attach sleeves and side panels.
Assemble the Dress Finishing Touches
- Hem the dress.
- Add buttons and buttonholes.
Finishing Touches


Read more: Raglan Sleeve Sewing Tutorial: A Step-by-Step Guide
Tips
- Use a lighter-weight fabric for easier handling and neckline drape.
- For the side panels, use a rectangular fabric; fold multiple times, pin, iron, and trace the desired shape onto the folded fabric, ensuring a half-inch seam allowance.