Giving wine as a gift is a classic gesture, but sometimes the presentation can feel a little…lackluster. A simple gift bag elevates the experience, transforming a bottle of wine into a thoughtful and personalized present. This tutorial focuses on crafting a charming drawstring wine gift bag using the incredibly easy box-bottom method – perfect for beginners and those short on time. Forget struggling with complex patterns or intricate stitching; this method is surprisingly straightforward and produces a beautifully finished result that’s both elegant and practical.
Skip the expensive, generic gift bags and create something truly special with minimal effort and cost. With just a few simple supplies and a little know-how, you’ll be crafting stunning DIY wine gift bags in minutes. Let's get started with our step-by-step guide to making your own beautifully personalized and reusable wine gift bag using the easy box-bottom method.
Preparation and Safety Guidelines
- basic sewing supplies
- ruler
- cutting mat
- rotary cutter
- small square (optional)
- pins or clips
- white thread
- matching thread for drawstring channel
- safety pin
- cord/twine/ribbon
- heat erasable pen or chalk
- seam ripper
- Always use sharp scissors or rotary cutter to prevent injury when cutting fabric. Keep fingers clear of blades.
- Ensure the drawstring is securely knotted to prevent the wine bottle from falling out. Double-knotting is recommended.
- If using fabric with fraying potential, consider pre-washing and finishing the edges with a zigzag stitch or pinking shears to enhance durability.
Step-by-Step Instructions
Prepare Fabrics
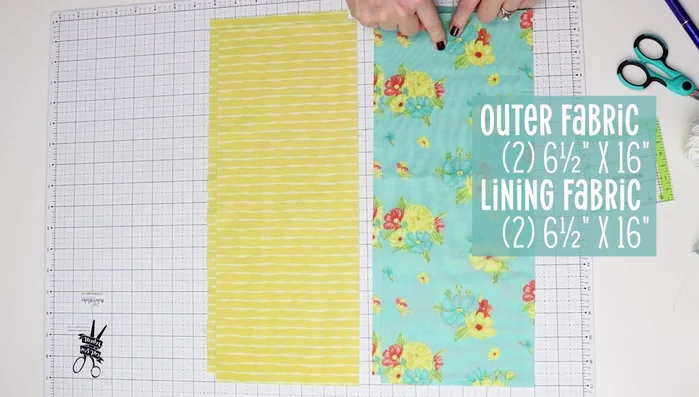
- Cut four 6.5" x 16" pieces each for the bag's exterior and lining. Consider fabric direction if using directional prints.

Prepare Fabrics Create Box Bottoms
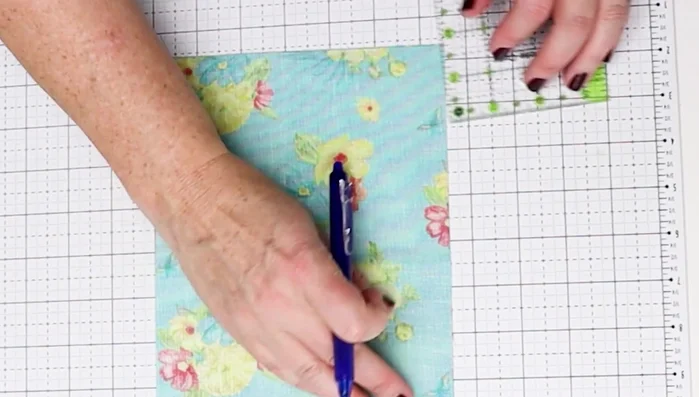
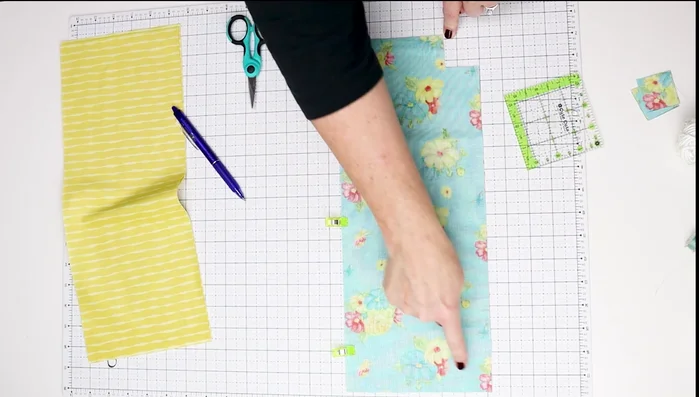
- Mark and cut out 1.5" squares from both bottom corners of each fabric piece (exterior and lining).
Create Box Bottoms Sew Bag Pieces
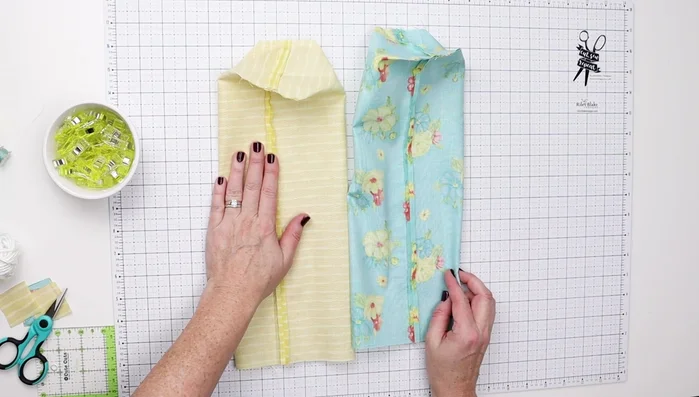
- Sew the long sides and bottom of the exterior and lining pieces together (right sides together), leaving a 3" opening on one long side of the lining for turning.
Sew Bag Pieces Form Box Corners
- Turn the notches into boxed corners by pulling the fabric at each corner until it forms a straight line. Pin or clip in place, then sew along all four box bottom seams.
Form Box Corners Assemble Exterior and Lining
- Turn the exterior right side out. Insert the exterior into the lining, matching seams. Pin or clip the top edges together and sew all the way around.
Assemble Exterior and Lining Close Lining
- Close the opening in the lining with a hand stitch or a quick machine stitch.
Close Lining Create Drawstring Channel
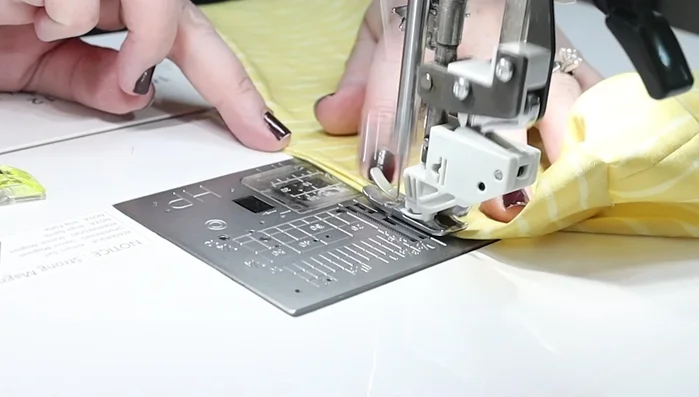
- Mark two lines for the drawstring channel: 2" from the top edge, and 3/4" below that line. Sew along both lines.
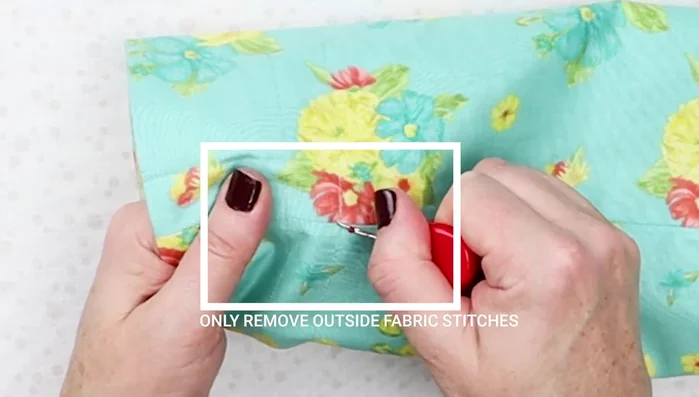
Create Drawstring Channel Open Drawstring Channel
- Carefully remove the stitches in the outer fabric between the two channel lines using a seam ripper.
Open Drawstring Channel Insert Drawstring
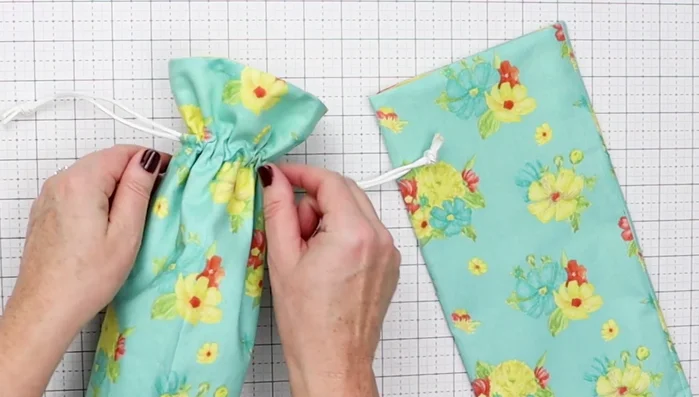
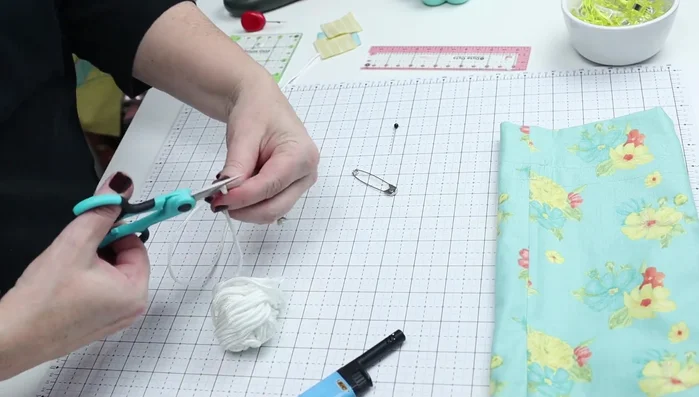
- Cut two 19-20" lengths of drawstring material (cord, twine, ribbon). Seal the ends with a lighter if needed. Attach a safety pin to one end of each drawstring. Insert each drawstring through the channel. Tie off the ends.
Insert Drawstring

Read more: DIY Quilted Makeup Pouch Tutorial: The Easiest and Fastest Method
Tips
- Use heat-erasable pens for easy marking and clean removal.
- Match bobbin and top thread colors to your fabric for a seamless look in the drawstring channel.
- Be careful when using a rotary cutter to avoid cutting into your fabric.
- Pre-cutting the notches for the box bottom makes assembly easier.