Tired of expensive handbags that lack personality? Do you crave a unique accessory that reflects your style without emptying your wallet? Then look no further! This easy DIY drawstring handbag tutorial will guide you through creating a stylish and practical bag in just a few simple steps. You'll be surprised how quickly you can transform readily available materials into a beautiful, personalized piece that's perfect for everyday use or a special occasion. Forget about the frustrating search for the ideal handbag – you'll be designing your own in no time!
This tutorial provides a clear and concise guide, perfect for beginners and experienced crafters alike. We'll walk you through each stage of the process, from selecting the right materials to finishing touches that elevate your creation. Ready to get started on your very own custom-made drawstring bag? Let's dive into the step-by-step instructions below!
Preparation and Safety Guidelines
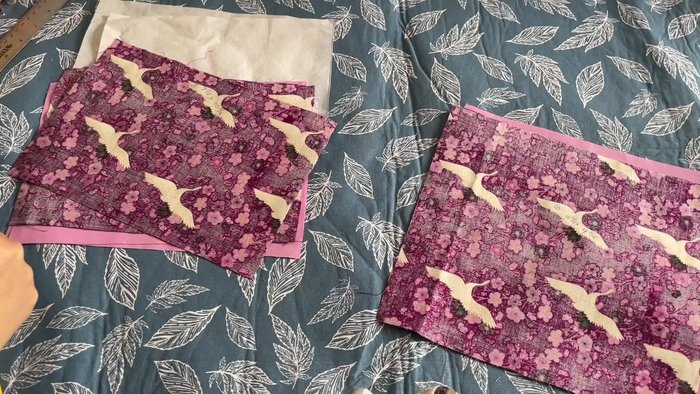
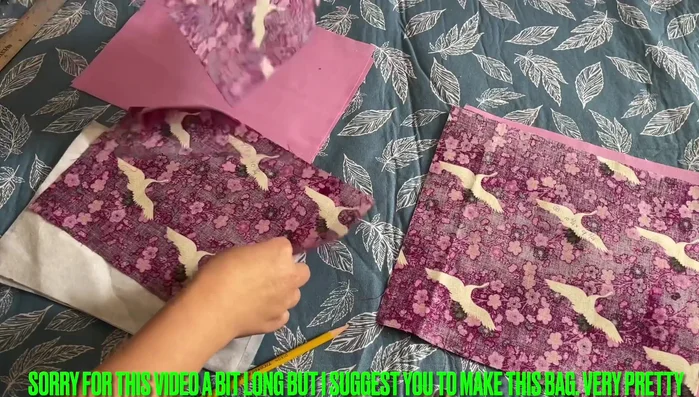
- Fabric (two prints, two solid)
- Interfacing
- Sewing machine
- Iron
- Scissors
- Measuring tape
- Pins
- Buttons
- Always use sharp scissors to prevent frayed edges and ensure clean cuts. Dull scissors can lead to injuries.
- Be mindful of your fingers when working with needles or pins. Take your time and avoid rushing to prevent accidental pokes or pricks.
- If using a sewing machine, ensure it's properly threaded and functioning correctly before starting. Always keep your fingers clear of the needle.
Step-by-Step Instructions
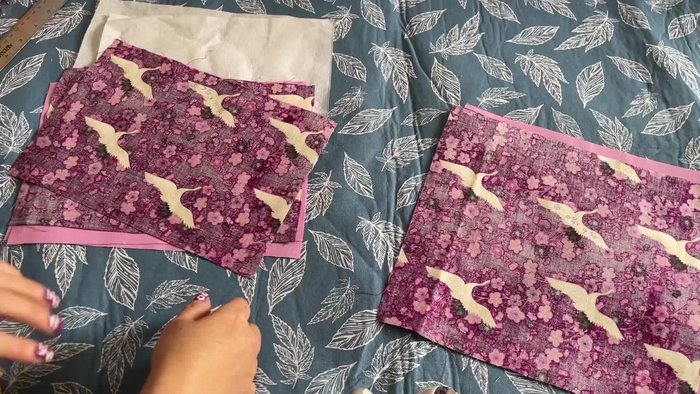
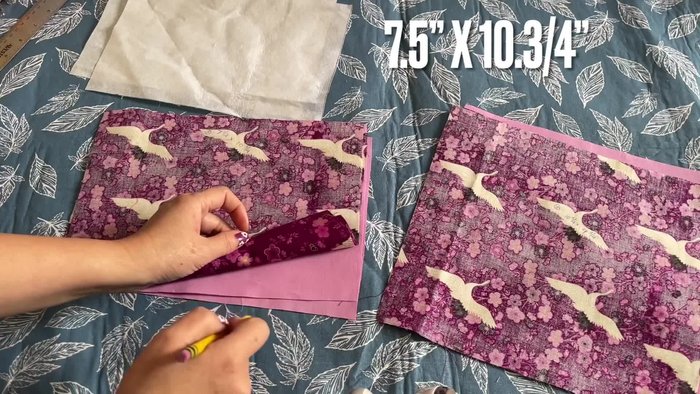
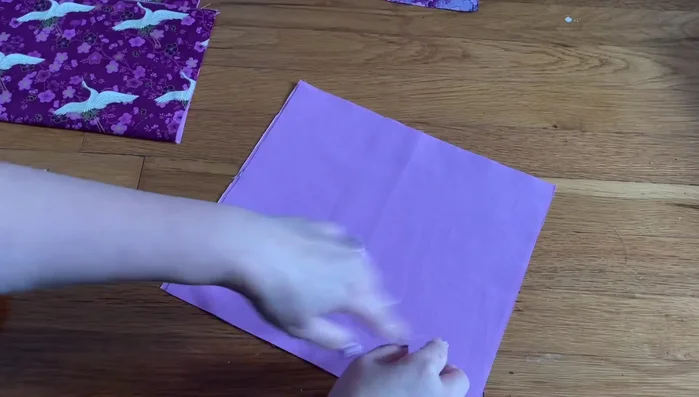
Cut Fabric
- Cut fabric pieces:
- 7.5 inches x 10 inches
- 7.5 inches x 10 inches
- 7 inches x 10.25 inches

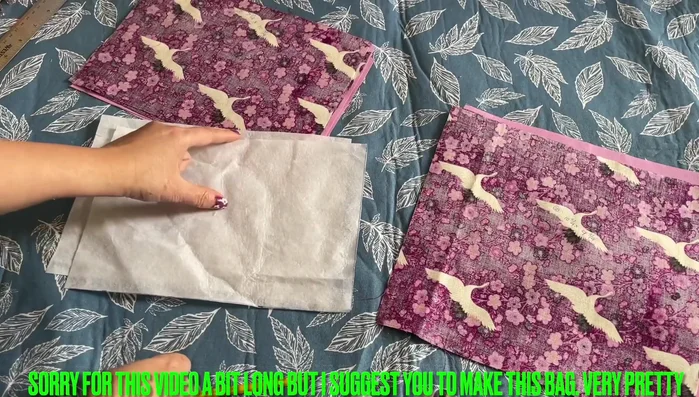
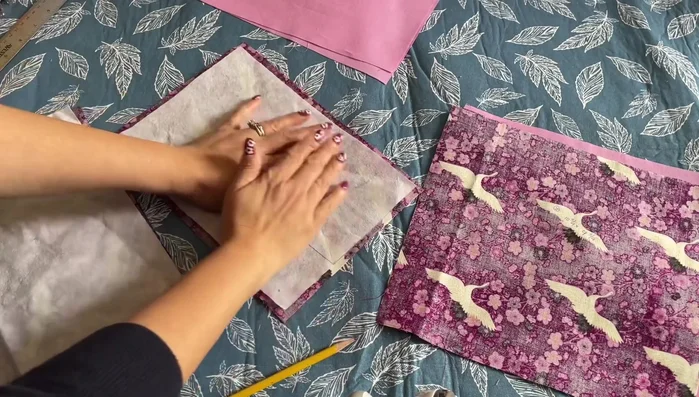
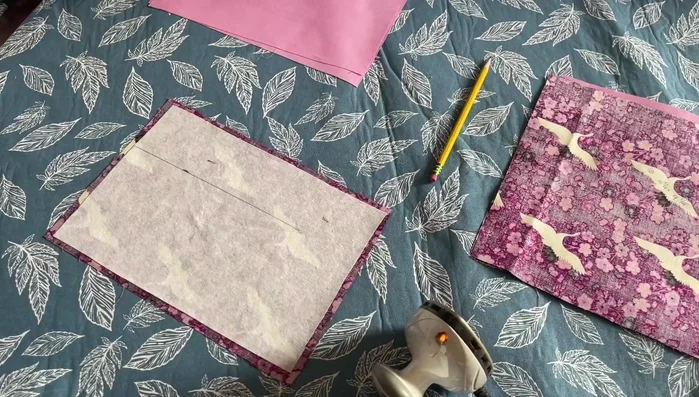
Cut Fabric Prepare Interfacing
- Prepare interfacing:
- Iron interfacing onto the wrong side of the solid fabric pieces, leaving a 0.25-inch seam allowance.
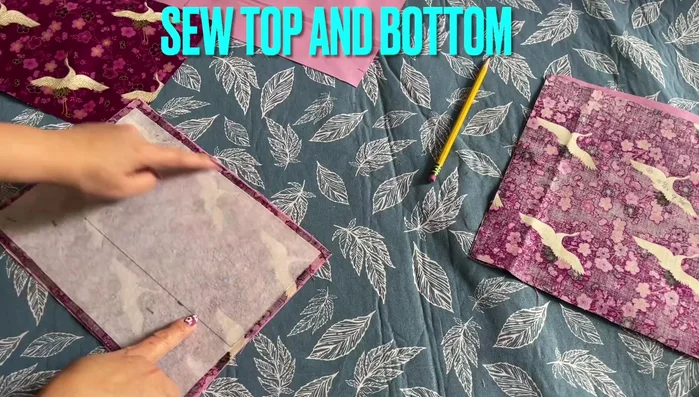
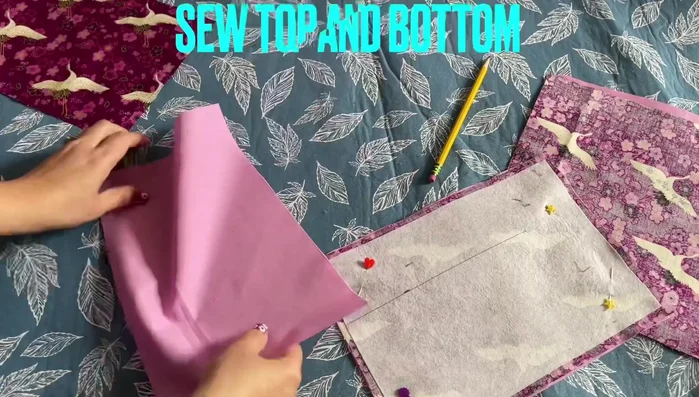
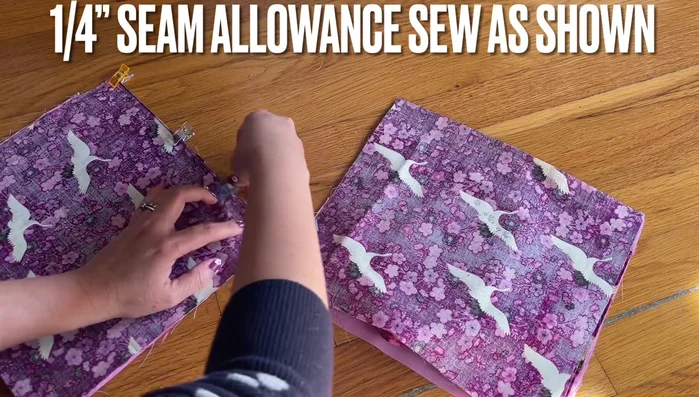
Prepare Interfacing Sew Side Panels
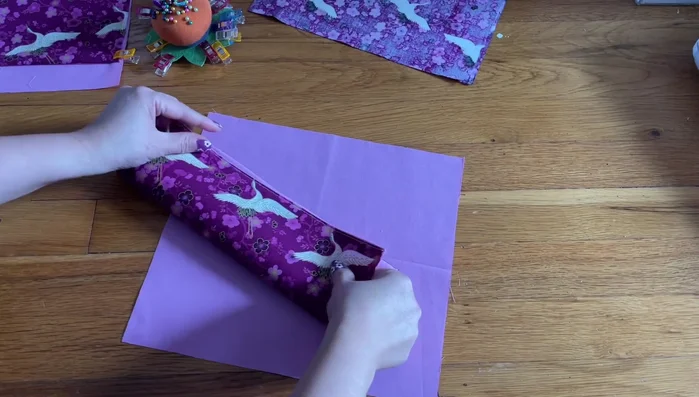
- Sew side panels:
- Sew the top and bottom edges of one patterned and one solid fabric piece together. Do not sew the sides.
- Repeat for the second pair of patterned and solid fabric pieces.
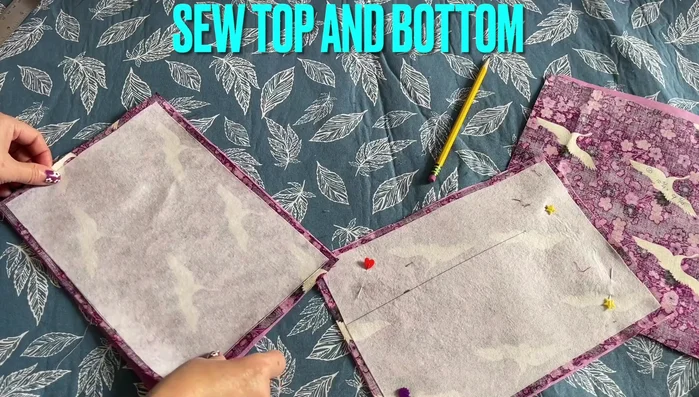
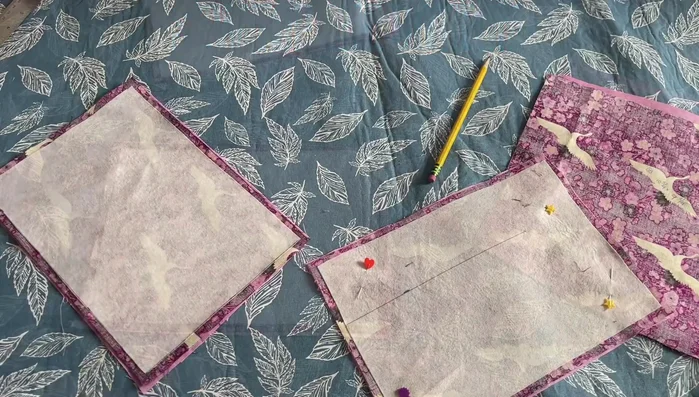
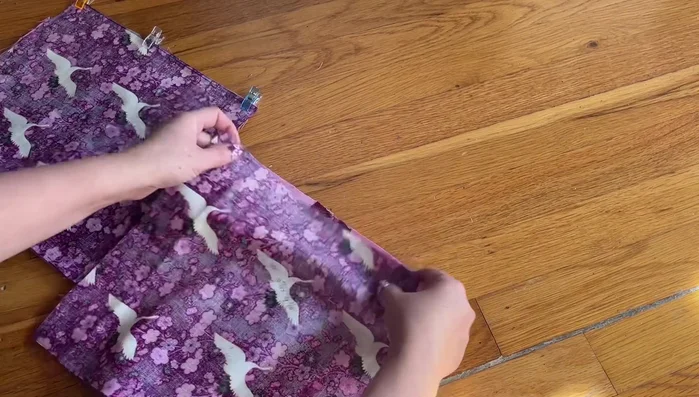
Sew Side Panels Create Main Body
- Create the main body:
- Place the two completed panels right sides together. Sew the top and bottom edges.
Create Main Body Add Pocket (Optional)
- Add the pocket (optional):
- Fold a piece of fabric in half. Sew a quarter-inch seam along the sides, leaving the top open for a pocket.
- Attach the pocket to the main body.
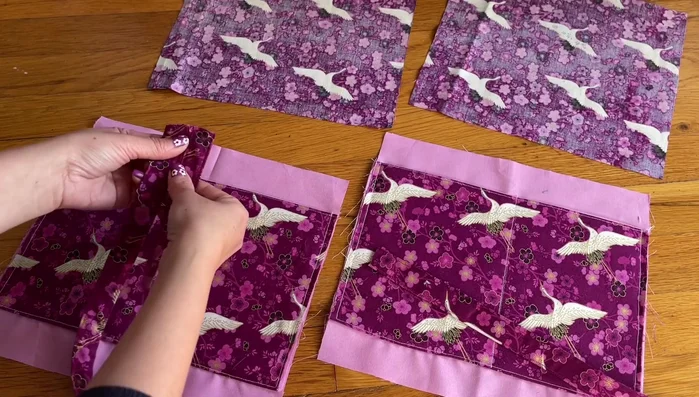
Add Pocket (Optional) Create Handles
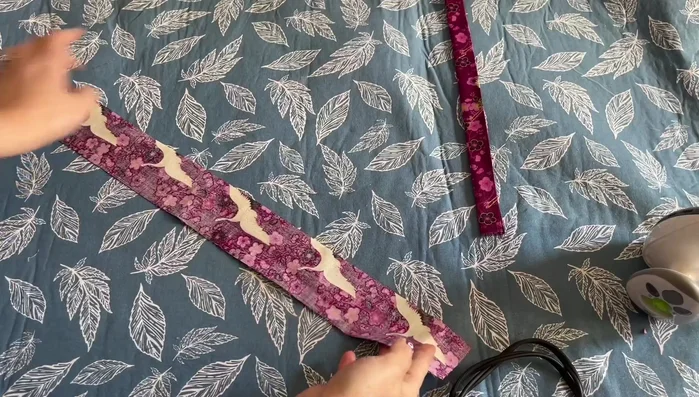
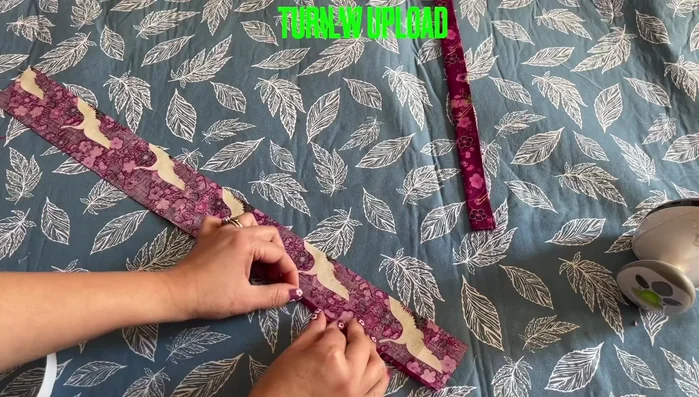
- Create the handles:
- Cut two pieces of fabric 2.5 inches x 15 inches. Add 1 inch wide interfacing. Fold over 0.25 inch and press.
- Sew the long edges of each handle piece together.
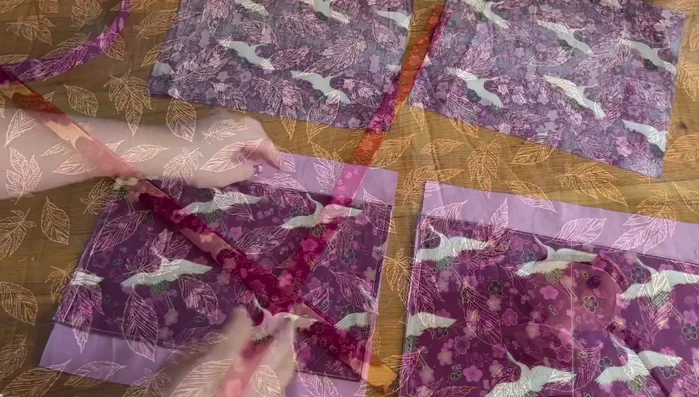
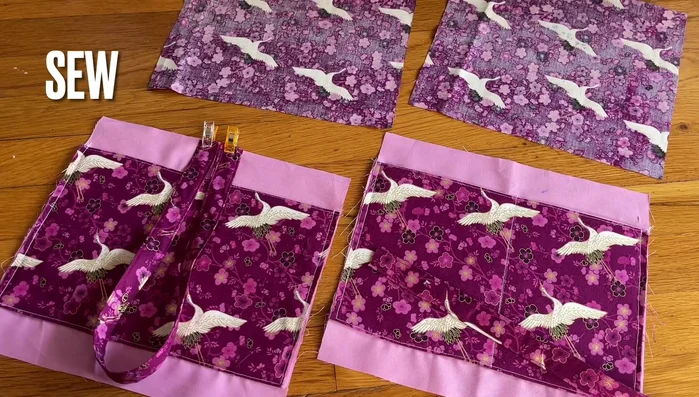
Create Handles Attach Handles
- Attach handles:
- Fold the handles in half and place them at the top center of the bag, sew in place.
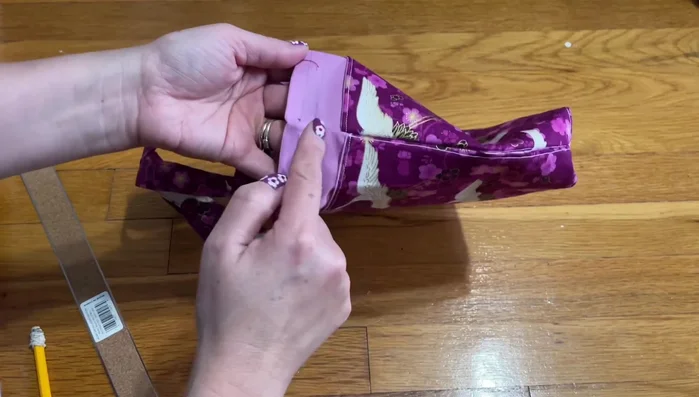
Attach Handles Sew Top Edges
- Sew the top edges:
- Sew the top of the bag, leaving a small gap for turning.
Sew Top Edges Turn Right Side Out
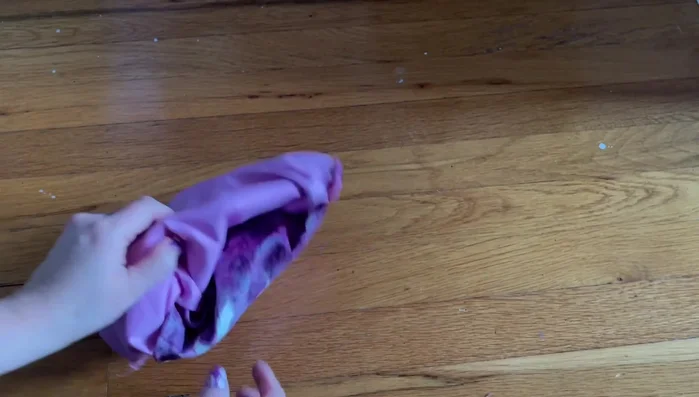
- Turn right side out:
- Turn the bag right side out through the opening.
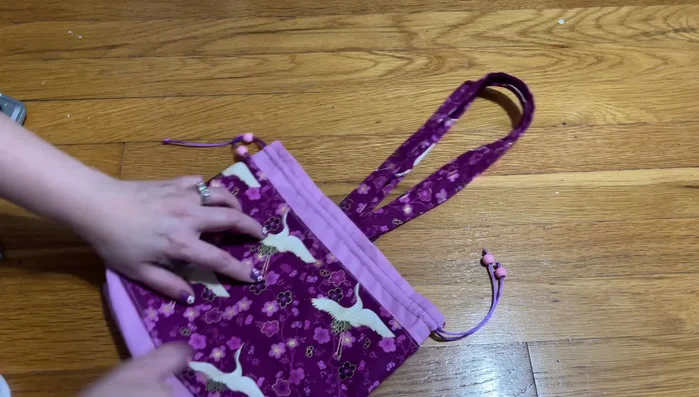
Turn Right Side Out Finishing Touches
- Finishing touches:
- Sew around the top edge of the bag, creating a channel for the drawstring.
- Add drawstrings and buttons.
Finishing Touches


Read more: DIY Quilted Makeup Pouch Tutorial: The Easiest and Fastest Method
Tips
- Use interfacing to provide structure and support to the bag.
- Press seams open for a cleaner finish.
- Clip curves to reduce bulk and improve turning.
- Leave a small opening for turning the bag right side out, and then close the opening by hand.