Looking for a fun and easy crafting project that yields a practical and stylish result? Then look no further! This DIY drawstring bag tutorial is perfect for beginners, requiring minimal sewing experience and readily available materials. Whether you're aiming to create a unique gift, organize your belongings, or simply enjoy a relaxing crafting session, this project is the perfect choice. You'll be amazed at how quickly you can transform simple fabric into a charming and useful drawstring bag. The possibilities for customization are endless – from vibrant prints to calming solids, the final product will reflect your personal style.
This straightforward tutorial will guide you through each step of the process, from choosing your materials to the final tightening of the drawstring. Ready to get started and create your very own personalized drawstring bag? Let's dive into the simple, step-by-step instructions below.
Preparation and Safety Guidelines
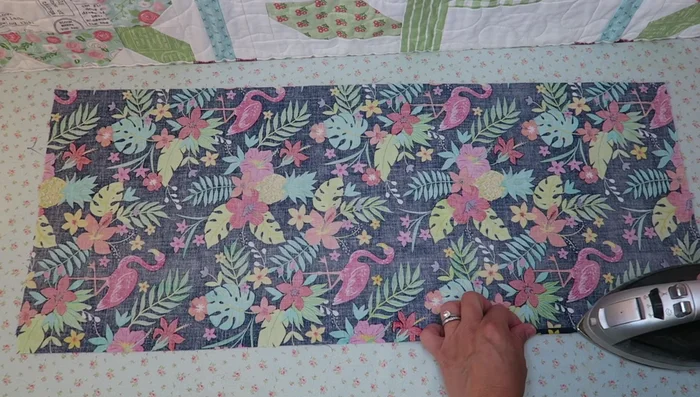
- Fabric (12 inches x 28 inches)
- Drawstring (twill ribbon or similar)
- Scissors
- Sewing machine
- Iron
- Safety pin
- Use sharp scissors carefully to avoid cuts. Always cut away from yourself and your body.
- If using a sewing machine, ensure your fingers are clear of the needle at all times. Use a seam ripper carefully to avoid accidental needle pricks.
- If working with fabric that may fray easily, finish your raw edges (either by using pinking shears, zigzag stitch, or seam binding) to prevent unraveling and improve bag longevity.
Step-by-Step Instructions
Prepare the Fabric Edges
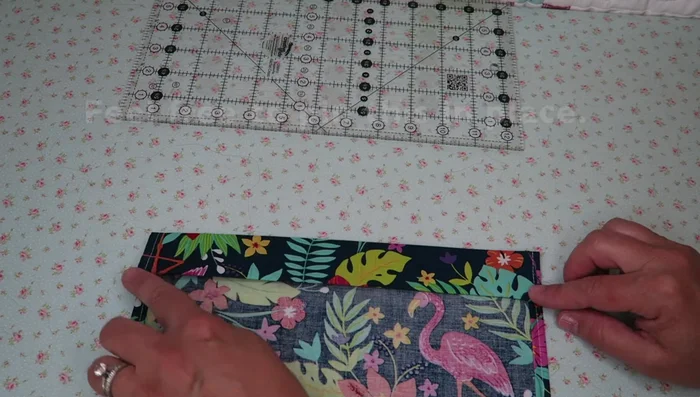
- Fold and press the long edges of the fabric twice (1/4 inch each time) to create a clean finish.
- Sew along the folded edges to secure the hems.
- Repeat steps 1 and 2 for the other long edge.
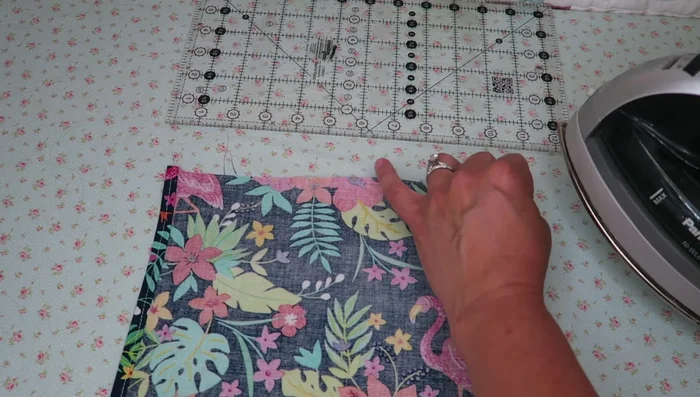
- Fold and press the short edges twice (1/4 inch each time).

Prepare the Fabric Edges Create Drawstring Casings
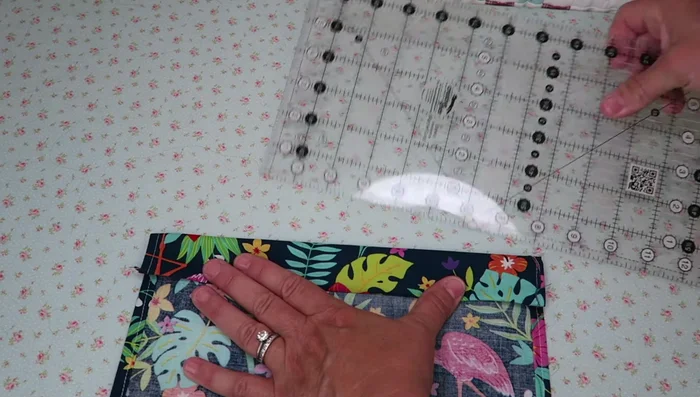
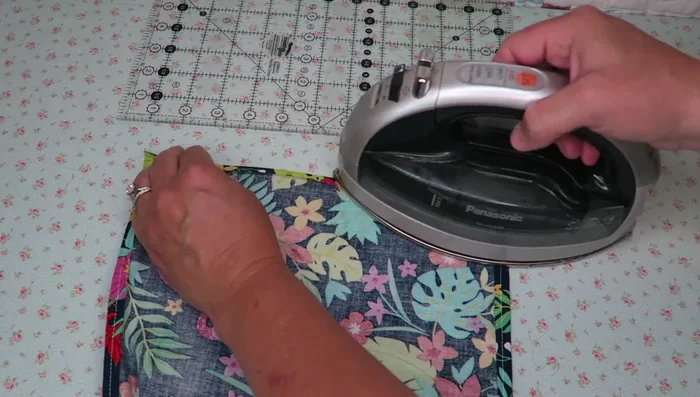
- Fold over the top edge to create a drawstring casing (about 1 inch to 1 1/4 inch). Press to set the fold.
- Sew along the folded edge of the drawstring casing, leaving a small gap for inserting the drawstring.
- Repeat steps 5 and 6 for the other short edge.
Create Drawstring Casings Sew the Bag
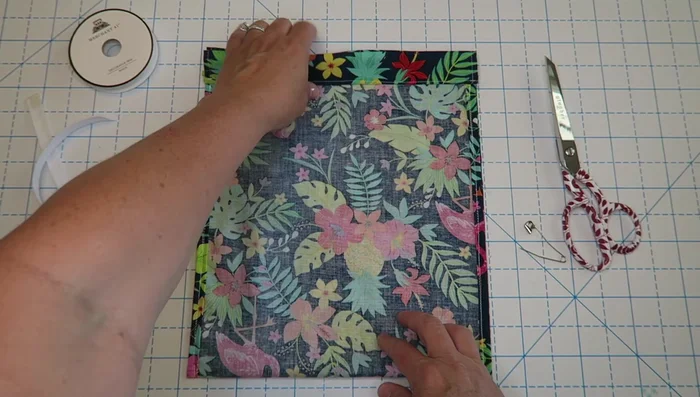
- Fold the fabric in half, right sides together, aligning the edges. Pin if desired.
- Sew along the sides and bottom, leaving the drawstring openings unsewn.
Sew the Bag Turn and Finish the Bag
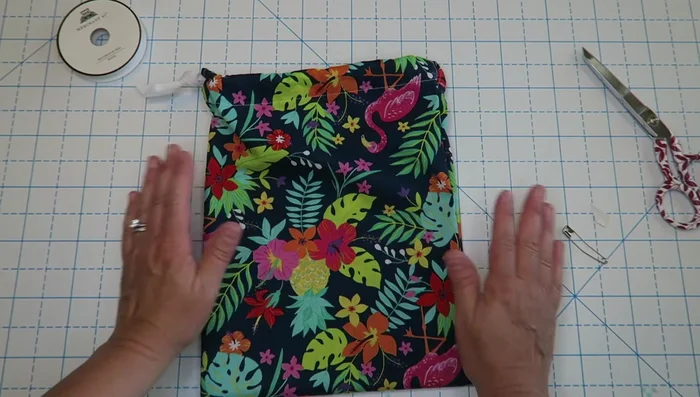
- Turn the bag right-side out.
- Press the bag to create a crisp finish.
Turn and Finish the Bag Insert Drawstring
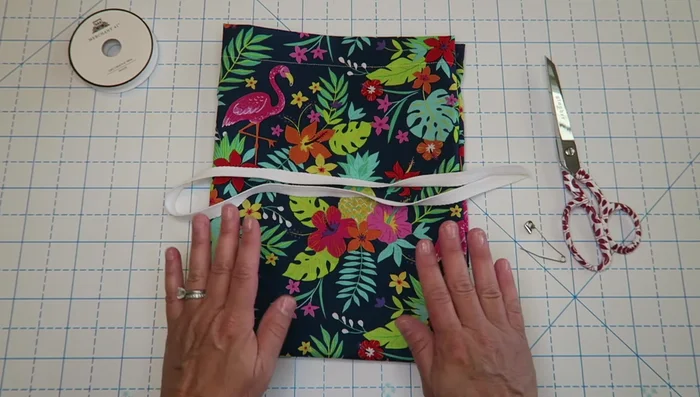
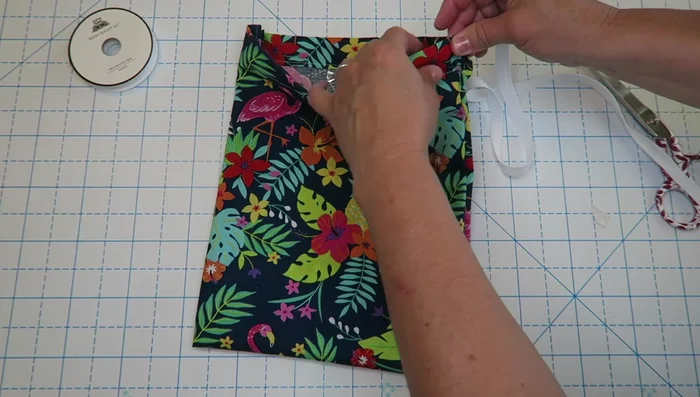
- Attach a safety pin to one end of the drawstring and thread it through the casing.
- Tie the ends of the drawstring in a knot.
Insert Drawstring


Read more: DIY Quilted Makeup Pouch Tutorial: The Easiest and Fastest Method
Tips
- Eyeballing measurements works well for this project, especially for beginners.
- Use a back stitch at the beginning and end of your seams for extra security.
- Sewing on the inside of the existing seam will conceal your stitching.
- Adding about 3 inches extra on each side of the drawstring allows for tying and ensures adequate length.
- Cut the drawstring at an angle for a neater look.