Tired of boring, mass-produced bags? Craving a personalized accessory that reflects your unique style? Then you've come to the right place! This easy DIY drawstring backpack tutorial will guide you through creating your own custom-designed bag, perfect for carrying everything from gym clothes to everyday essentials. Whether you're a seasoned crafter or a complete beginner, this project is surprisingly simple and incredibly rewarding, allowing you to unleash your creativity and personalize your style. You'll be amazed at how much you can customize this simple design.
Forget expensive, generic backpacks! This tutorial breaks down the process into straightforward steps, using readily available materials. We'll cover everything from choosing your fabric and measuring your dimensions to expertly creating those all-important drawstring channels. Ready to get started crafting your own unique and stylish backpack? Let's dive into the step-by-step instructions!
Preparation and Safety Guidelines
- Waterproof fabric (external and lining)
- Accent fabric (leather, cork, or vinyl recommended)
- Zipper (No. 5)
- Cord or rope
- Lighter
- Ruler
- Marking tools
- Seam ripper (optional)
- Woven label or metal tag (optional)
- Awl (optional)
- Pins or clips
- Scissors/snips
- Masking tape
- Double-sided tape (optional)
- Loop turner or safety pin/wire/chopstick
- Always supervise children when using scissors and needles, if applicable. Sharp objects should be handled with care.
- If using a sewing machine, ensure your fingers are clear of the needle at all times. Always follow the machine's safety instructions.
- When working with fabric, be mindful of potential allergies. Wash fabrics before making your backpack if you have sensitive skin.
Step-by-Step Instructions
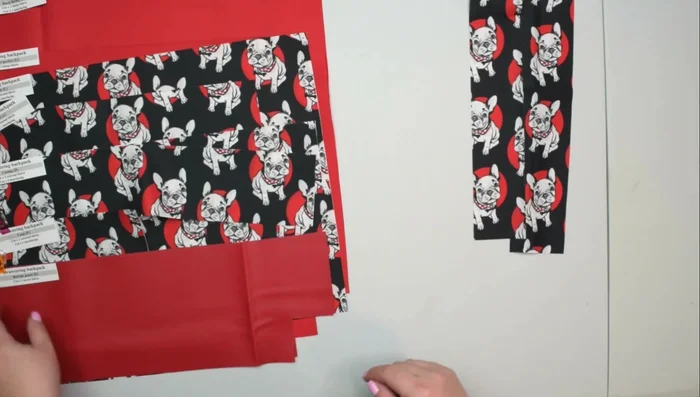
Cut Fabric Pieces
- one pocket trim, one pocket facing, two bottom panels, one loop, two casings, one front, one bag, two zipper pockets, one front lining, and one back lining.

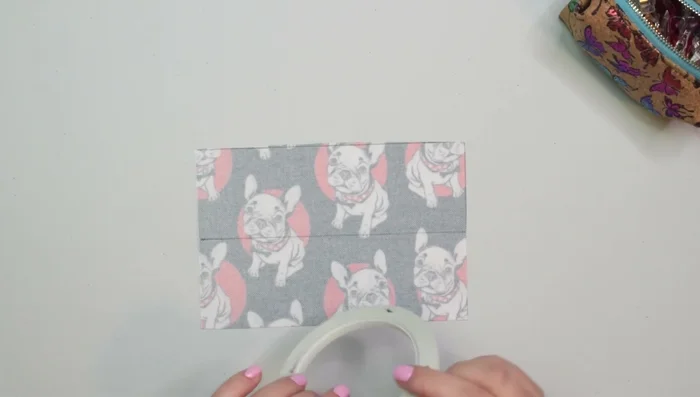
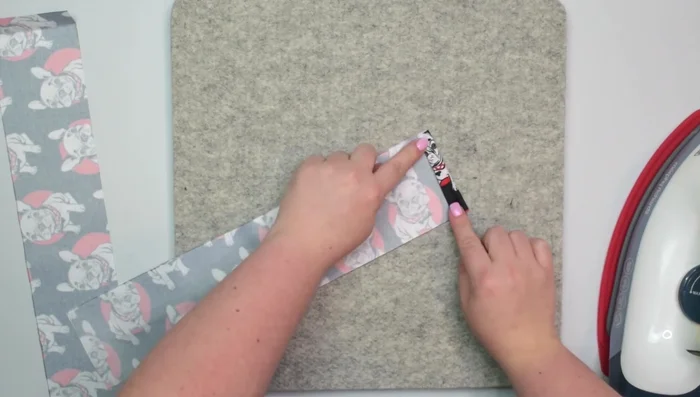
Cut Fabric Pieces Prepare Loop
- Draw a center line, fold edges to the line, press or use double-sided tape, fold in half, clip, press (optional), stitch both sides.
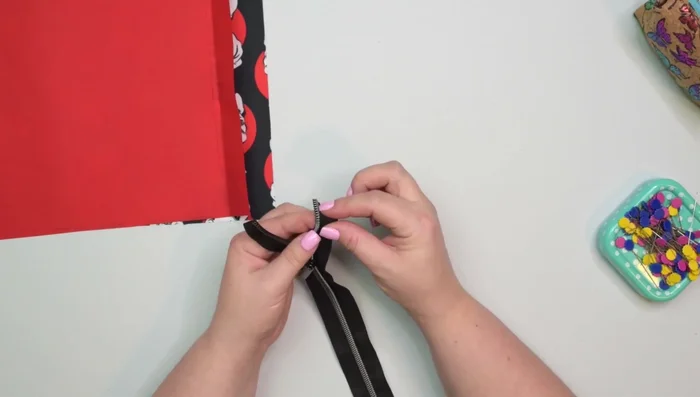
Prepare Loop Prepare Zipper
- Fold top ends by 90 degrees, pin, baste.
Prepare Zipper Attach Zipper to Front
- Measure 1.5cm from top, mark notch, align zipper at notch, clip, baste.
Attach Zipper to Front Attach Main Zipper Pocket
- Align zipper pocket (wrong side facing front) with zipper, clip, sew 7mm seam allowance, press, topstitch.
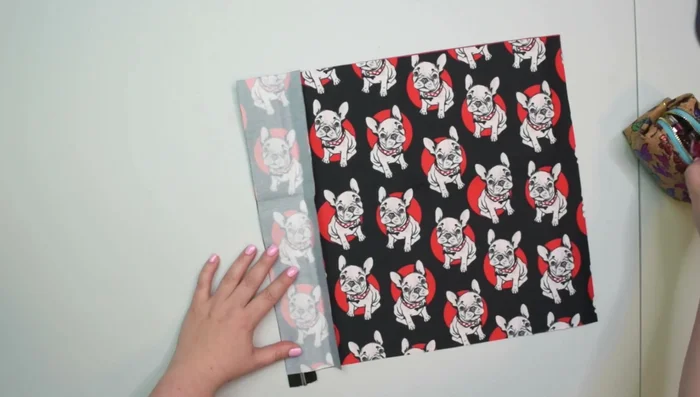
Attach Main Zipper Pocket Attach Pocket Trim
- Place pocket trim (right side down) on front, align bottom edges, clip, baste.
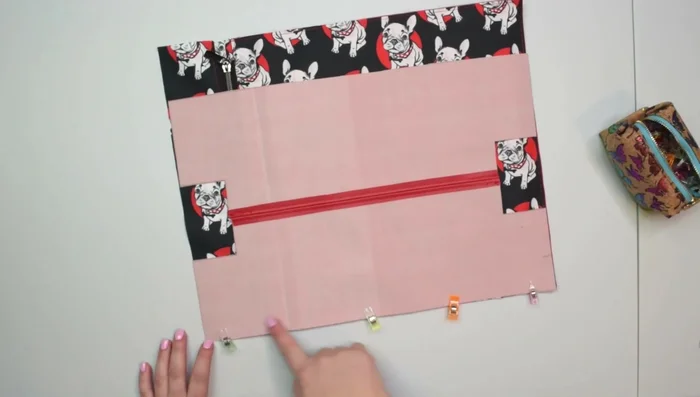
Attach Pocket Trim Attach Second Zipper Pocket (Facing)
- Place second zipper pocket and facing right sides together, clip, sew 1cm seam allowance, press, topstitch.
Attach Second Zipper Pocket (Facing) Attach Second Zipper Pocket to Front
- Place zipper pocket (right side facing zipper) on front, clip, sew 7mm seam allowance, press, topstitch, trim excess fabric.
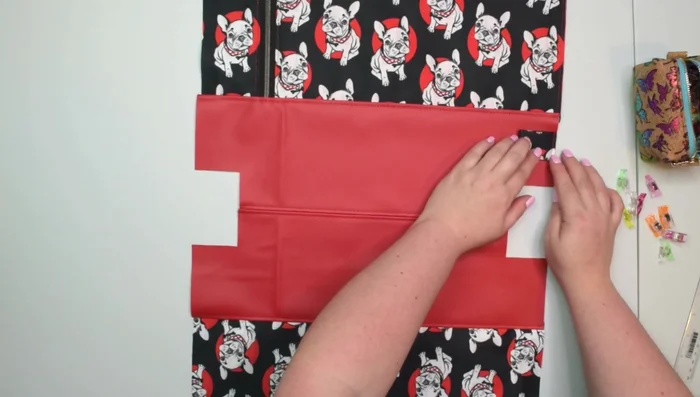
Attach Second Zipper Pocket to Front Attach Bottom Panels
- Place bottom panels right sides together, clip, sew 1cm seam allowance, press, topstitch.
Attach Bottom Panels to Backpack
- Attach bottom panels to front and back, sew 1cm seam allowance, press, topstitch.
Attach Bottom Panels to Backpack Attach Loops
- Mark notches 2cm from seam, place loops below notches, clip, baste.
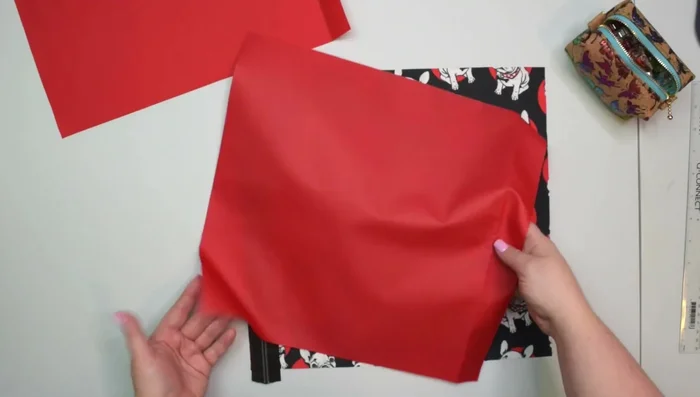
Attach Loops Sew Side Seams
- Fold external panel in half, line up seams, clip, sew 1cm seam allowance, press, create box corners, sew.
Sew Side Seams Prepare Casings
- Fold 1cm twice on short sides of casing pieces, sew 2mm from inner edge.
Prepare Casings Attach Casings
- Mark midpoints, align midpoints of casing and backpack, clip, baste.
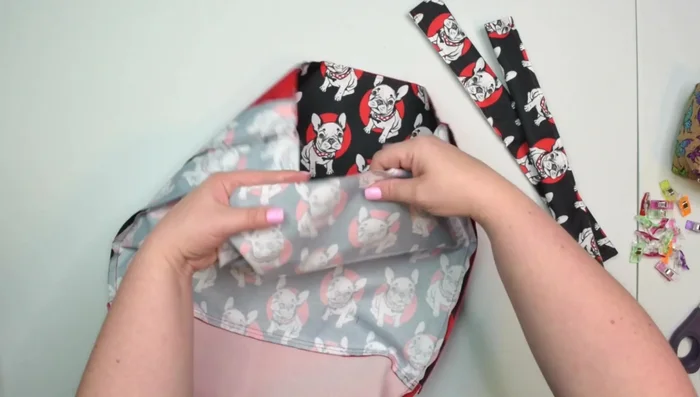
Attach Casings Assemble Lining
- Place front and back lining right sides together, clip, sew 1cm seam allowance (leave opening), press, box corners.
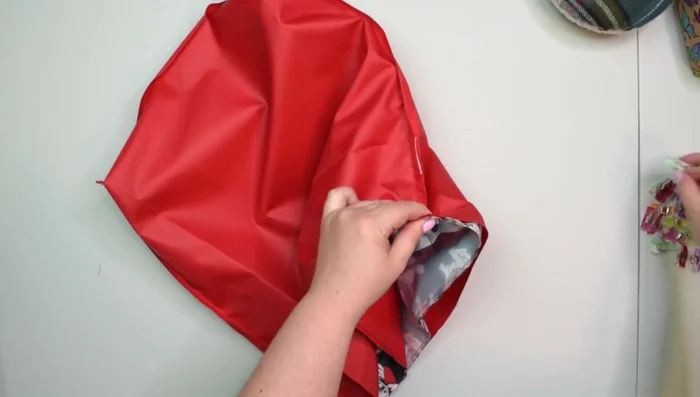
Attach Lining to Backpack
- Place backpack inside lining, right sides together, clip, sew 1cm seam allowance, turn right side out, press, topstitch (avoid zipper).
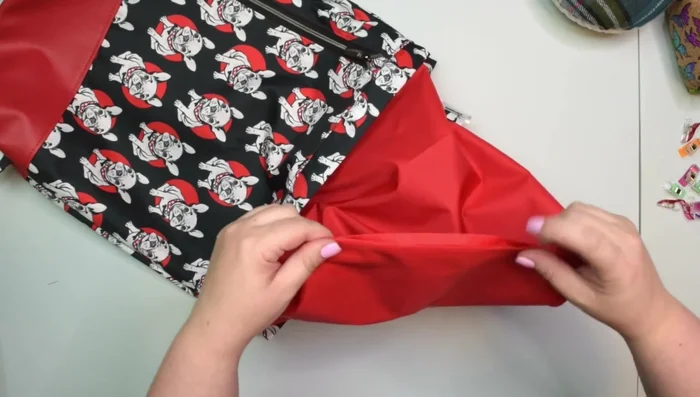
Attach Lining to Backpack Close Lining Opening
- Clip lining edges together, sew close to edge.
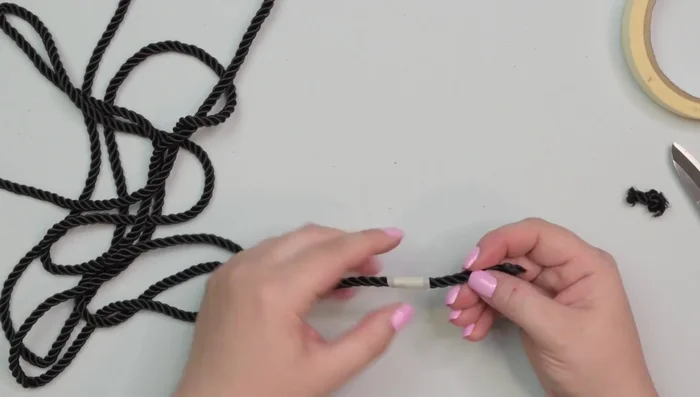
Close Lining Opening Prepare Cord
- Seal ends (glue, knot, or lighter).
Prepare Cord Insert Cord
- Insert cord through casings.
Insert Cord Tie Cord
- Tie knot to secure cord.


Read more: DIY Quilted Makeup Pouch Tutorial: The Easiest and Fastest Method
Tips
- Use sturdy accent fabric like leather, cork, or vinyl for durability.
- For quilting cotton accent fabric, add woven interfacing for structure.
- Burn zipper edges to prevent fraying.
- Use masking tape to temporarily secure cord ends.
- Use a loop turner, safety pin, or similar tool to insert the cord.