Are you ready to elevate your wardrobe with effortlessly chic drapey pieces? This tutorial guides you through the surprisingly simple process of creating your own versatile wrap blouse and jacket using a basic bodice sloper. Forget expensive designer labels and complicated patterns; learn to draft your own perfect-fitting sloper, a foundational pattern piece that will unlock a world of sewing possibilities. This adaptable method allows you to customize the length, sleeve style, and overall drape to perfectly suit your taste and body shape, resulting in unique garments that reflect your personal style.
Mastering the art of pattern drafting opens the door to endless creative exploration. This comprehensive guide provides clear instructions and helpful illustrations, walking you through each step of creating your own beautiful and functional wrap garment. Ready to get started and create the perfect drapey blouse or jacket? Let's dive into the step-by-step process of drafting your own bodice sloper pattern!
Preparation and Safety Guidelines
- Bodice sloper (or well-fitting top)
- Fabric (lightweight rayon recommended)
- Fusible interfacing
- Sewing machine
- Pins
- Scissors or rotary cutter
- Seam gauge
- Iron
- Measuring tape
- Use sharp scissors and pins to avoid accidental pricks and cuts. Handle fabric carefully to prevent snags or tears.
- Accurately measure your body to ensure a proper fit. A poorly fitting sloper will result in a poorly fitting garment.
- Always pre-wash your fabric before cutting and sewing to prevent shrinkage after completion.
Step-by-Step Instructions
Pattern Drafting
- Draft the pattern using a bodice sloper or well-fitting top as a base.
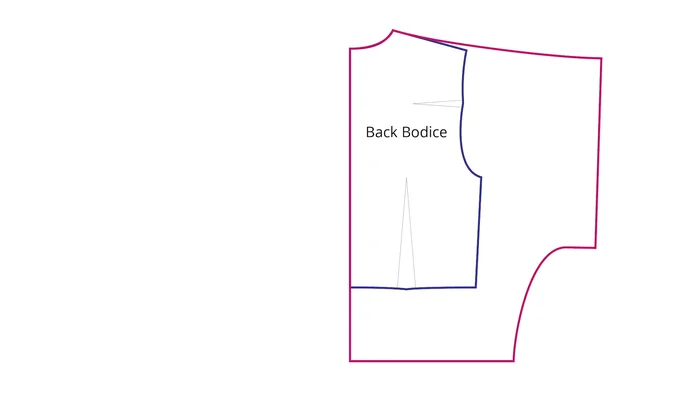
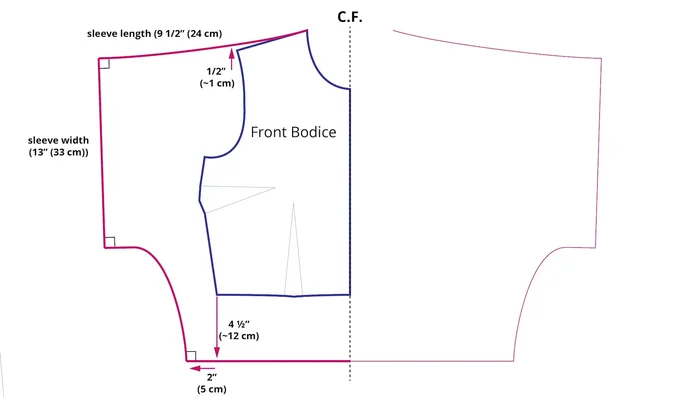
- Mark points on the sloper, then draw lines to create the front bodice structure (shoulder point, neckline to shoulder, waistline, sleeve length, sleeve opening).
- Mirror the front bodice to create the back bodice. Adjust the neckline as needed.
- Mirror the front bodice piece again to determine the width of the wrap edge, and then draft a curved line for the wrap edge extending from the shoulder to the waistline.

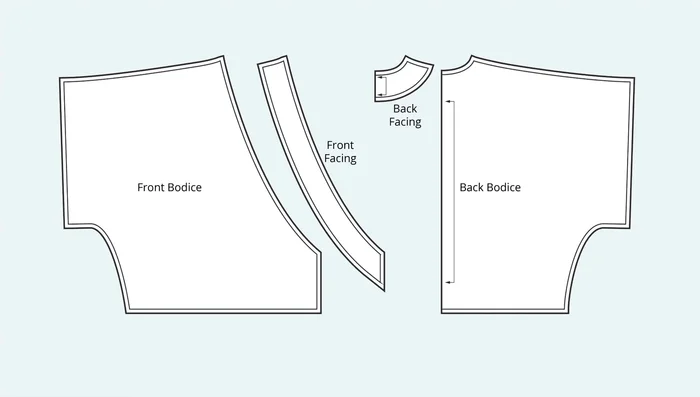
Pattern Drafting - Draft facings for the front wrap and back neckline. Make them slightly shorter on the outer edge for a taut fit.
- Add seam allowance (3/8 inch or 1 cm) to all pattern pieces except the center back seam.
Pattern Drafting Fabric Cutting and Interfacing
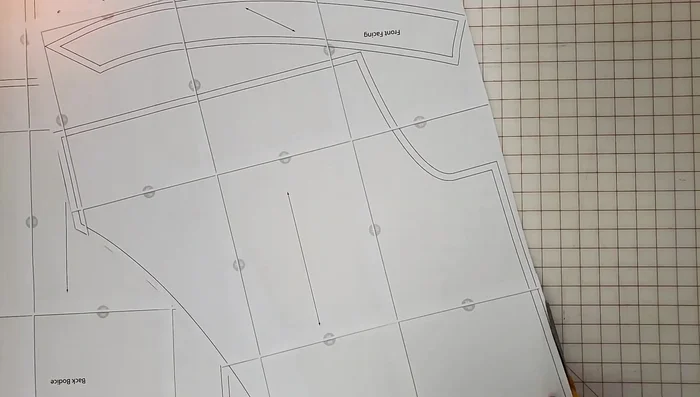
- Cut out pattern pieces from fabric. Add extra length to the sleeves and hem for adjustments.
- Fuse interfacing to the facings by sewing interfacing to the wrong side of the facing with a 1/4 inch seam allowance, then pressing to adhere.
Fabric Cutting and Interfacing Constructing the Bodice
- Attach front wrap facings to the back neck facing (right sides together), sew with 3/8 inch seam allowance, press seams open.
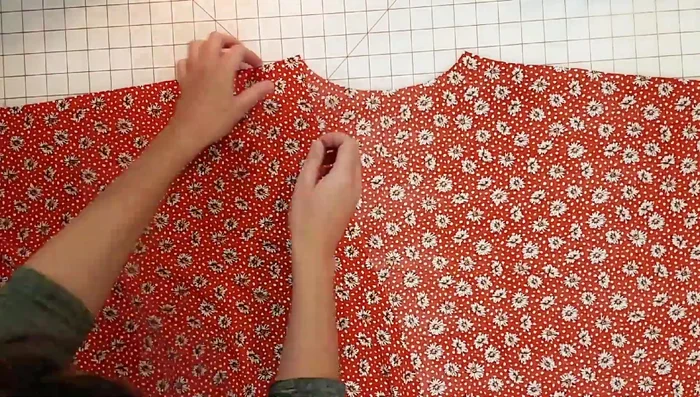
- Sew the front and back bodice pieces together at the shoulder seam using a French seam.
Constructing the Bodice Attaching Facings
- Attach the facings to the neckline and wrap edge, sew with 3/8 inch seam allowance. Trim seam allowance in half, press facing away from bodice, and understitch.
Attaching Facings Side Seams, Sleeve Seams, and Tie Installation
- Sew the side seams and sleeve seams in one continuous seam using a French seam. Leave an opening for the tie.
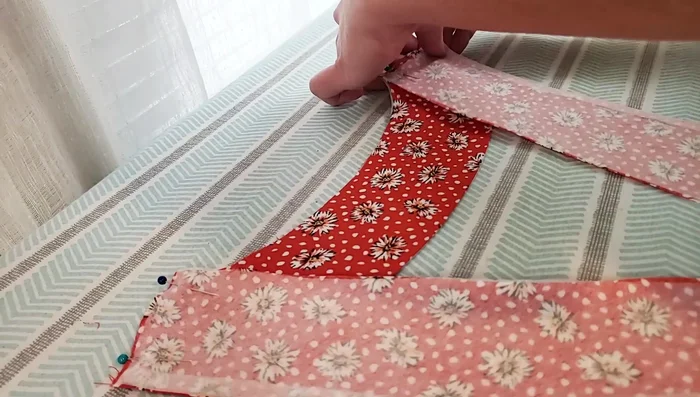
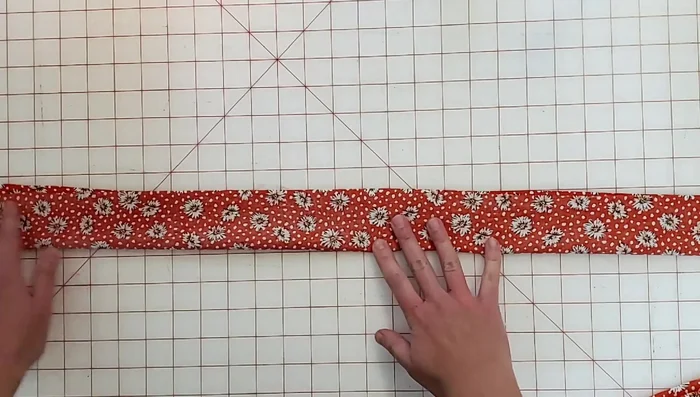
- cut strips of fabric, fold in half lengthwise, sew, turn right side out, press, and edge stitch.
- Attach ties to the bodice, sandwiching them between the facing and bodice. Sew and trim seam allowances.
Side Seams, Sleeve Seams, and Tie Installation Hemming and Finishing Touches
- Hem the blouse and sleeves. Create a narrow hem for the bottom edge and a wider hem for the sleeves.
- Create a belt loop on the left side seam to secure the tie.
Hemming and Finishing Touches


Read more: Raglan Sleeve Sewing Tutorial: A Step-by-Step Guide
Tips
- Use a smaller seam allowance (1/4 inch) for lightweight fabrics for a nicer finish.
- Use caution when using a rotary cutter, especially with small seam allowances.
- Use multiple pins to keep the facing flat along the neckline to prevent bunching during topstitching.
- Try the garment on during construction to check the fit and make adjustments before finishing.