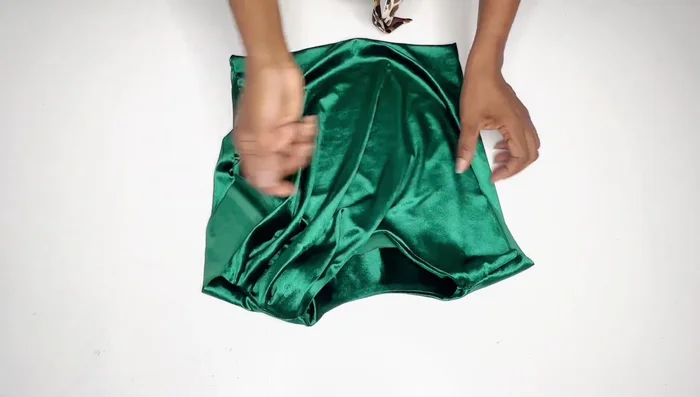
Transform a simple rectangular piece of fabric into a stunning, draped top with this easy DIY project! The "slash and spread" method offers a surprisingly simple technique for creating beautiful, asymmetrical pleats and drapes on a garment’s shoulder, adding a touch of effortless elegance to your wardrobe. Forget complicated patterns and precise measurements; this technique embraces the organic beauty of fabric manipulation. You’ll be amazed at how quickly you can achieve a uniquely flattering and fashionable top, perfect for summer evenings or a casual weekend look.
This guide provides a step-by-step walkthrough of the slash and spread method, guiding you from fabric selection to the final touches. Whether you're a seasoned sewist or a complete beginner, you'll find this technique accessible and rewarding. Get ready to unleash your creativity and discover the joy of crafting a beautiful, personalized garment – let’s begin!
Preparation and Safety Guidelines
- Stretchy velvet fabric
- Centimeter ruler
- Pattern paper
- Pins
- Sewing machine
- Bias tape (optional)
- Fabric scissors
- Gum/C tape
- Use sharp fabric shears for clean cuts to prevent fraying and ensure accurate draping. Dull shears can cause uneven cuts and damage the fabric.
- Pre-wash your fabric before starting the project to avoid shrinkage after the top is completed. This is especially important for natural fibers.
- Always test your chosen method on a scrap piece of fabric first to get a feel for the technique and ensure you're comfortable with the process before cutting into your main fabric.
Step-by-Step Instructions
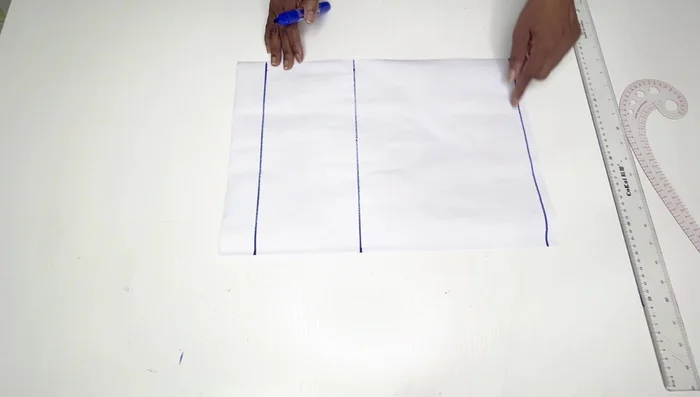
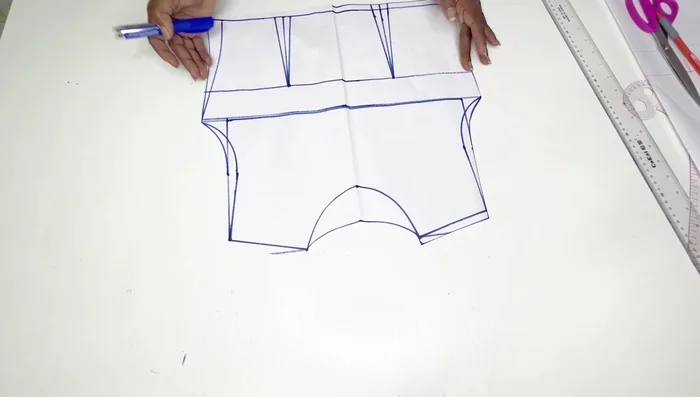
Pattern Drafting
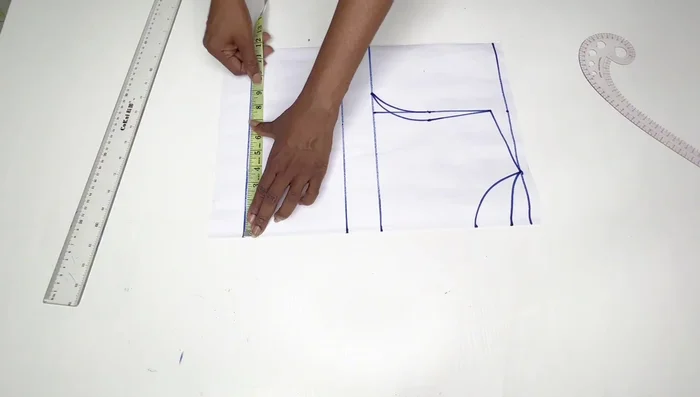
- Start with the basic body measurements (starting line, shoulder to B line, shoulder to waistline, neck width). Remember to account for fabric stretch.
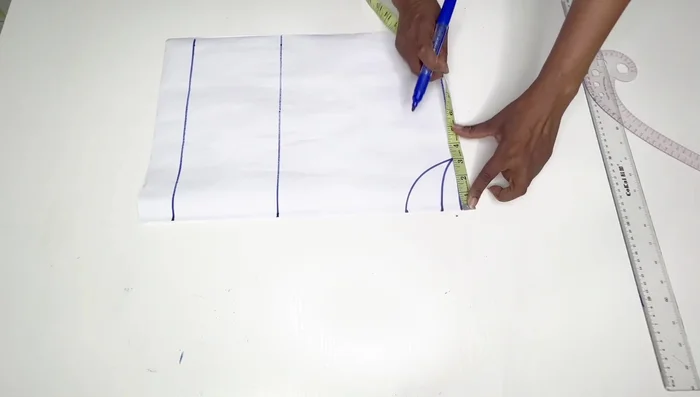
- Mark the neck width (3 inches for stretchy fabric) and depth (3 inches). Join the front neckline points using your C-curve ruler.
- Mark the back neckline depth (1 inch) and width (3 inches).
- Place half your shoulder measurement on the starting line. Go down by an inch and connect to the neck width to form the shoulder line.

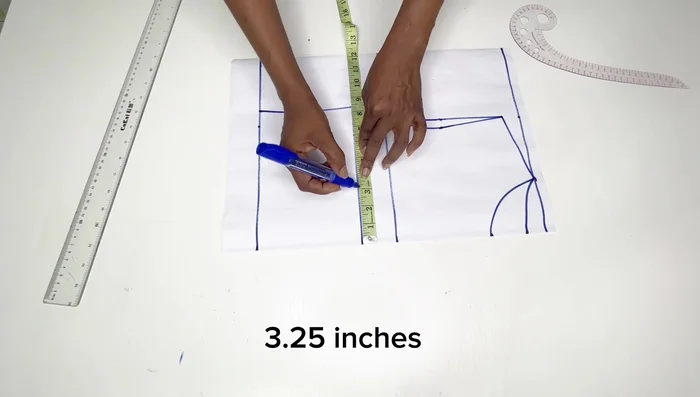
Pattern Drafting - Calculate and mark armhole height (your bust circumference / 6 + 1.5 inches). Place it down from the shoulder line and connect to create the armhole.
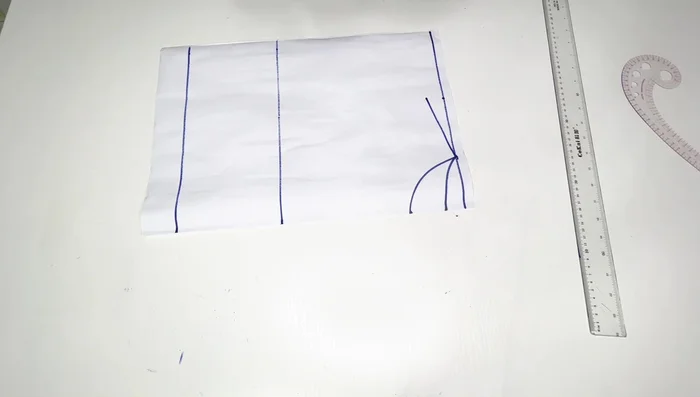
- Mark half of the armhole height, go in by half an inch, and connect to the shoulder line. Create the armhole curve using your curve ruler.
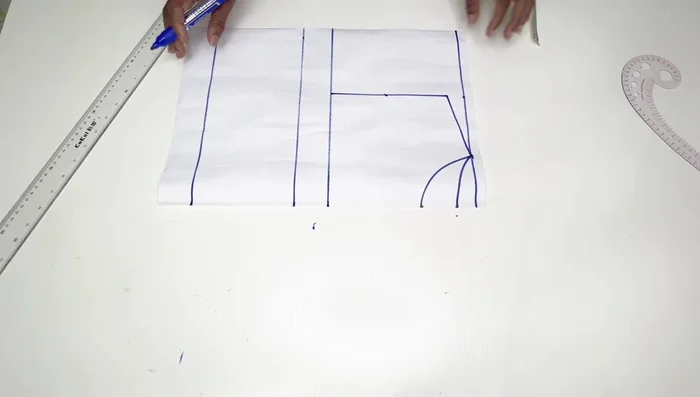
- Mark a quarter of your waist measurement plus 1 inch on the waistline and connect to the armhole.
- Place half your nipple-to-nipple measurement on the bust line and waistline, then connect these points. Add half an inch on each side and connect to form the bust dart.
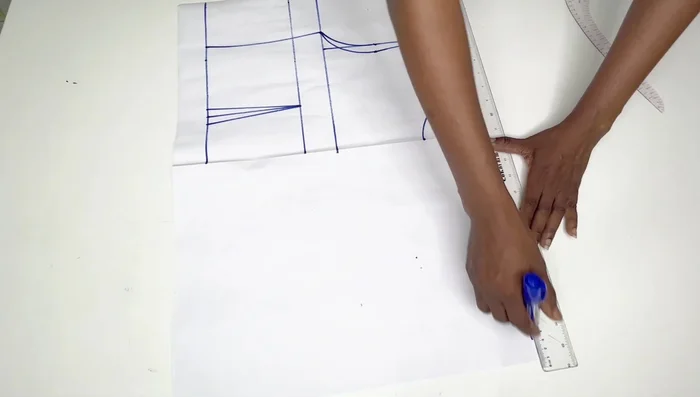
Pattern Drafting Pattern Transfer and Cutting
- Transfer the pattern to the other side of the paper, or cut it out first. Add seam allowance (0.5 inch for shoulder, 0.5-1 inch for sides/hem).
- Cut out the back pattern, then transfer it to another fresh piece of paper for the back pattern piece.
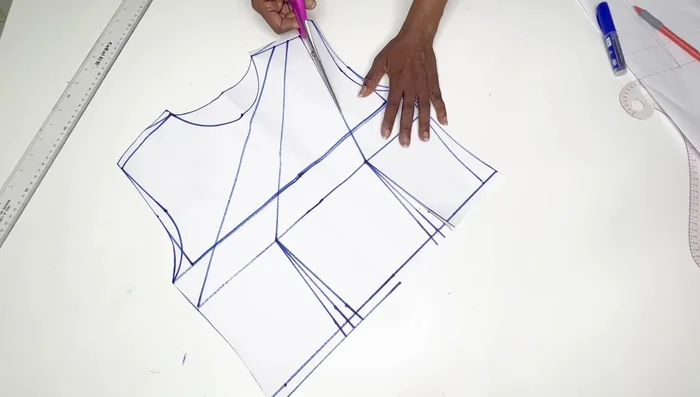
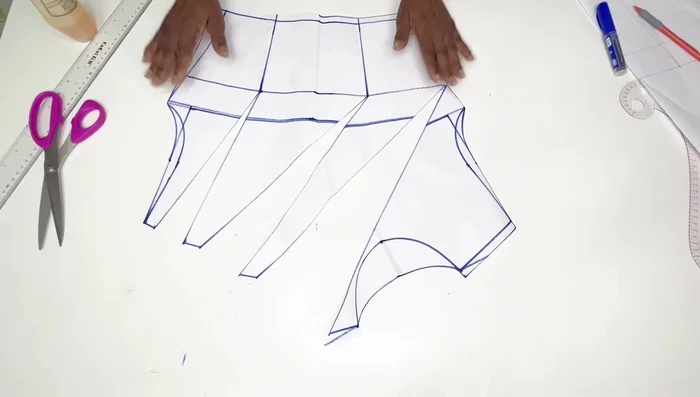
Pattern Transfer and Cutting Front Pattern Modification (Slash and Spread)
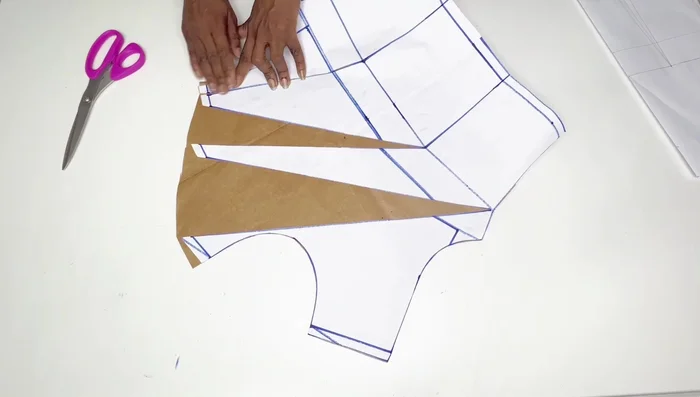
- For the front pattern, open it up from the shoulder and mark three points to connect to the bust line. Slash and spread the shoulder line from these points to the bust line, creating pleats.
- Cut open each slash, spread, and secure the pleats using gum/C tape.
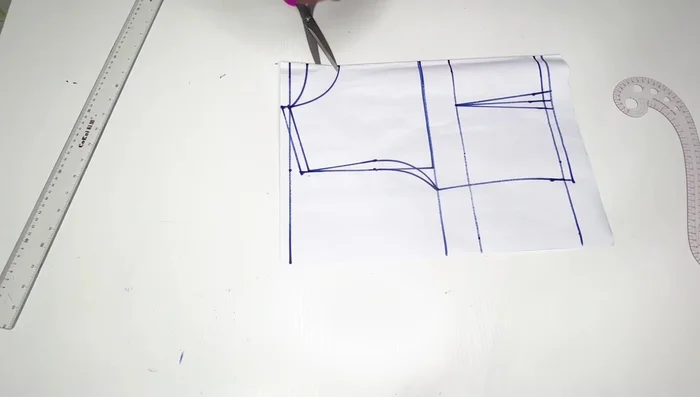
- Cut out the armhole and neckline of the front pattern.
Front Pattern Modification (Slash and Spread) Fabric Cutting
- Transfer the front and back patterns onto the fabric, ensuring the stretch is across the width for the front and along the length for the back. Cut out the fabric pieces.
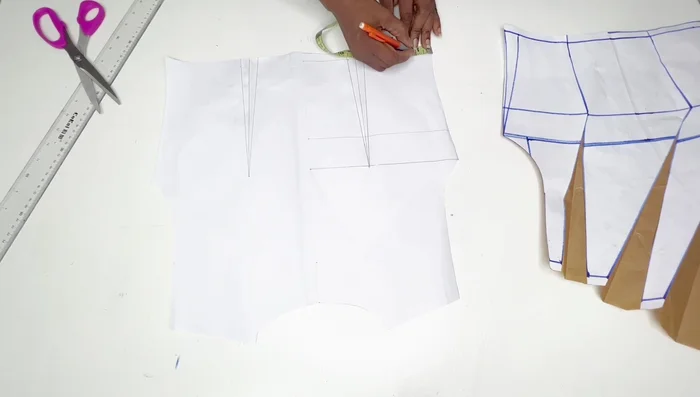
Fabric Cutting Back Pattern Adjustment
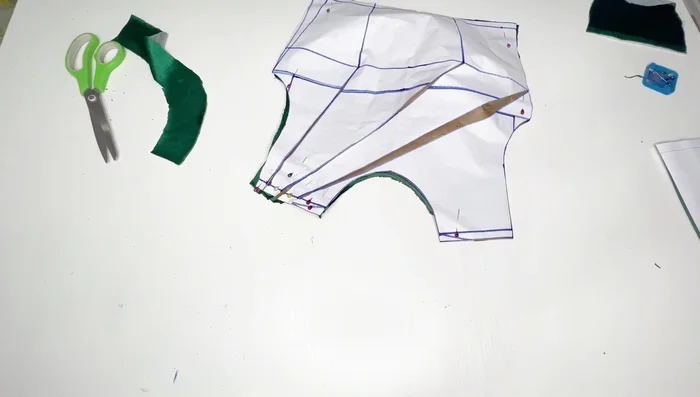
- For the back pattern, remove the extra fabric from the side seams since it's a stretchy fabric. Measure 1 inch from the side and cut towards the chest line.
Back Pattern Adjustment Front Pleat Construction and Seams
- Fold each slash on the front fabric piece to touch each other, and trim excess fabric.
- Stitch the front pleats at the shoulder line using your sewing machine (1/2 inch seam allowance). Attach the neckline facing.
Front Pleat Construction and Seams Joining Front and Back
- Attach the back neck facing. Join the front and back pieces at the sides (1-inch seam allowance) and at the shoulder (1/2-inch seam allowance).
Finishing Touches
- Finish the armhole and hem.
Finishing Touches


Read more: Raglan Sleeve Sewing Tutorial: A Step-by-Step Guide
Tips
- Consider fabric stretch when determining neck and depth measurements.
- Ensure the stretch direction of the fabric is considered when cutting out the pattern pieces.
- Carefully pin and adjust pleats before stitching.