Winter's chill creeping in around your windows and doors? Don't let those pesky drafts ruin your cozy atmosphere! A simple and effective solution is just a few stitches away. This tutorial will guide you through creating your own DIY draft stopper, a project so easy even the most novice sewer can master it. Forget expensive store-bought solutions – you can craft a beautiful, functional, and personalized draft stopper using materials you probably already have at home. This project is perfect for adding a touch of warmth and style to your home while saving you money and boosting your crafting confidence.
This incredibly straightforward tutorial will equip you with everything you need to make your own draft stopper in no time. Whether you're a complete beginner or just looking for a quick and satisfying project, get ready to learn how to sew a charming draft stopper that effectively blocks out cold air and adds a touch of personality to your home. Let's dive into the step-by-step process and transform those chilly gaps into welcoming warmth!
Preparation and Safety Guidelines
- Fabric (felted wool recommended)
- Measuring tape
- Ruler
- Chalk or Fabric Marker
- Sewing machine or needle and thread
- Stuffing material (fabric scraps recommended)
- Always use sharp scissors and needles to prevent accidents. Keep them away from children.
- Ensure your fabric is firmly secured to prevent slipping while sewing. Use pins or clips to hold fabric in place.
- If using a sewing machine, always follow the manufacturer's instructions and use appropriate safety measures.
Step-by-Step Instructions
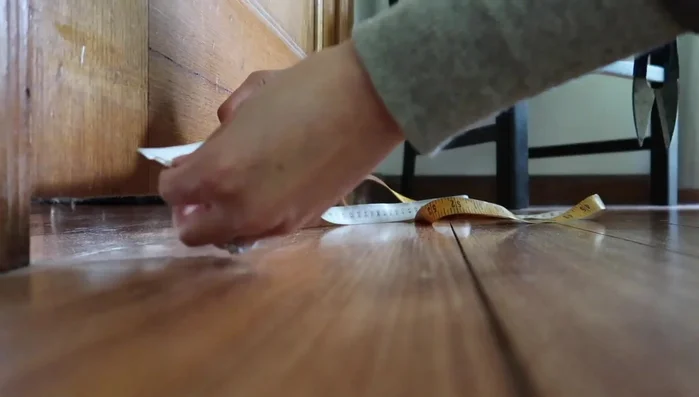
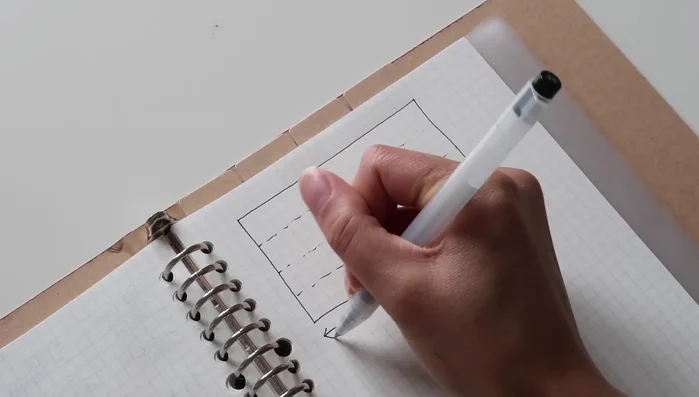
Measure and Calculate
- Measure your door gap and door dimensions.
- Length = door length; Width = (gap measurement + 2cm) * 4. Add seam allowance (1.5cm recommended).

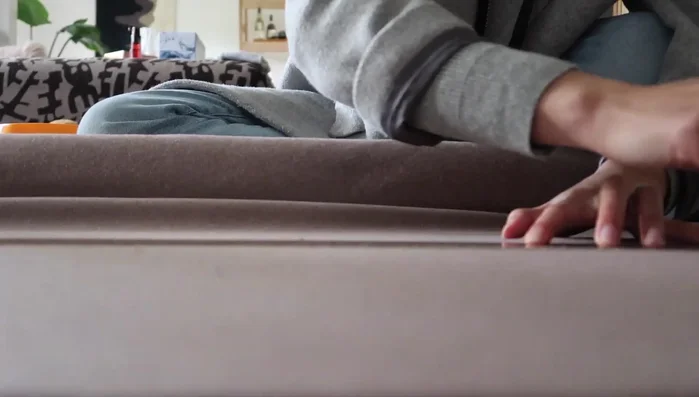
Measure and Calculate Cut Fabric
- Cut out the rectangle based on calculated measurements.
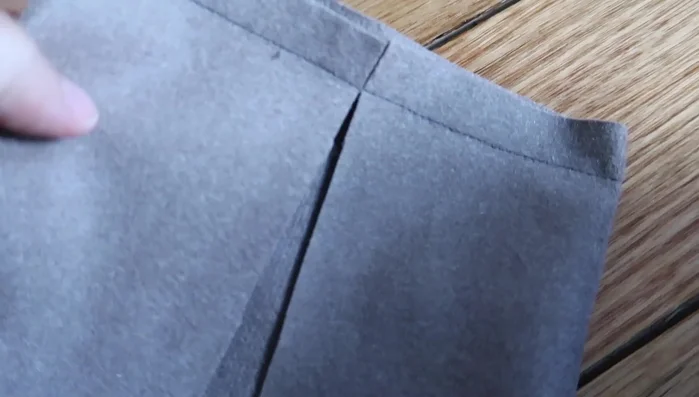
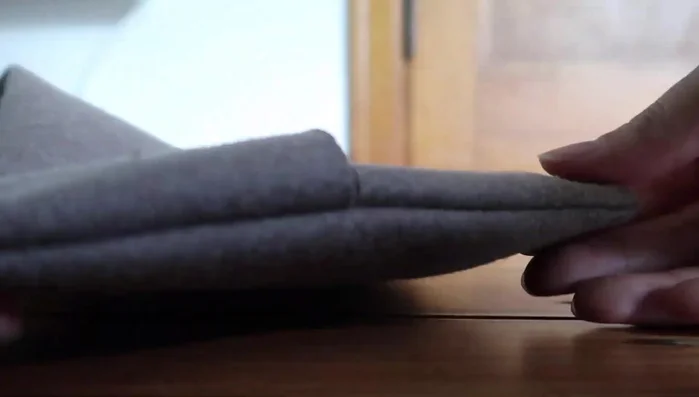
Cut Fabric Sew Short Sides
- Fold up the short sides to meet in the middle, using seam allowance to guide your folds. Sew.
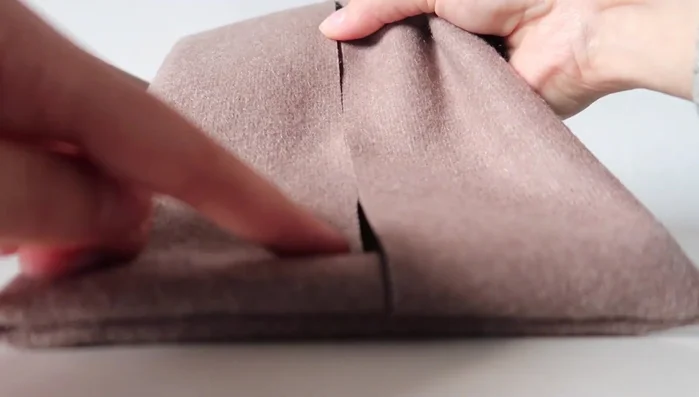
Sew Short Sides Check and Sew Long Sides
- Turn the fabric right-side out and double-check measurements.
- Sew the long edges, leaving gaps for stuffing.
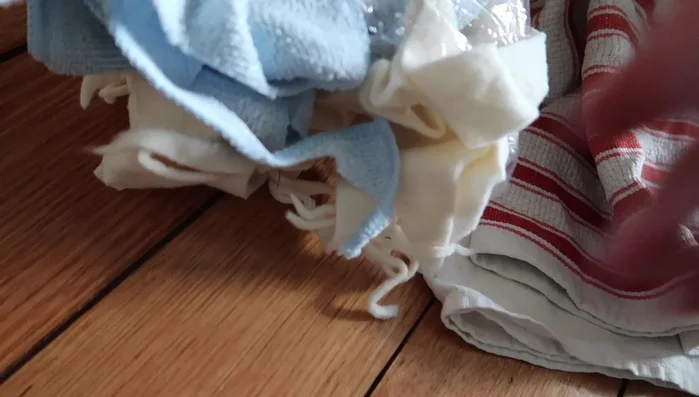
Check and Sew Long Sides Stuff and Finish
- Stuff the draft stopper with filling material (fabric scraps).
- Close the gaps by sewing them shut.
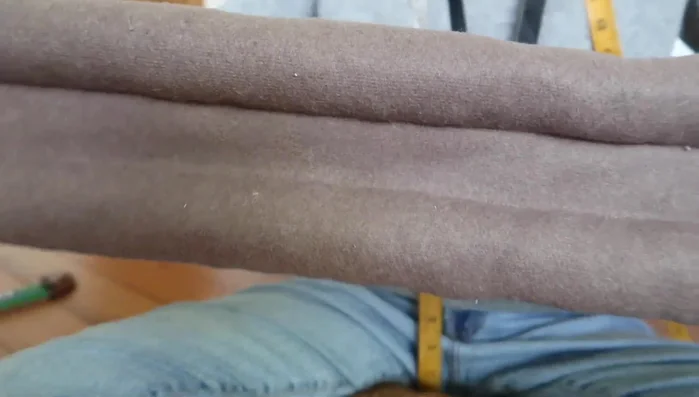
Stuff and Finish
Read more: DIY Super Cute Whale Shower Curtain: A Step-by-Step Tutorial
Tips
- Use felted wool to avoid fraying; otherwise, use a serger or zigzag stitch.
- Add a few centimeters to your gap measurement for a snug fit.
- Use a tool to help pack the stuffing firmly.
- Don't overfill; a lighter filling will be easier to work with.