Ever dreamed of outfitting your beloved dolls in dazzling superhero costumes, complete with capes, masks, and all the miniature might they deserve? Stop dreaming and start crafting! This ultimate guide provides everything you need to create incredible, personalized superhero costumes for your dolls, transforming your playtime into an epic adventure. Forget expensive, pre-made options; unleash your creativity and discover the joy of crafting unique, one-of-a-kind superhero ensembles tailored perfectly to your doll's size and personality. We'll explore a range of materials, techniques, and design ideas to inspire your inner costume designer.
From repurposing old clothes to utilizing readily available craft supplies, we'll show you how to bring your doll's superhero dreams to life. Whether you envision a classic caped crusader, a futuristic cyborg, or a whimsical fairy-powered heroine, this guide offers detailed instructions and helpful tips to guide you through each step. Ready to begin the thrilling process of transforming your dolls into miniature superheroes? Let's dive into the step-by-step instructions!
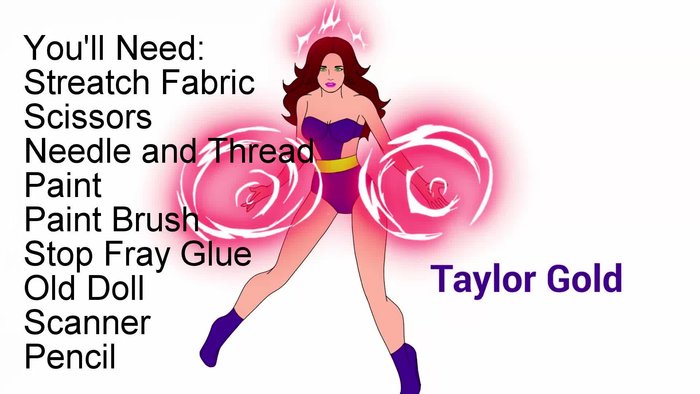
Preparation and Safety Guidelines
- Doll
- Fabric (stretch fabric recommended)
- Existing doll wardrobe piece (optional)
- Scissors
- Pattern paper
- Pen
- Sewing machine or needle and thread
- Velcro (optional)
- No-Fray glue (optional)
- Fabric paint (e.g., Ultramarine Blue, Dioxazine Purple)
- Ribbon
- Doll shoes
- Adult supervision is required at all times, especially when using sharp objects like scissors or hot glue.
- Choose fabrics and materials appropriate for small children. Avoid anything with small, detachable parts that could pose a choking hazard.
- Ensure all embellishments and accessories are securely attached to prevent them from becoming loose and potentially ingested by a child.
Step-by-Step Instructions
Prepare the Pattern
- Use an existing doll dress as a base, lay it flat, trace its outline onto pattern paper, and modify it to your superhero design.

Prepare the Pattern Cut and Sew the Costume
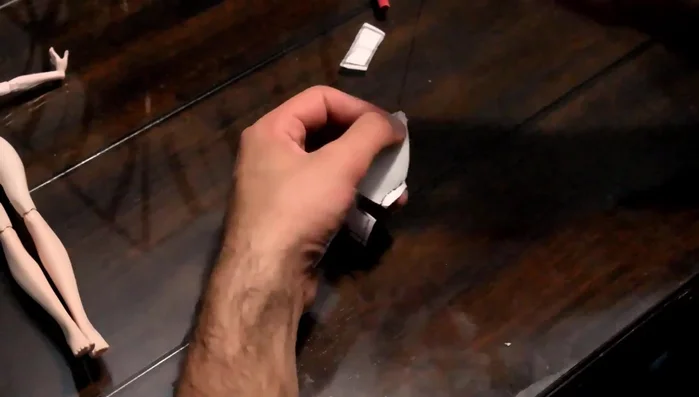
- Trace the pattern onto the wrong side of the fabric, ensuring the fabric stretches horizontally when the pattern is vertical.
- Lay the fabric pieces wrong side together, sew along the traced lines, and then turn the costume right side out.
Cut and Sew the Costume Fit and Adjust
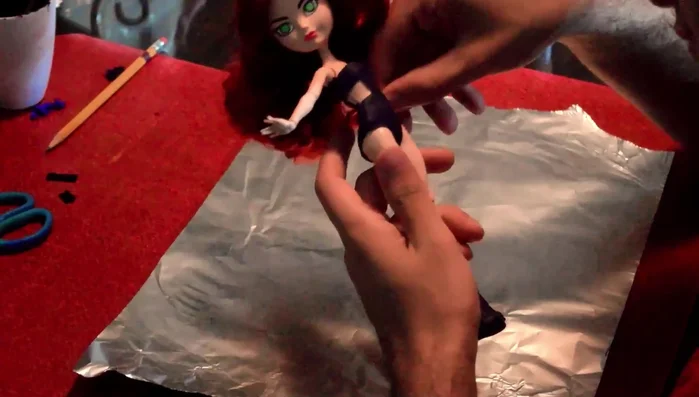
- Fit the costume to the doll and adjust seams as needed.
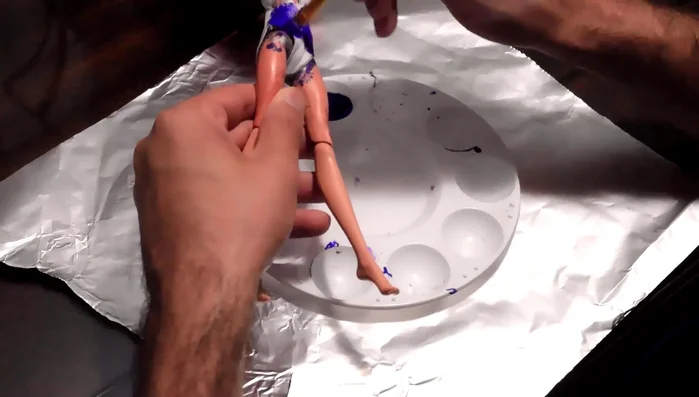
Fit and Adjust Paint the Costume
- Paint the costume while it's on the doll to ensure a perfect fit and prevent shrinkage issues.
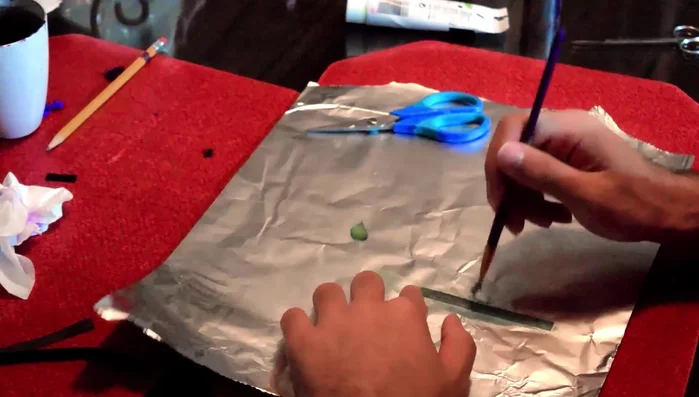
Paint the Costume Create and Attach the Belt
- Measure and cut a ribbon to the desired length, paint it, and attach it to the costume (gluing, tying a bow, or using Velcro).
Create and Attach the Belt Paint the Shoes
- Paint the shoes to match the belt color.
Paint the Shoes

Read more: DIY Fluffy Duck Plushie Tutorial: A Step-by-Step Guide
Tips
- Use stretch fabric to avoid the need for additional closures.
- Reinforce the edges of the fabric with No-Fray glue to prevent fraying.
- Leave extra space around the edges where pieces attach for easier sewing.
- Paint the costume in thin layers, always working in the same direction for a smooth finish.
- Avoid gluing the belt if you want to be able to remove the costume easily. Use Velcro or a tie instead.