Transform your living space with the simple elegance of a handmade throw pillow! Adding decorative pillows is an inexpensive and incredibly effective way to refresh your home décor, instantly injecting personality and comfort. Whether you're a seasoned crafter or a complete beginner with a needle and thread, creating your own custom throw pillows is surprisingly easy and rewarding. Forget expensive store-bought options; this project empowers you to personalize your space with unique fabrics and designs that perfectly match your style. You'll be amazed at how quickly you can elevate your home's aesthetic with a little creativity and some basic sewing skills.
This easy sewing tutorial will guide you through the process of making your own decorative throw pillow, from choosing your fabric to adding the finishing touches. Ready to create a stunning, personalized piece that you'll be proud to display? Let's dive into the step-by-step instructions and begin crafting your dream pillow!
Preparation and Safety Guidelines
- 1 yard of fabric
- Pillow form (18x18 inch)
- Ruler
- Scissors
- Hand sewing needle
- Fabric marker
- Pins
- Thread
- Always use sharp scissors and pins to avoid accidental cuts or pricks. Handle needles and pins with care, and keep them away from children.
- Before starting, pre-wash your fabric to avoid shrinkage after the pillow is completed. Iron fabric to ensure smooth seams.
- When using a sewing machine, always keep your fingers clear of the needle and presser foot. Use a fingertip guard for extra safety.
Step-by-Step Instructions
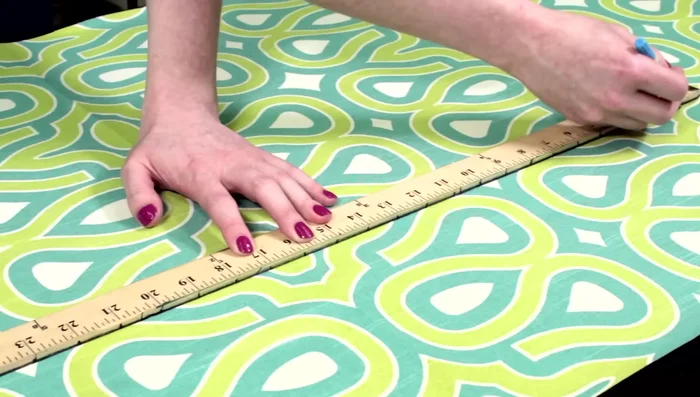
Cut Fabric Panels
- Cut two panels for the front and back of the pillow. Make the cover 1 inch smaller than the pillow form for a full look (17x17 inch finished dimensions). Add a half-inch seam allowance on all sides, resulting in 18x18 inch panels.

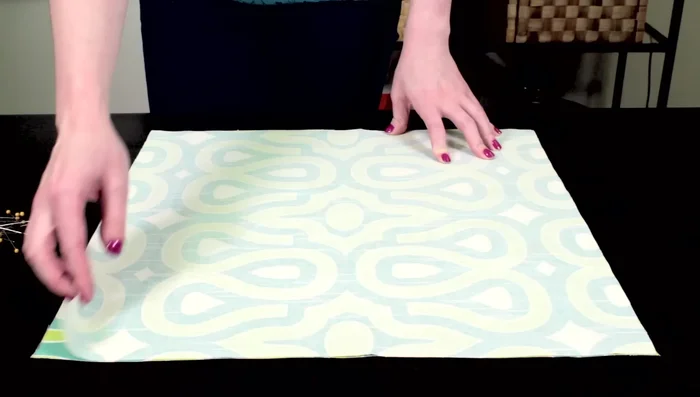
Cut Fabric Panels Pin Fabric Squares
- Align the two fabric squares with right sides facing and pin them together.
Pin Fabric Squares Sew Pillow Cover
- Sew around the edges, leaving a 2-inch opening at the bottom. Use a half-inch seam allowance. Pivot at the corners to create neat seams.
Trim Corners
- Trim the corners to reduce bulk, cutting at an angle close to the stitches.
Trim Corners Turn Right Side Out
- Turn the pillow cover right side out, using your fingers or a tool to push out the corners.
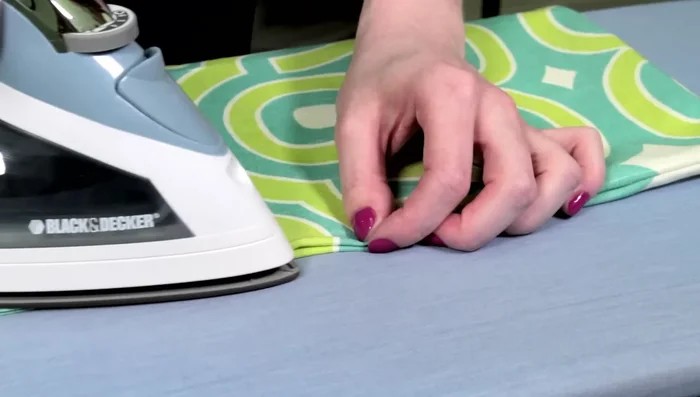
Iron Opening Edges
- Iron the edges of the fabric under half an inch at the opening.
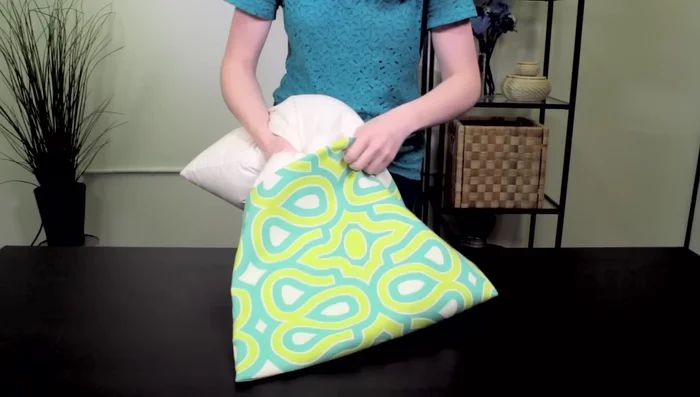
Iron Opening Edges Insert Pillow Form
- Insert the pillow form and arrange it to fill the cover.
Insert Pillow Form Hand Stitch Opening
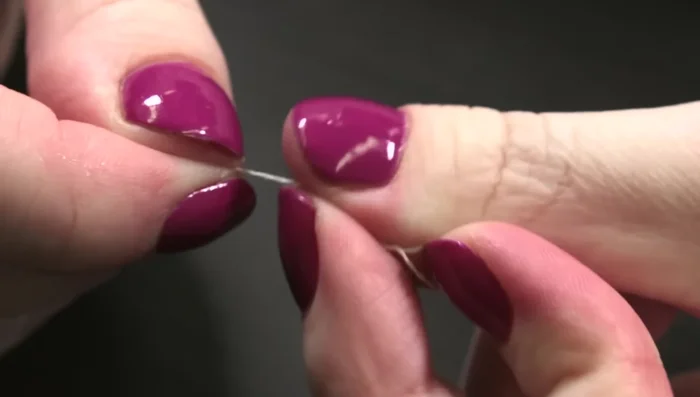
- Hand stitch the opening closed using an invisible stitch. Double the thread for strength. The trick is to keep the stitches perpendicular to the folds, creating a ladder-like appearance.
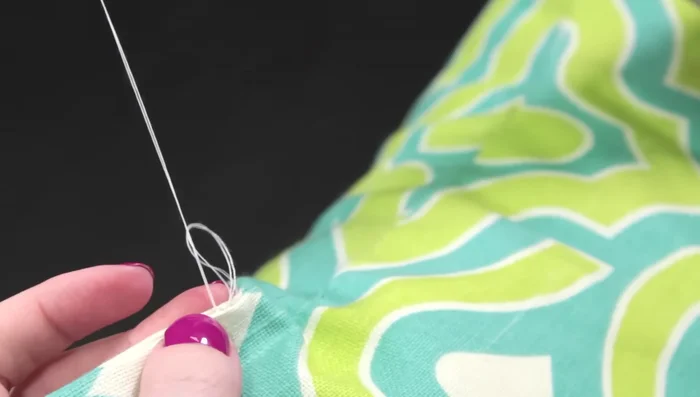
Hand Stitch Opening Secure and Hide Thread
- Secure the thread with knots at the beginning and end, hiding the thread tails inside the seam.
Secure and Hide Thread

Read more: King Size Quilt Tutorial: Efficient Chain Piecing Method
Tips
- For patterned fabric, pay attention to pattern placement and centering.
- Use a half-inch seam allowance for consistency.
- When hand-stitching, keep the stitches perpendicular to the fabric folds for an invisible finish.