Damson plums, rich in color and steeped in autumnal charm, inspire this delightful quilting project: a versatile and stylish quilted vest. We'll explore two distinct variations, each showcasing the beauty of this deep purple hue in a unique way. Whether you envision a classic, subtly textured vest perfect for layering, or a more boldly patterned piece that commands attention, this tutorial will guide you through the process of crafting your own. The rich damson color offers a sophisticated touch, perfect for adding a pop of autumnal elegance to any wardrobe.
From choosing your fabrics and cutting the pattern pieces to the satisfying process of quilting and adding finishing touches, creating your own Damson Matter quilted vest is a rewarding experience. Both designs offer variations in difficulty and skill level, ensuring that whether you're a seasoned quilter or a keen beginner, you'll find a version to suit your expertise. Ready to dive into the world of handcrafted warmth and style? Let’s begin with the step-by-step instructions detailed below.
Preparation and Safety Guidelines
- Sewing machine
- Scissors
- Pins
- Iron
- Ironing board
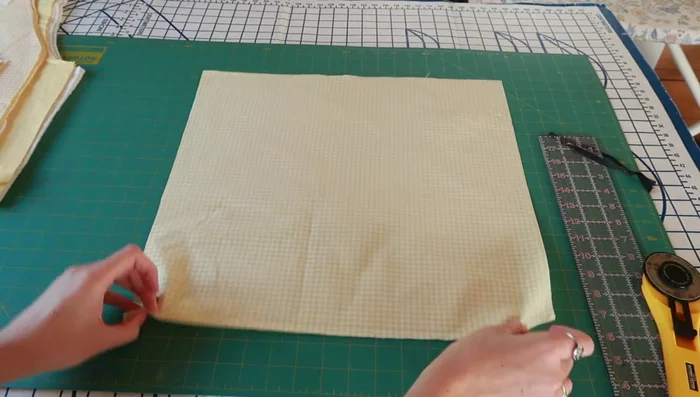
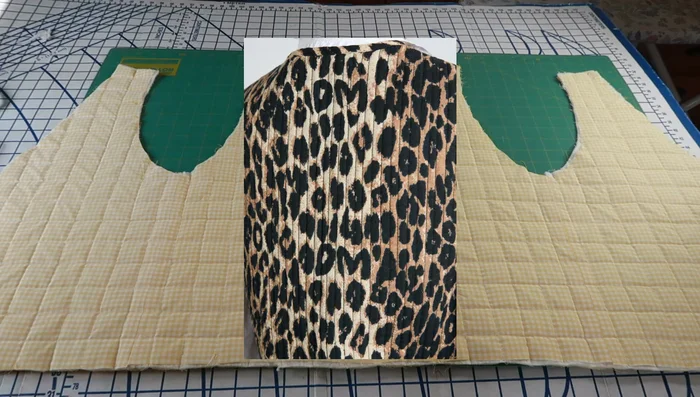
- Fabric (gingham, leopard print)
- Cotton batting
- Tailor's chalk
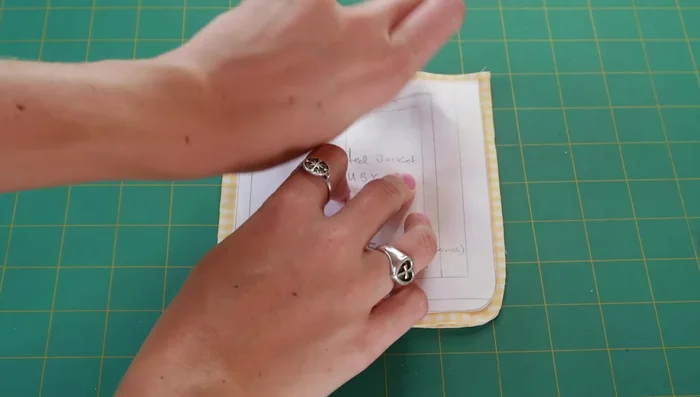
- MoonBee portable inkless printer (optional)
- Bias tape maker (optional)
- Corner poker (optional)
- Always use sharp, well-maintained sewing machine needles and pins to avoid injury. Handle fabric shears with care.
- When working with batting and layers of fabric, take your time and use pins generously to prevent shifting during sewing. This will result in a neater, more professional-looking vest.
- If using a rotary cutter, always use a cutting mat and keep your fingers well clear of the blade to prevent serious cuts.
Step-by-Step Instructions
Prepare the Pattern
- Print and assemble the Sydney Graham Ruby vest pattern.
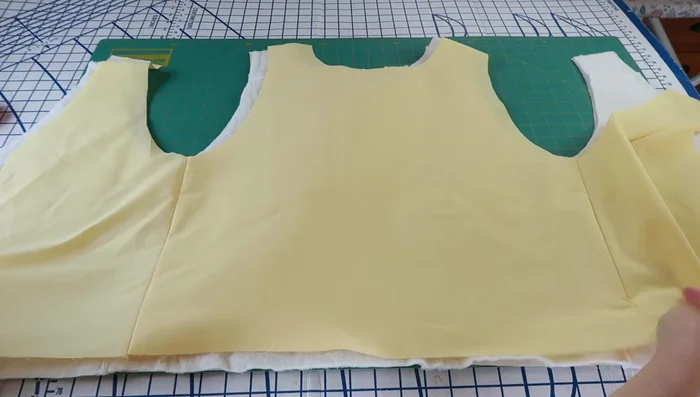
- Cut out pattern pieces for both vests (V-neck and high-neck variations).

Prepare the Pattern Prepare Vest Components
- Create continuous bias tape.
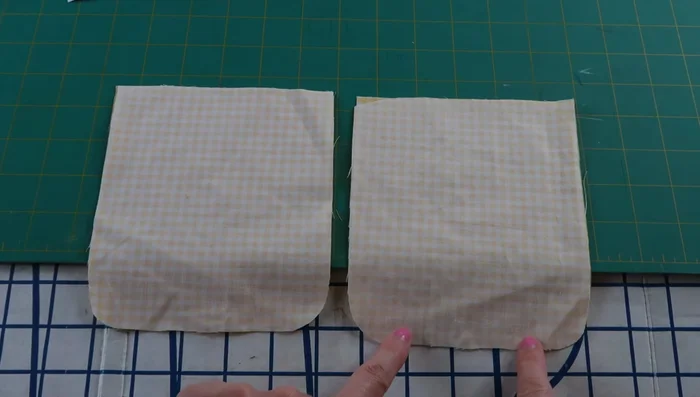
- Cut out pocket pieces for the yellow gingham vest.
Prepare Vest Components Assemble Vest Bodies
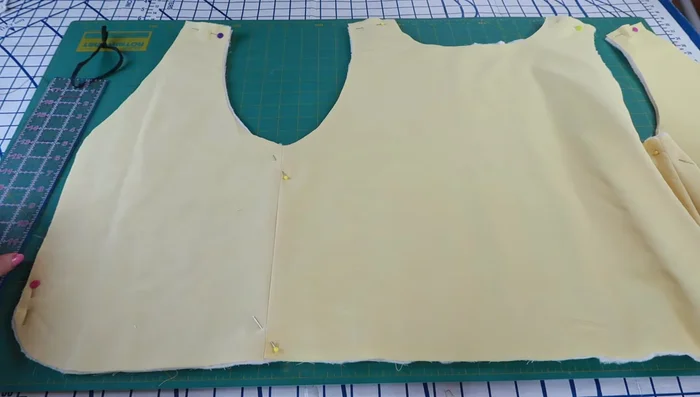
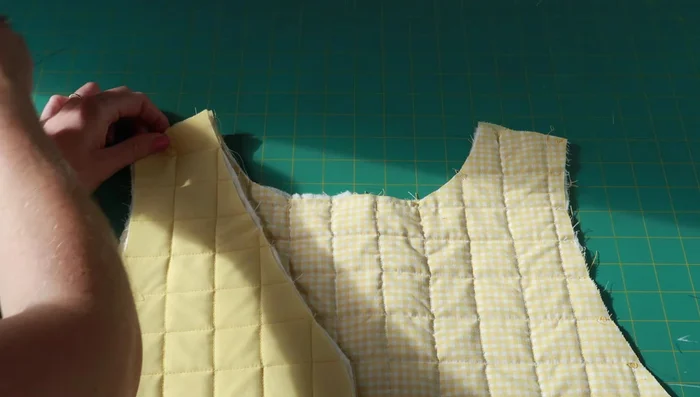
- Attach front and back vest pieces for both vests (main fabric and lining).
Assemble Vest Bodies Prepare Quilting
- Attach quilt batting pieces with zigzag stitch.
- Sandwich quilt batting between outer and inner vest fabrics, pin, and mark quilting lines.
Prepare Quilting Quilt the Vests
- Quilt the yellow vest using vertical and horizontal lines (checkered pattern).
- Quilt the leopard vest using vertical lines only (half-inch apart).
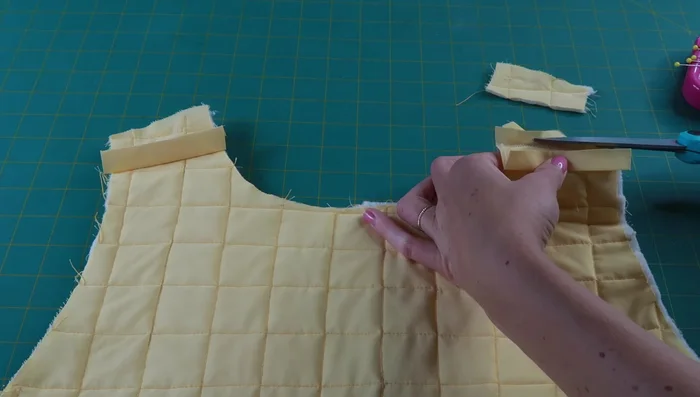
Quilt the Vests Attach Shoulders and Bias Tape
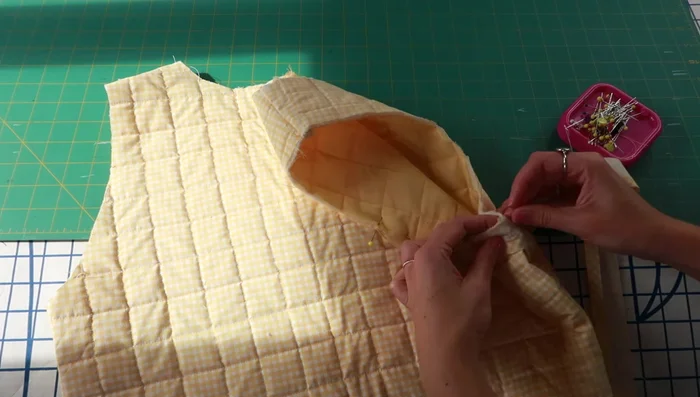
- Attach vest shoulders, making adjustments for gapping as needed.
- Sew bias tape along shoulder seams.
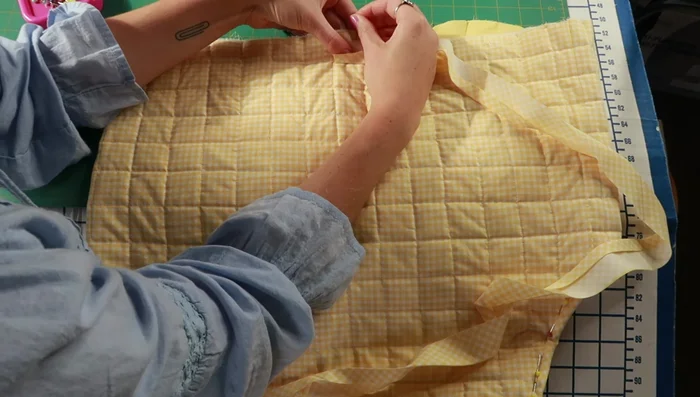
Attach Shoulders and Bias Tape Create and Attach Ties
- Create ties (thin for yellow, thicker for leopard).
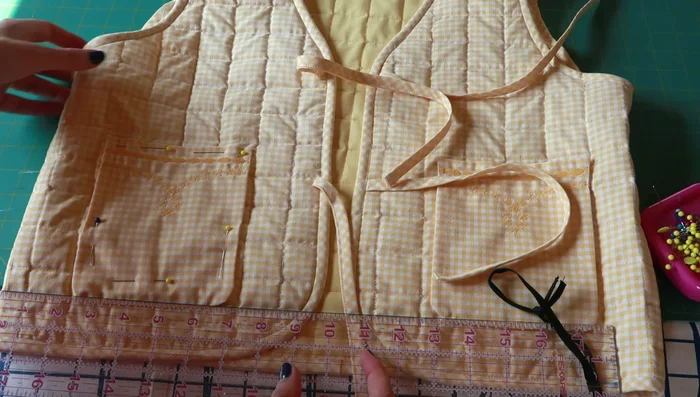
Create and Attach Ties Create and Prepare Pockets
- Sew and turn pocket pieces right side out, then embroider.
Create and Prepare Pockets Attach Bias Tape to Armholes
- Attach bias tape around armholes, stitching in the ditch.
Attach Bias Tape to Armholes Final Assembly
- Pin and sew ties, then bias tape around the hem and neckline.
- Hand stitch pockets onto the vests.
Final Assembly


Read more: Raglan Sleeve Sewing Tutorial: A Step-by-Step Guide
Tips
- Use white tailor's chalk for marking quilting lines; it disappears with heat.
- Use two different colors of thread for quilting (top and bobbin) to create a unique effect on both sides of the fabric.
- Adjust shoulder seams if needed to eliminate gapping at the armholes.
- Hand stitching the pockets and bias tape will yield a cleaner, more professional finish, though it requires more time.