Tired of ill-fitting, mass-produced tablecloths that never quite seem to match your style or your table's unique dimensions? Transform your dining experience with a custom-made tablecloth, crafted perfectly to your specifications. Forget frustrating gaps, awkward overhangs, or a generic look – learn to create a tablecloth that's as individual as you are, perfectly tailored to your table's shape and size, and reflecting your personal aesthetic. From choosing the right fabric to mastering the finishing touches, this guide unlocks the secrets to achieving professional-looking results, even on a budget.
This ultimate guide will walk you through every step of the process, from measuring your table accurately to expertly hemming your chosen fabric. Whether you're a seasoned sewer or a complete beginner, we'll equip you with the knowledge and confidence to create a stunning, perfectly fitted tablecloth that will elevate your dining area and impress your guests. Let's dive into the step-by-step instructions and begin crafting your dream tablecloth!
Preparation and Safety Guidelines
- Fabric (Poly Poplin recommended)
- Ruler
- Scissors
- Pins
- Thread
- Fabric Marker
- Iron
- Always use sharp scissors or a rotary cutter when cutting fabric to avoid injury. Handle blades with care.
- If using an iron, be mindful of the fabric type and follow the manufacturer's instructions to prevent burning or damaging the material.
- When working with hot glue guns or other heat tools, exercise extreme caution to avoid burns. Keep away from children and flammable materials.
Step-by-Step Instructions
Planning and Measurement
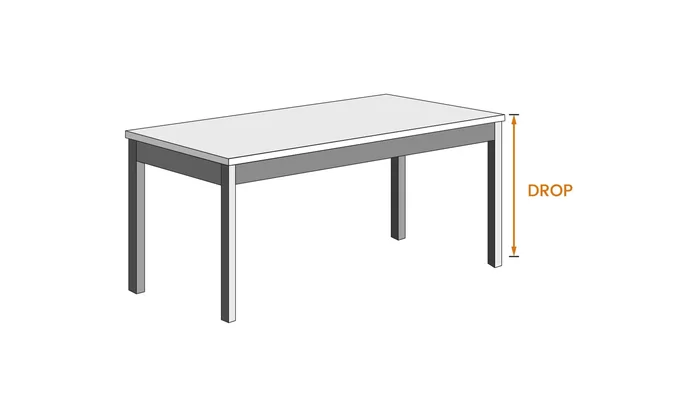
- Decide how far you want the tablecloth to hang below the table's edge (10-12 inches for casual, floor-length for formal). Measure table length, width, and height.

Planning and Measurement Calculating Fabric Requirements
- Add table width + (2 x drop length) + (2 x hem allowance) for total width. Add table length + (2 x drop length) + (2 x hem allowance) for total length. Example: 30" + (2 * 36") + (2 * 0.5") = 104" width.
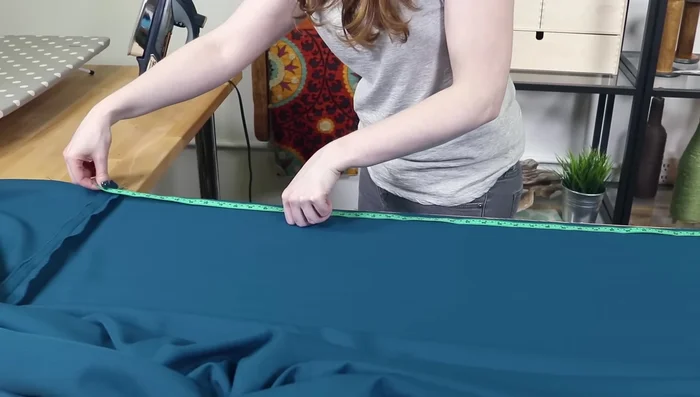
Cutting Fabric Pieces
- Cut fabric pieces to calculated dimensions. If your fabric is narrower than the required width, cut multiple pieces and sew them together, ensuring a centered full-width panel for a cleaner look.
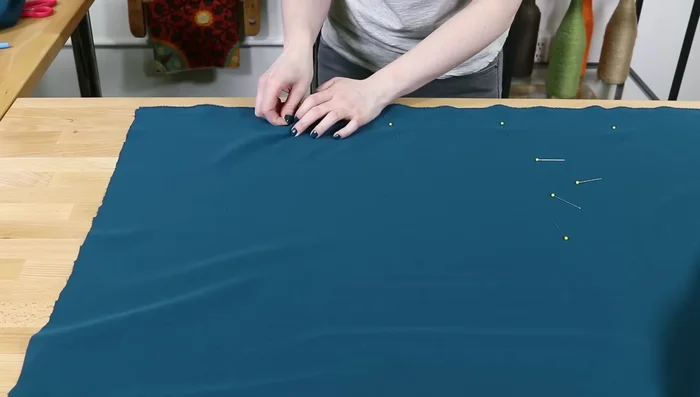
Seaming Fabric Pieces (If Necessary)
- Pin and sew the fabric pieces together using a 1/2 inch seam allowance. Match patterns if desired.
Seaming Fabric Pieces (If Necessary) Trimming Excess Fabric
- After sewing, determine the excess fabric on each side, trim the unnecessary pieces to get the right size.
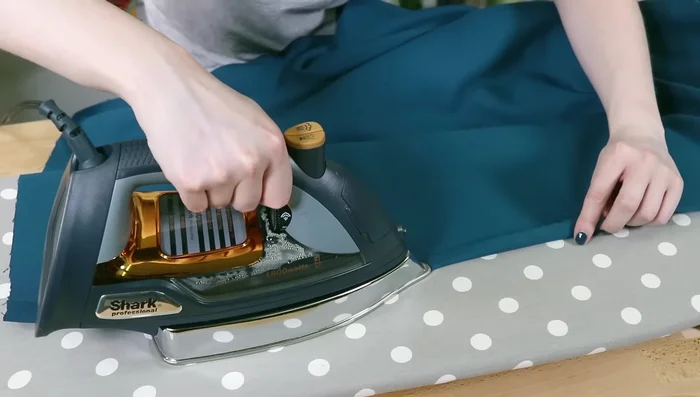
Trimming Excess Fabric Hem Preparation
- Fold and iron the edges of your fabric, creating a double folded hem (1/2 inch). Iron all the way to the corner.
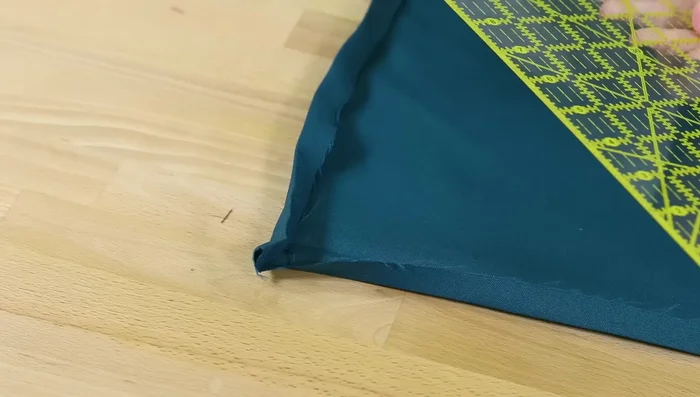
Hem Preparation Creating Mitered Corners
- Create folded mitered corners for a neat finish. Unfold the corner, draw a diagonal line, cut, and fold to create the mitered look.
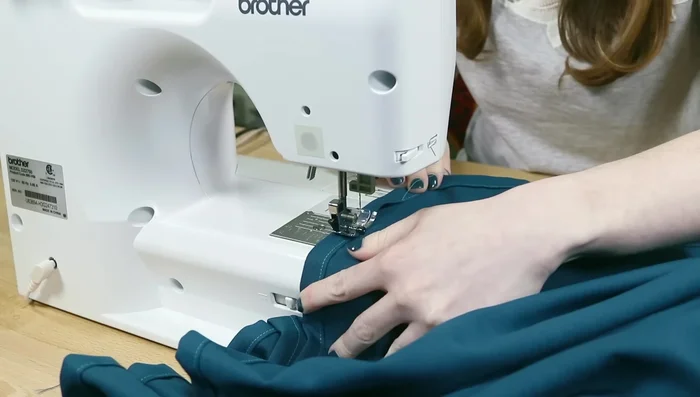
Creating Mitered Corners Sewing the Hem
- Sew the hem in place, backstitching at the beginning and end.
Sewing the Hem
Read more: DIY Super Cute Whale Shower Curtain: A Step-by-Step Tutorial
Tips
- Consider fabric choice: Poly poplin is durable and wrinkle-resistant.
- For patterned fabrics, match up patterns before sewing.
- Use a serger or zig-zag stitch to finish edges, if needed.
- Explore different hemming techniques: blind hem stitch or fusible bonding tape.