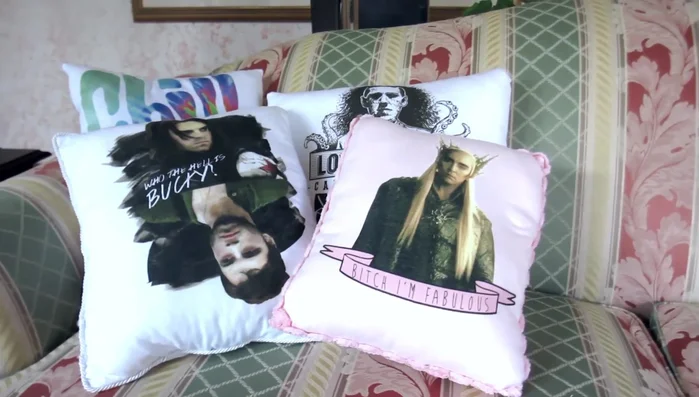
Ever looked at your favorite band t-shirt, worn thin with countless washes, and wished you could preserve it somehow? Or perhaps you have a cherished tee with a faded design that still holds sentimental value? Transforming those beloved, but ultimately unusable, shirts into something new and useful is easier than you think! This guide shows you how to create a cozy and personalized pillow using your old t-shirts – a perfect blend of upcycling and creative expression. It’s a fantastic way to give your favorite clothing a second life, adding a touch of unique style to your home decor.
Forget expensive, mass-produced cushions; this project allows you to craft a truly bespoke pillow, reflecting your personality and cherished memories. With minimal sewing skills required and readily available materials, you'll be surprised at how quickly and easily you can complete this project. Ready to turn your treasured tee into a comfy, customized pillow? Let's dive into the step-by-step process!
Preparation and Safety Guidelines
- T-shirt
- Needle
- Thread
- Sewing machine (optional)
- Pillow fluff
- Iron
- Ironing board
- Fabric/sewing scissors
- Trim (optional)
- Always pre-wash your t-shirt before using it to create your pillow. This prevents shrinking after the pillow is made and ensures the fabric is easier to work with.
- Use a filling material appropriate for pillows. Avoid using anything that could be a fire hazard or cause allergic reactions. Ensure it’s evenly distributed for a comfortable pillow.
- If using a sewing machine, be cautious of your fingers and pay attention to the needle. If hand-sewing, use a sharp needle to prevent strain.
Step-by-Step Instructions
Prepare the Fabric
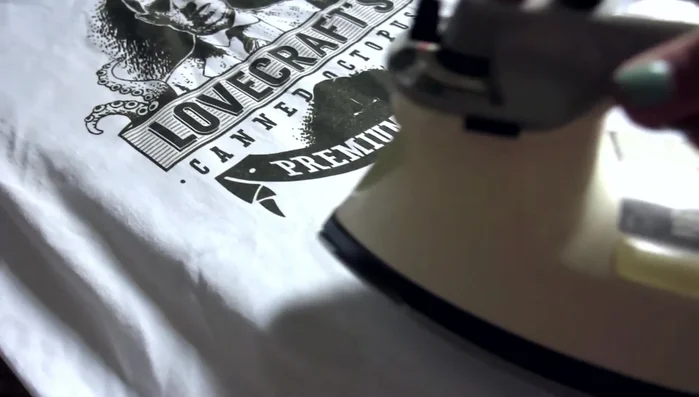
- Iron the part of the t-shirt you'll use for the pillow.
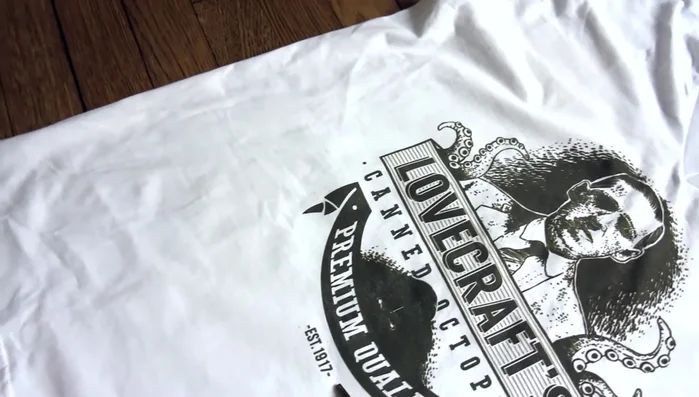
- Carefully cut out the desired fabric shape, considering the placement of your design.

Prepare the Fabric Sew the Pillowcase
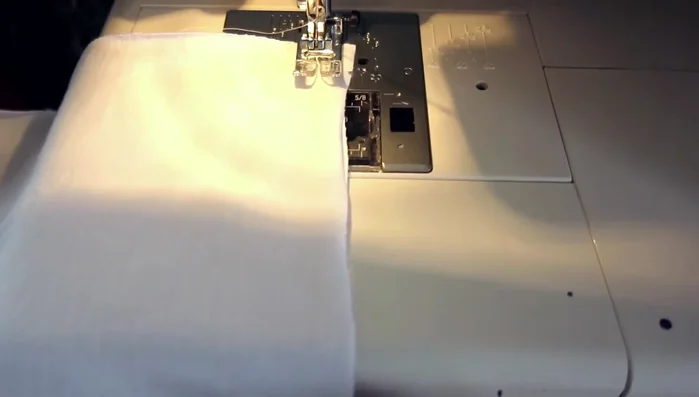
- Place two fabric pieces together, good side to good side, and sew around the perimeter, leaving an opening for stuffing.
- If using trim, sandwich it between the fabric layers before sewing.
Sew the Pillowcase Stuff and Finish
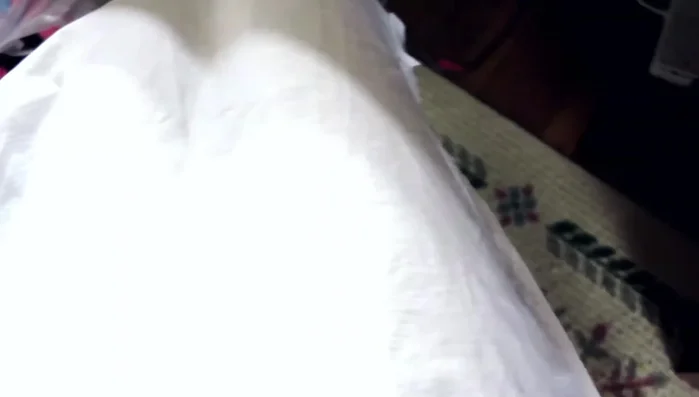
- Turn the fabric inside out and stuff with pillow fluff.
- Close the opening by hand-sewing or machine-sewing.
Stuff and Finish
Read more: King Size Quilt Tutorial: Efficient Chain Piecing Method
Tips
- Use a large t-shirt for ample fabric.
- Iron before and after cutting for a neat finish.
- A sewing machine speeds up the process.
- Leave enough space for stuffing, avoiding overfilling.