Tired of searching for the perfect pillow to match your décor or provide the ideal support? Take control and create custom comfort with this guide to DIY pillow making! We'll walk you through crafting luxurious pillows tailored precisely to your needs, from choosing the perfect fabric and filling to mastering professional-level seam finishes. Forget about those frustrating gaps and uneven edges; we’ll explore techniques that ensure your handmade pillows look as good as they feel. Learn how to confidently sew invisible zippers, achieving a flawless, professional finish that rivals store-bought pillows.
This guide offers a comprehensive exploration of invisible zipper installation and advanced seam finishing techniques, ensuring your pillows are not only comfortable but also visually stunning. Ready to transform your sewing skills and create stunning, personalized pillows? Let's dive into the step-by-step process!
Safety Guidelines
- Always use a sharp needle and pins to prevent fabric punctures and ensure clean stitches. Blunt needles can cause fabric damage and increase the risk of injury.
- When working with an invisible zipper, take your time. Rushing can lead to misalignment, causing the zipper to malfunction or the finished look to be compromised.
- Before cutting your fabric, double-check your measurements and pattern pieces. Fabric is expensive, and mistakes can be costly and time consuming to fix.
Methods: Invisible Zipper Installation with Standard Zipper Foot
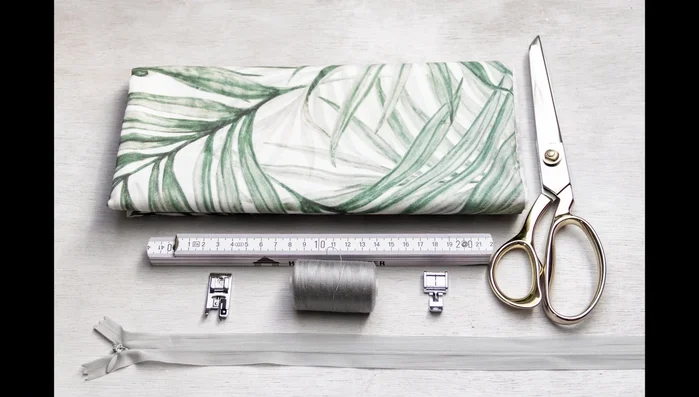
Tools Needed
- Fabric
- Invisible zipper
- Matching thread
- Scissors
- Pins
- Sewing machine
- Standard zipper foot
- Iron
Step-by-Step Instructions
Prepare Fabric and Zipper
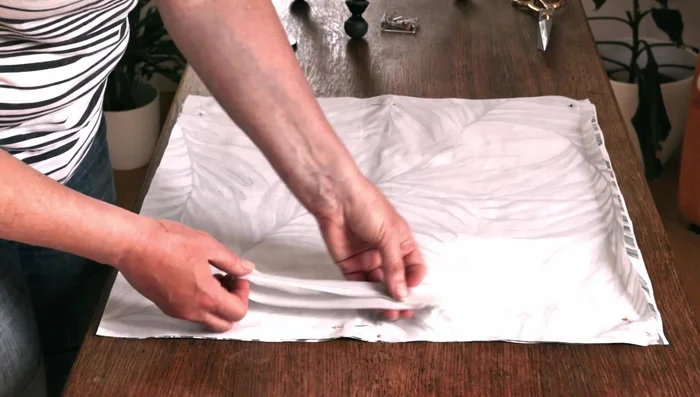
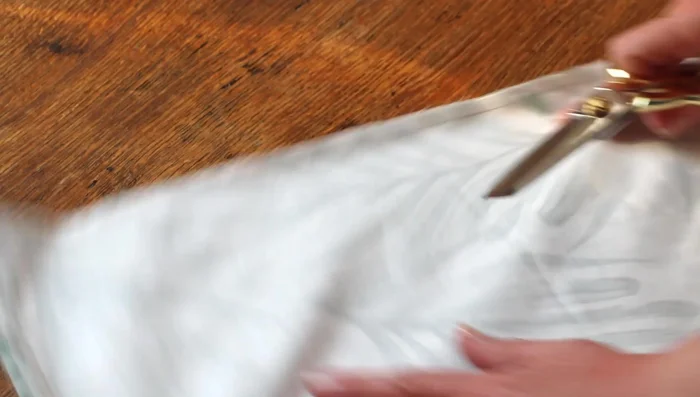
- Measure and cut fabric to the size of your pillow insert.
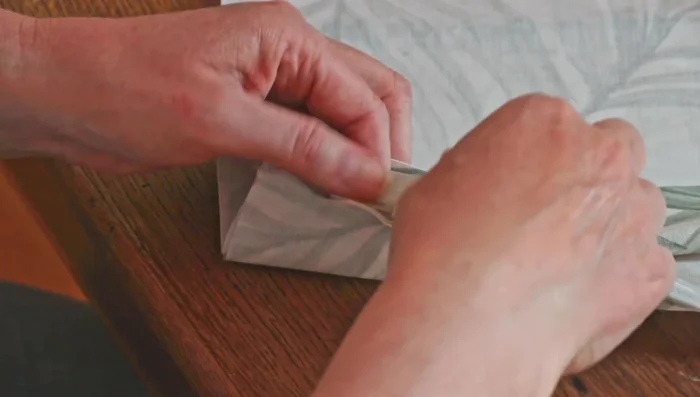
- Place fabric right sides together. Center the invisible zipper on the edge, making small snips at each end for alignment.
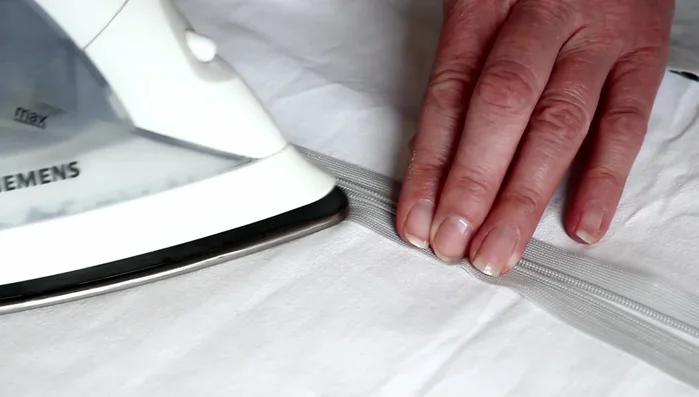
- Press the rolled edge of the zipper flat with an iron.

Prepare Fabric and Zipper Attach Zipper - First Side
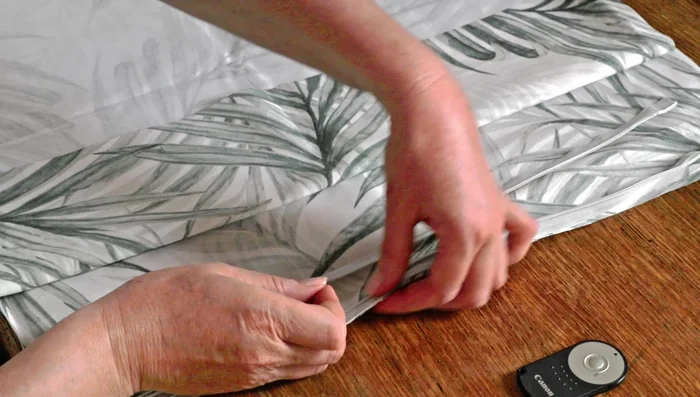
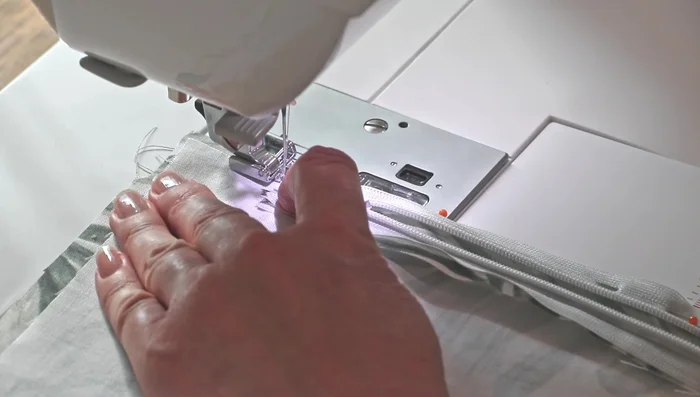
- Fold back the top fabric layer, unzip the zipper, and lay it face down onto the fabric edge. Pin in place, ensuring the right side of the zipper is against the right side of the fabric.
- Sew the first side of the invisible zipper to the fabric, removing pins as you go. Keep the needle to the left for easier sewing.
Attach Zipper - First Side Attach Zipper - Second Side
- Backstitch at the end of the zipper. Repeat for the second side, aligning the zipper with the snips.
Attach Zipper - Second Side Secure Zipper
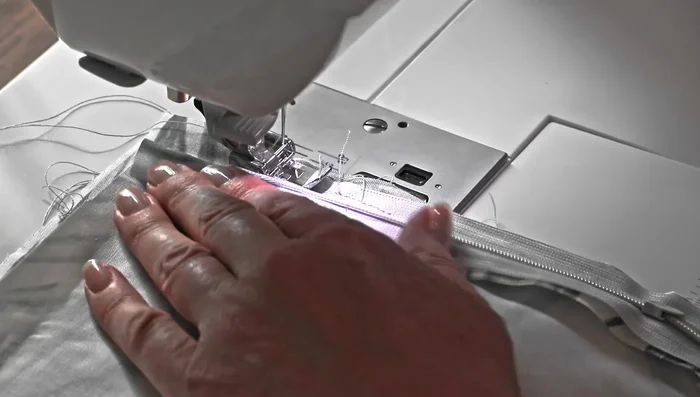
- Close the zipper slightly, then sew tightly near the zipper teeth where the zipper pull was.
Secure Zipper Sew Pillow Seams
- Sew the pillow seams together using a standard straight stitch or zipper foot, leaving a gap for turning.
Sew Pillow Seams Prepare Corners
- Cut the excess fabric at the corners to avoid bulkiness.
Prepare Corners Turn, Insert, and Finish
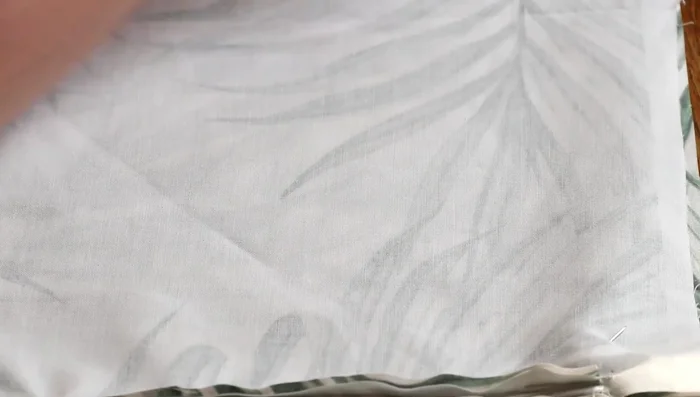
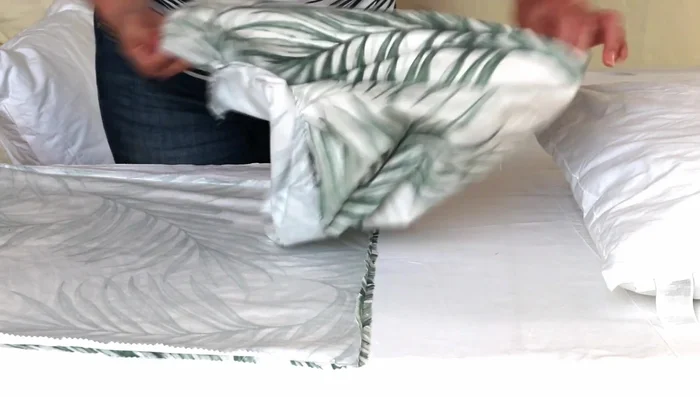
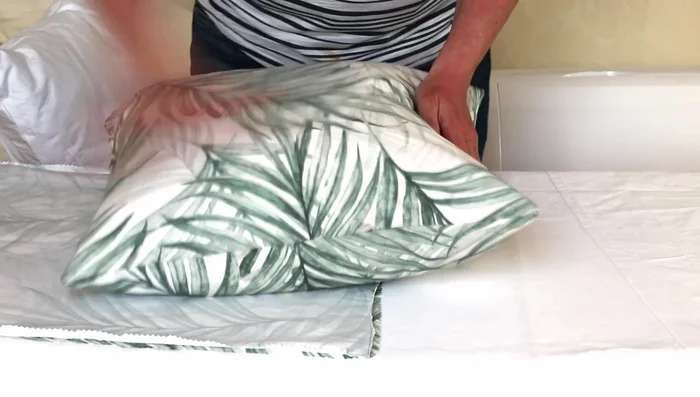
- Turn the pillow cover right side out, push out corners, and insert the pillow insert.
- Close the zipper and plump the pillow.
Turn, Insert, and Finish
Tips
- Precise measurements are crucial for efficient fabric use.
- Ironing the rolled zipper edge before sewing allows for a closer seam to the zipper teeth.
- Always check your pinning before sewing by turning the fabric over.
Methods: Professional Seam Finishing with Overlocking Stitch
Tools Needed
- Sewing machine
- Overlocking foot
Step-by-Step Instructions
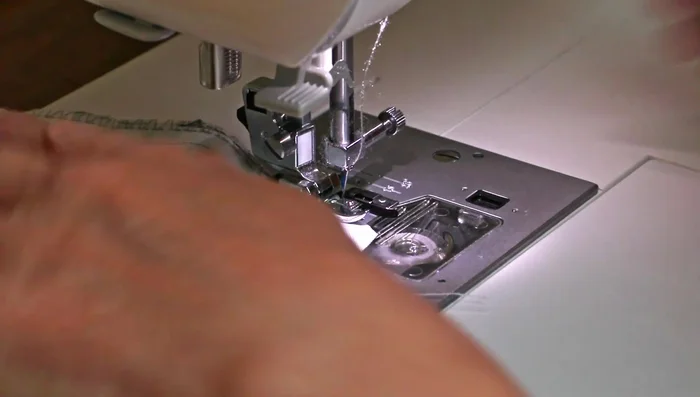
Prepare Overlocking Stitch
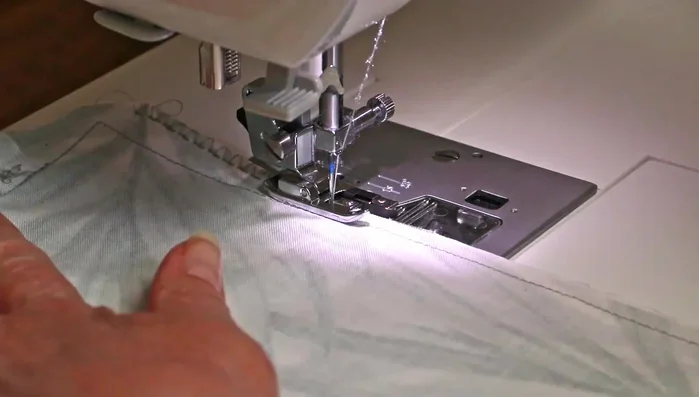
- Change to the overlocking foot on your sewing machine and select a zig-zag or overlocking stitch.
Prepare Overlocking Stitch Apply Overlocking Stitch
- Sew around the edges of your seams, ensuring the stitch goes just over the fabric edge.
Apply Overlocking Stitch
Tips
- Go slowly around corners for a neat finish.
Read more: 3 Easy Pieced Heart Tutorials for Quilting Projects