Tired of the same old tops in your wardrobe? Craving a stylish, comfortable piece that you can personalize completely? Then look no further! This simple sewing tutorial will guide you through creating your own classic tank top from scratch. We’ll explore a straightforward method, perfect for beginners and seasoned sewers alike, utilizing readily available materials and techniques that won’t overwhelm even the most novice crafter. Forget expensive store-bought options and embrace the satisfying world of DIY fashion!
This tutorial will empower you to craft a perfectly fitting tank top tailored to your exact preferences, whether you desire a relaxed, oversized fit or a more fitted silhouette. From choosing the right fabric to mastering basic sewing techniques, we’ll cover everything you need to know. Ready to transform your fabric scraps into a stylish wardrobe staple? Let's dive into the step-by-step process and get sewing!
Preparation and Safety Guidelines
- Close-fitting sleeveless tank top (for pattern tracing)
- Half a meter of rib fabric (cotton recommended)
- Sewing machine
- Overlocker or serger (optional)
- Tape measure
- Scissors
- Pins
- Iron
- Always use sharp sewing shears or a rotary cutter to prevent fabric from fraying and ensure clean cuts. Dull blades can lead to uneven cuts and injuries.
- Before starting to sew, pre-wash your fabric to prevent shrinkage after the garment is finished. This is especially important for natural fabrics like cotton.
- Use appropriate pins to secure fabric layers together before sewing to prevent slippage and ensure accurate stitching. Remove pins before sewing over them to avoid damaging your machine needle.
Step-by-Step Instructions
Prepare the Pattern and Fabric
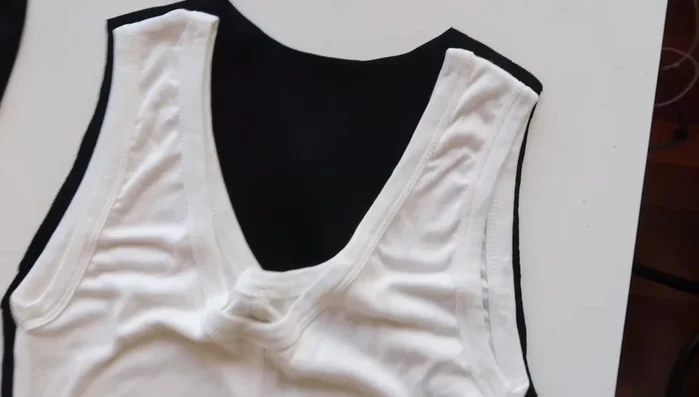
- Use a close-fitting sleeveless tank top to trace your pattern onto your folded rib fabric. Remember a 1cm seam allowance.
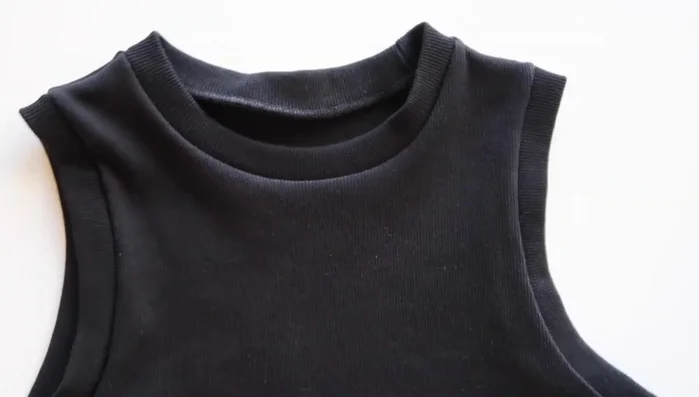
- Cut out the front and back pieces, ensuring the neckline is higher in the back than in the front. Cut straight across the bottom.

Prepare the Pattern and Fabric Sew the Main Body
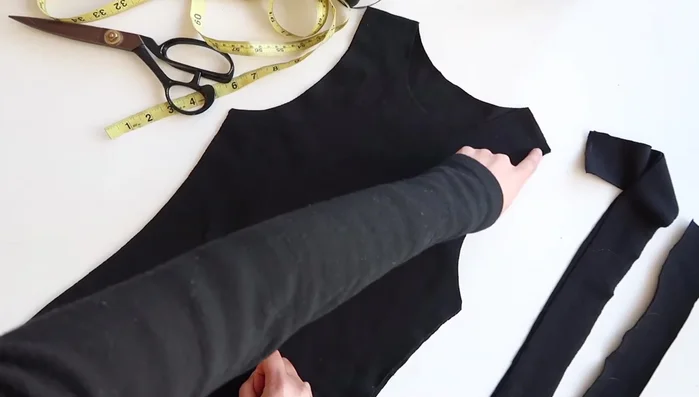
- Sew the shoulder and side seams using an overlocker/serger or a zigzag stitch.
- Try on the tank top to check the fit and adjust as needed. You can cut it slimmer, but remember the ribbing will add to the final width.
Sew the Main Body Prepare the Ribbing
- Measure the neck and armhole circumferences using a tape measure.
- Cut long strips of your rib fabric for the neck and armholes (approx. 2 inches wide). The length is based on your measurements.
Prepare the Ribbing Attach the Ribbing
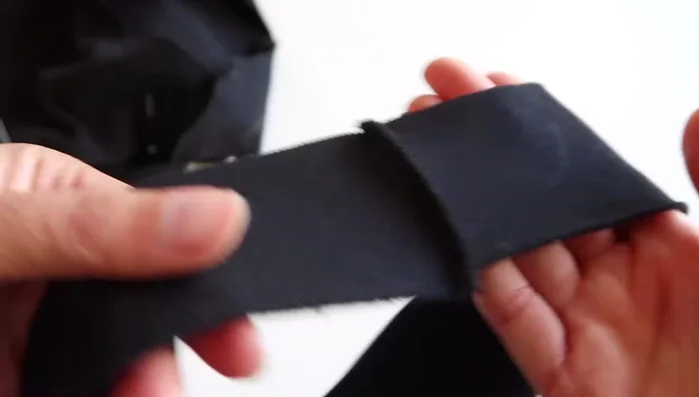
- Sew each binding piece to itself to create circular loops, then fold in half.
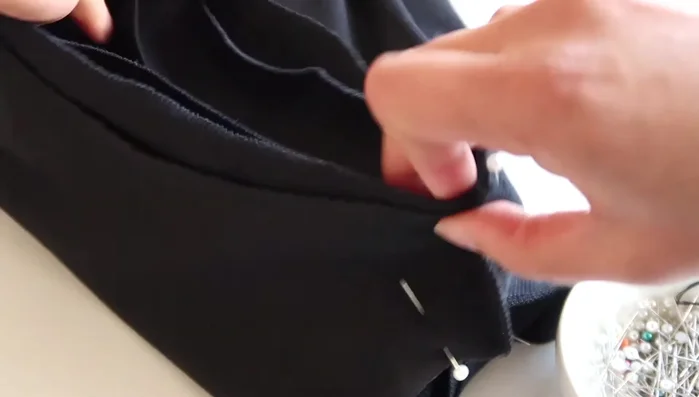
- Pin the folded binding to the inside of the armholes (right side of the garment).
- Sew the binding to the armholes, taking care to avoid bulky seams.
Attach the Ribbing Finishing Touches
- If desired, hem the bottom of the tank top using a zigzag stitch.
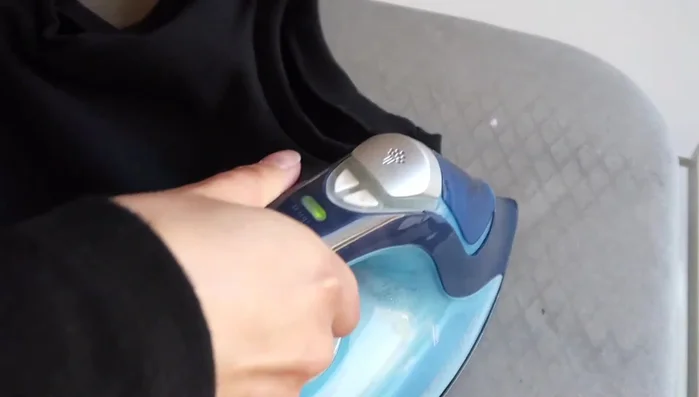
- Iron the seams to create a clean finish.
Finishing Touches


Read more: Raglan Sleeve Sewing Tutorial: A Step-by-Step Guide
Tips
- Use a close-fitting sleeveless tank top for accurate pattern tracing.
- Remember to add a 1cm seam allowance around all edges.
- Avoid placing the seams of the binding and the seams of the top in the same spot to prevent bulkiness.
- Sew slowly and carefully when attaching the binding to ensure all layers are caught.