Adding a touch of handmade charm to your home is easier than you think! Circular cushions offer a unique and stylish alternative to standard square or rectangular options, perfectly complementing a variety of interior design styles. From bohemian chic to minimalist modern, a DIY circular cushion can elevate your living space with a personalized touch that reflects your individual taste. Whether you're a seasoned crafter or a complete beginner, creating your own circular cushion is a rewarding project that allows you to choose your favorite fabrics and customize the size to fit your needs.
This satisfying project doesn't require complex skills or expensive tools; you'll be surprised how simple it is to achieve a professional-looking result. Ready to transform your space with a handcrafted masterpiece? Let's dive into the step-by-step guide and learn how to craft your own beautiful DIY circular cushion.
Preparation and Safety Guidelines
- Fabric
- Zipper
- Paper
- Pencil
- Ruler
- Scissors
- Sewing Machine
- Thread
- Bean Bag Filling (or alternative)
- lighter or nail polish (optional)
- Always use sharp scissors or a rotary cutter to ensure clean cuts and prevent injury. Dull blades require more force, increasing the risk of accidents.
- Handle your sewing machine needles and pins with care. Store them safely when not in use to avoid accidental pricks or injuries.
- If using a hot glue gun, exercise extreme caution. The glue is very hot and can cause serious burns. Keep it away from children and flammable materials. Always allow glue to cool completely before handling the finished cushion.
Step-by-Step Instructions
Cut and Prepare Fabric Pieces
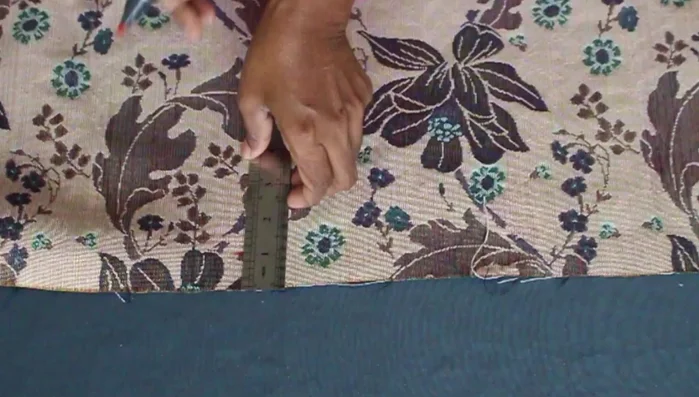
- Mark the pattern onto the fabric. Draw a 128cm x 23.5cm rectangle, leaving 1 inch seam allowance.
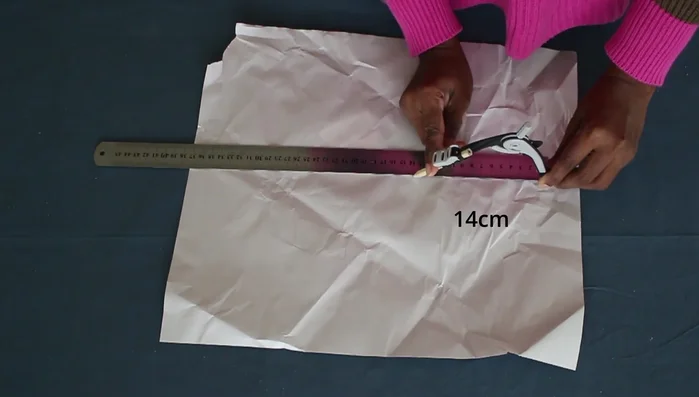
- Cut out a 14cm radius circle. Leave 1 inch seam allowance.
- Fold the circle pattern in half, place it on the fabric leaving 1.5 inch seam allowance and cut out two half circles.
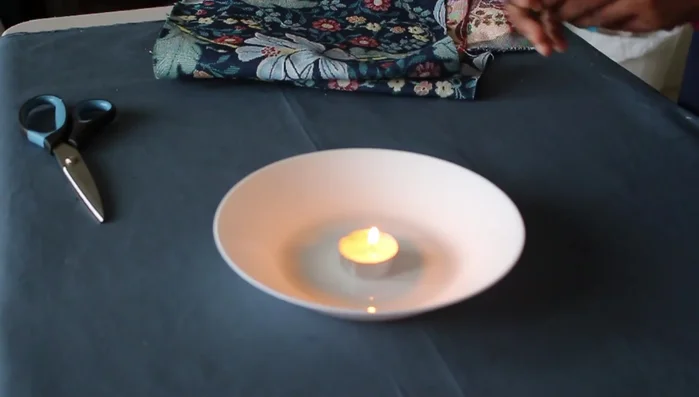
- Burn or apply nail polish to fabric edges to prevent fraying. (Only for 100% synthetic fabrics).

Cut and Prepare Fabric Pieces Create Darts
- Divide the large fabric piece into eight sections (16cm each). Create darts (2.5cm) on each corner. Cut out a paper pattern for the darts first to ensure accuracy.
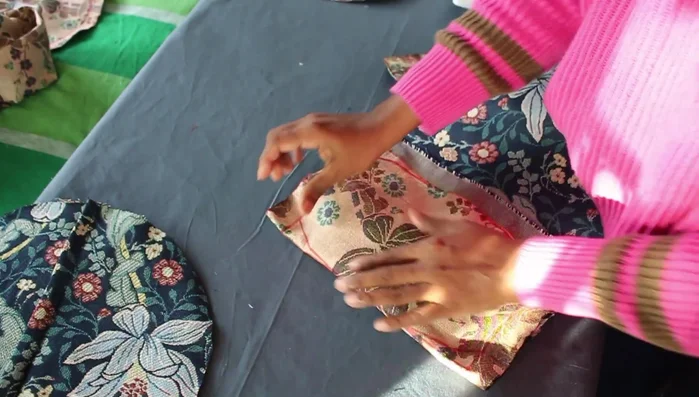
Create Darts Attach Zipper
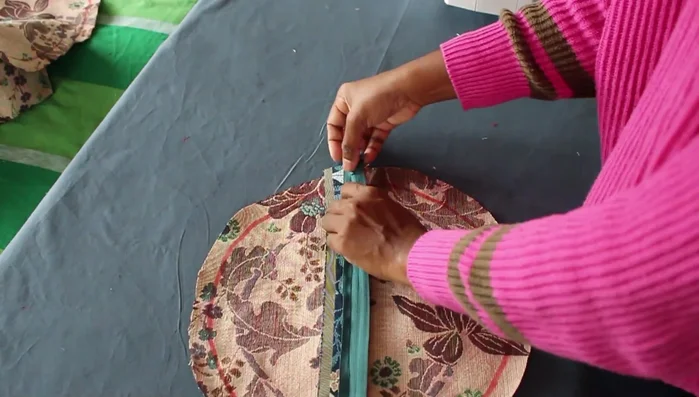
- Sew the zipper onto one half-circle, using a zigzag stitch. Fold seam allowance in half before sewing.
- Repeat step 6 for the second half-circle.
- Before pinning all three parts together, open the zipper halfway, connecting the zipper edges to the main fabric piece.
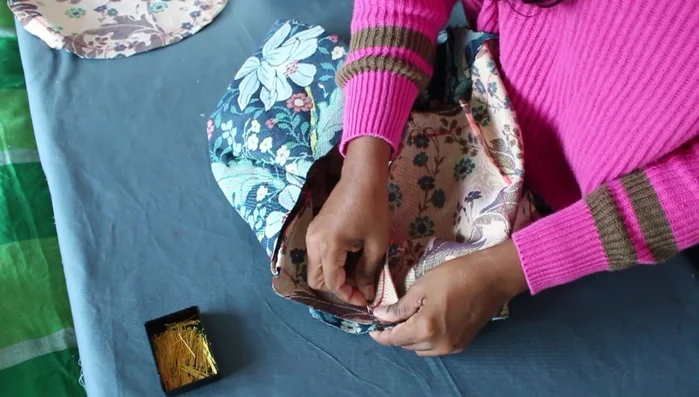
Attach Zipper Assemble Cushion
- Pin the two half-circles to the main fabric piece, aligning pattern markings, with the zipper in place. Sew along the marked line twice for extra strength.
- Fold along the dart lines, aligning the two sides. Sew.
- Pin the two circles to the middle part of the cushion and sew together, stitching twice for extra strength.
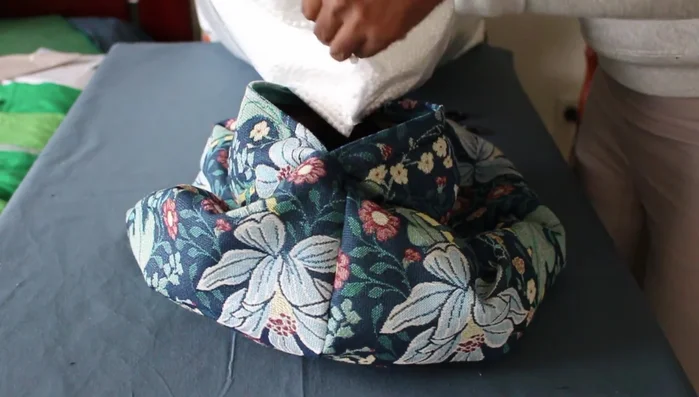
Assemble Cushion Fill and Finish
- Fill the cushion with bean bag filling (or alternative) and stitch the zipper opening closed.
Fill and Finish


Read more: DIY Super Cute Whale Shower Curtain: A Step-by-Step Tutorial
Tips
- Always leave seam allowance as indicated in the video to ensure a well-fitted cushion.
- Use a zigzag stitch for the zipper to prevent fraying.
- Stitch twice along main seams for extra strength and durability.
- Adjust zipper slider to create space for the sewing machine foot.