The Christmas tree stands tall and majestic, a beacon of festive cheer in your home. But what lies beneath, often overlooked, can significantly enhance its overall charm. A beautifully crafted Christmas tree skirt not only hides those unsightly tree stands but adds a delightful touch of personality and style to your holiday décor. This year, skip the expensive store-bought options and unleash your inner crafter! This ultimate guide will walk you through two distinct methods for creating your very own DIY Christmas tree skirt, allowing you to personalize your festive centerpiece and infuse it with unique character.
Whether you prefer a rustic, cozy vibe or a more sophisticated, elegant look, we’ve got you covered. From choosing the perfect materials to mastering the final touches, we'll guide you through each step, ensuring you end up with a stunning, handmade skirt that reflects your personal style. Prepare to embark on a fun and rewarding crafting journey, because the detailed, step-by-step instructions are just around the corner!
Preparation and Safety Guidelines
- Fabric (liner and outer)
- Bias binding (5 meters)
- Sewing scissors
- Sewing machine
- Patterns (downloadable from todaycraft.com)
- Always use caution when working with sharp objects like scissors or needles. Adult supervision is required if children are assisting.
- Ensure all materials are fire-resistant or treated to minimize fire hazards, especially near candles or other heat sources.
- If using fabrics, check for any potential allergens before starting the project and wash fabrics before crafting to avoid irritants.
Step-by-Step Instructions
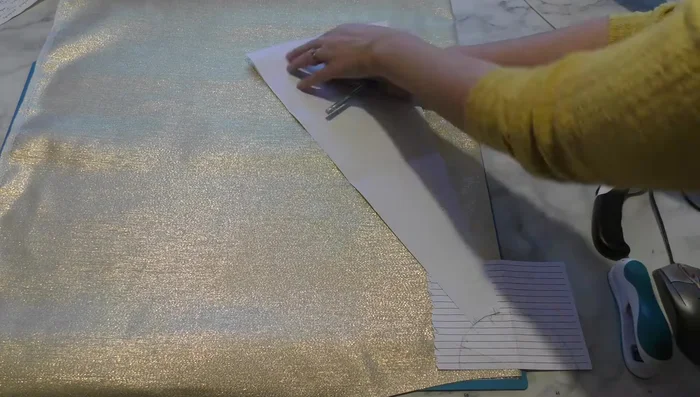
Cut Fabric Pieces
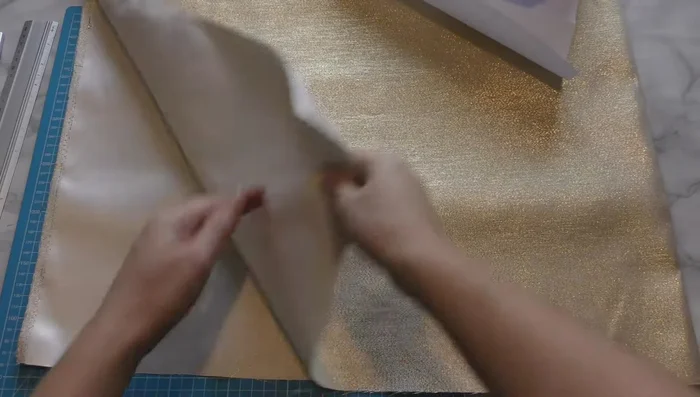
- Cut out fabric pieces using the provided pattern. Place patterns in alternating directions to maximize fabric use.

Cut Fabric Pieces Create and Sew Liner
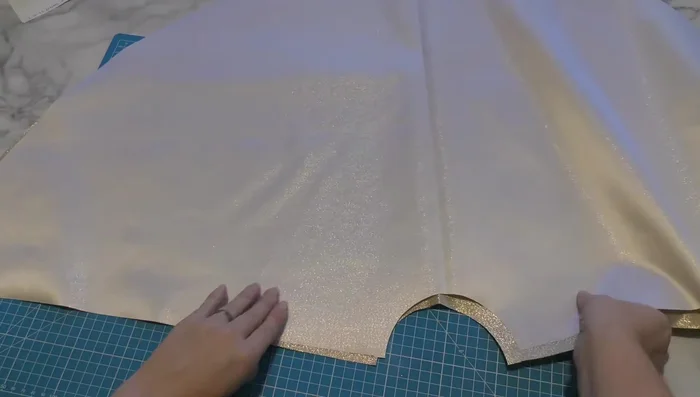
- Create the liner by placing the pattern on the fabric fold, measuring the top point, and creating the curve. Cut out three liner pieces.
- Sew two liner pieces right sides together, leaving a 1/4 inch seam allowance.
Create and Sew Liner Sew Outer Fabric Pieces
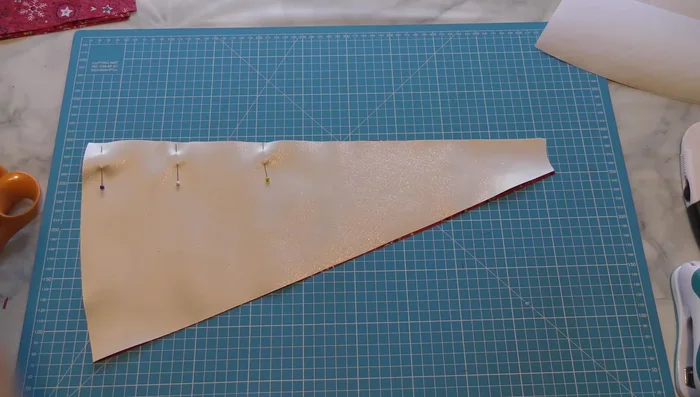
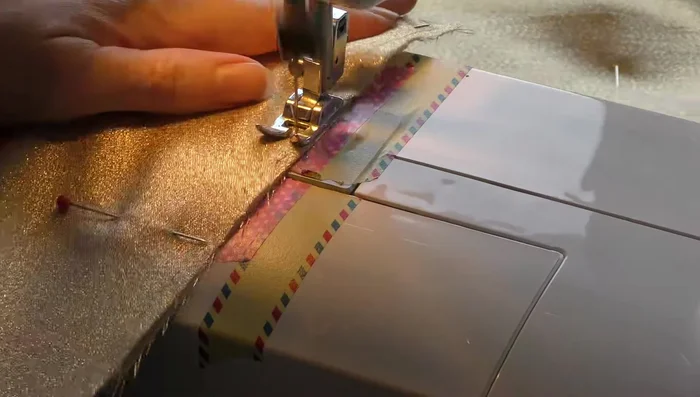
- Sew triangular fabric pieces together in pairs, right sides together, alternating fabrics and leaving a 1/4 inch seam allowance.
Sew Outer Fabric Pieces Press Seams
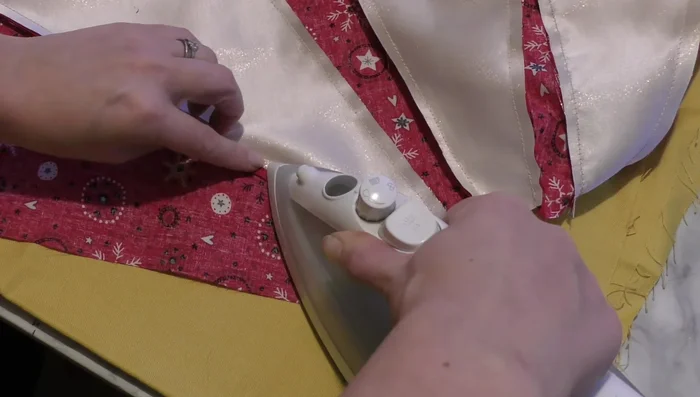
- Press all sewn seams open.
Press Seams Assemble Liner and Outer Fabric
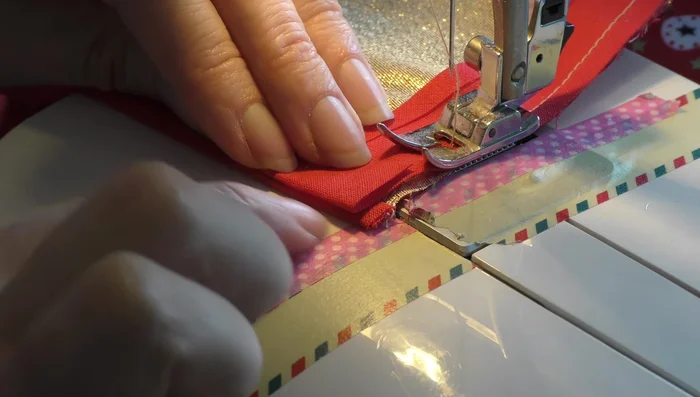
- Place the liner (right side down) and outer fabric (right side up) together, lining up edges and central seams. Pin securely before sewing.
- Sew the liner and outer fabric together with a 1/4 inch seam allowance. Use the needle down technique to manage corners neatly.
Assemble Liner and Outer Fabric Trim Excess
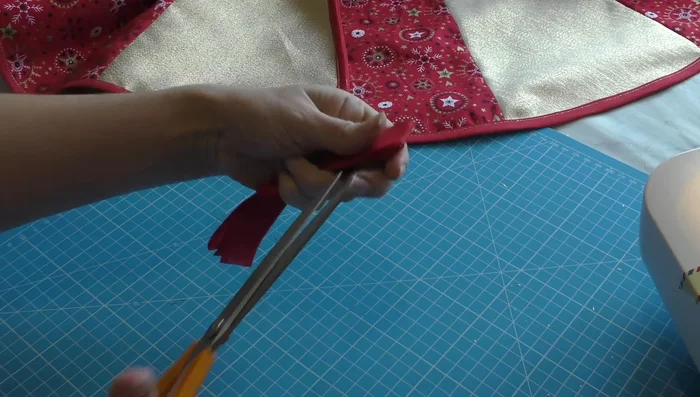
- Trim excess fabric.
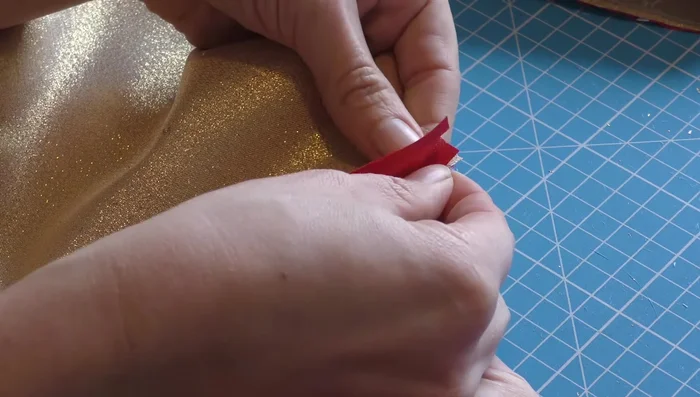
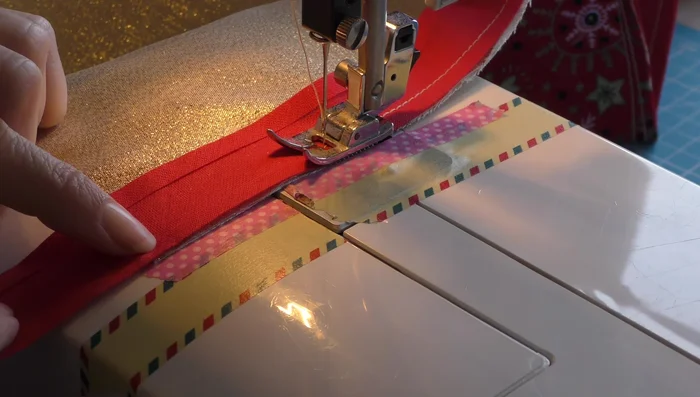
Trim Excess Attach Bias Binding
- Attach bias binding. The *proper* method is to sew it 1/2 inch from the folded edge, then wrap and sew the other side. A quicker (but less proper) method involves sewing through both layers of the binding after wrapping.
- Use the needle down technique to manage corners neatly while attaching the binding.
- Fold over the bias binding to create a neat folded edge and sew to secure.
Attach Bias Binding Create and Attach Fastenings
- Create fabric tabs from leftover bias binding and sew them to the skirt for fastenings.
Create and Attach Fastenings


Read more: DIY Super Cute Whale Shower Curtain: A Step-by-Step Tutorial
Tips
- Test iron your fabric to ensure the correct temperature setting before pressing seams.
- Use a contrasting or sparkly thread for the bias binding to add visual interest; however, for beginners, a matching thread might be easier to work with.