Looking for a chic and effortless addition to your wardrobe that won't break the bank? This DIY simple chiffon top tutorial is perfect for beginner sewers and experienced crafters alike! Chiffon, with its delicate drape and airy feel, is surprisingly easy to work with, and this project proves just how quickly you can create a beautiful, stylish garment. Forget expensive boutique prices – you can craft your own unique top in a fraction of the time and cost. We’ll guide you through each step, using simple techniques that are easy to follow even if you’re picking up a needle and thread for the first time.
This tutorial focuses on a basic, adaptable pattern that allows for endless customization. You can easily adjust the length, sleeve style, and neckline to perfectly match your personal style. Get ready to unleash your creativity and transform a simple piece of chiffon into a stunning, wearable masterpiece. Let’s dive into the step-by-step process and start sewing!
Preparation and Safety Guidelines
- Fabric
- Sewing Machine
- Bias Tape
- Buttons
- Measuring Tape
- Scissors
- Pins
- Always use sharp sewing shears or scissors to prevent fabric from fraying and ensure clean cuts. Dull blades can cause uneven cuts and increase the risk of injury.
- Handle sharp needles and pins with caution. Keep them away from children and store them securely when not in use to prevent accidental pricks or injuries.
- Chiffon is a delicate fabric; use a fine needle and appropriate stitch length on your sewing machine to avoid snags or breakage. Hand-sewing may be preferable for certain parts of the project.
Step-by-Step Instructions
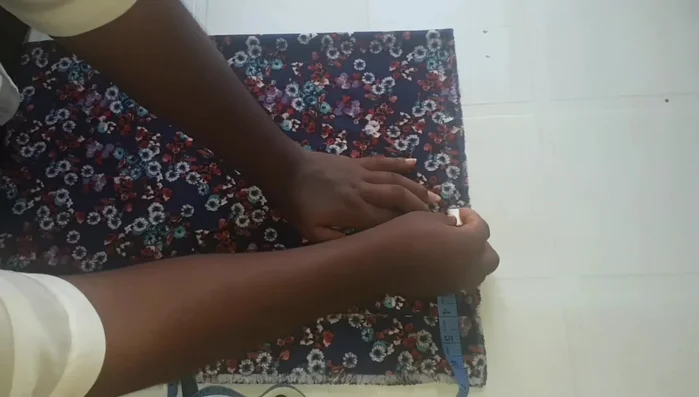
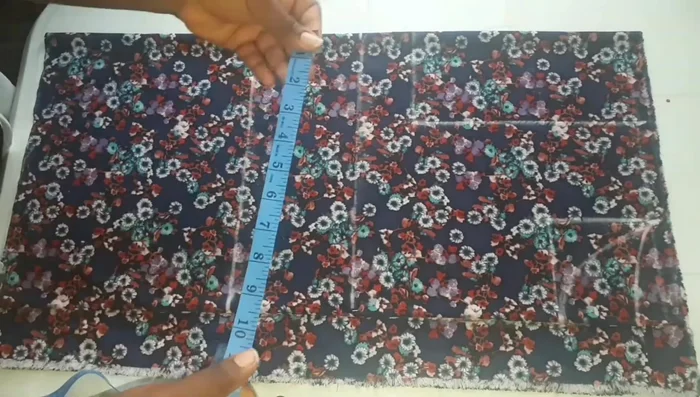
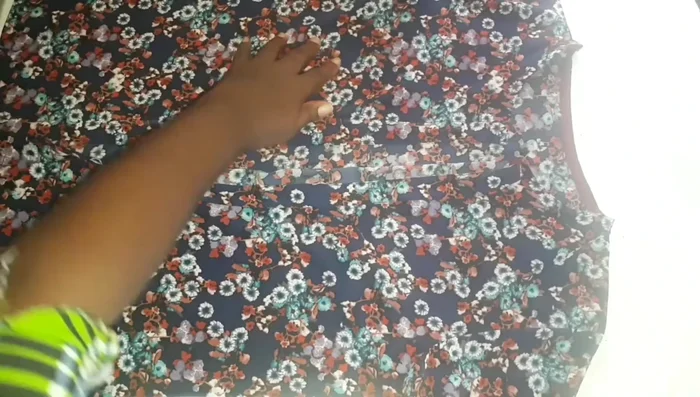
Prepare Fabric
- Add seam allowances (1 inch for shoulder, 2.5 inches for button placket).

Prepare Fabric Mark Pattern Pieces
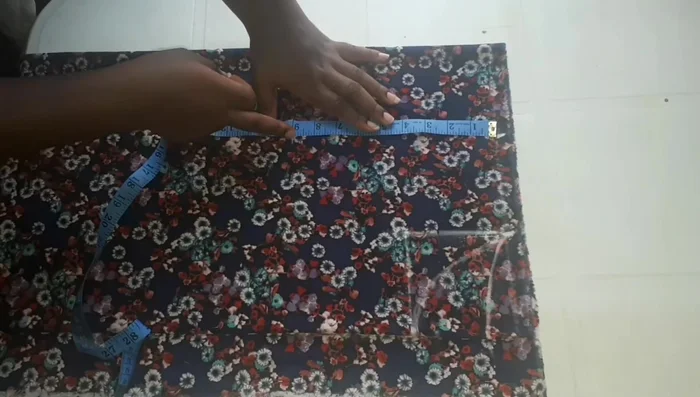
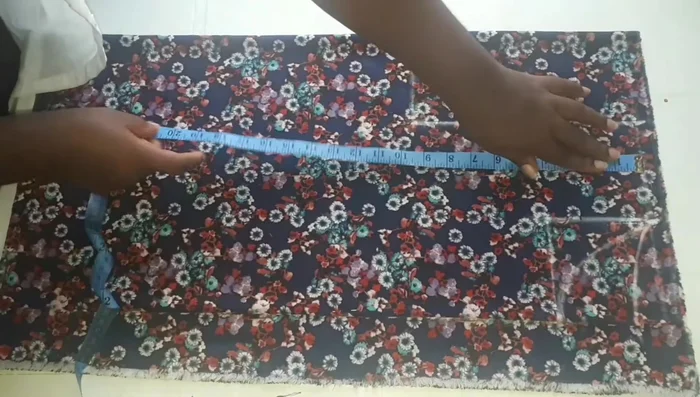
- Mark shoulder (8.5 inches or 17 inches total).
- Mark neckline (4 inches width, 4 inches depth for front; 1 inch depth for back). Curve the neckline.
- Mark armhole (9.5 inches, including shoulder slant).
- shoulder to bust point (12 inches), shoulder to half-length (17 inches).
Mark Pattern Pieces - Apply bust, waist, and hip measurements (add 4 inches to bust for ease, use exact waist measurement, use bust measurement + 0.5 inch for hips).
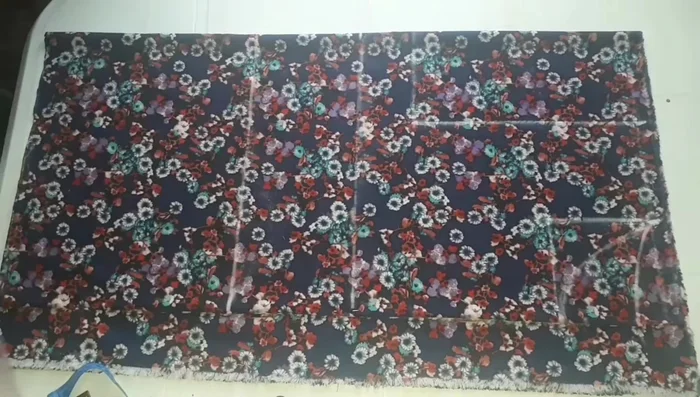
Mark Pattern Pieces Connect Pattern Lines
- Join points with straight or slightly curved lines.
Connect Pattern Lines Cut Fabric
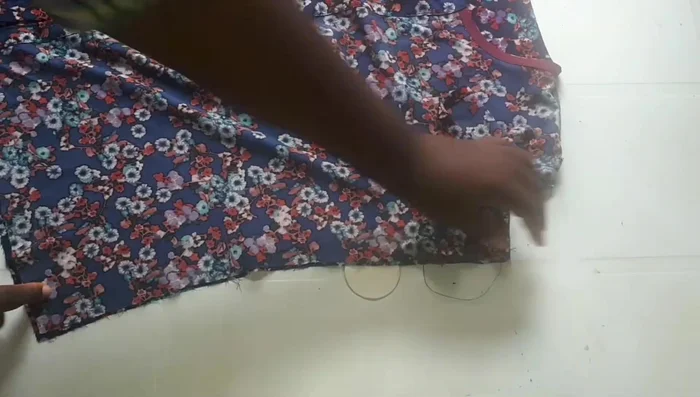
- Cut out fabric pieces.
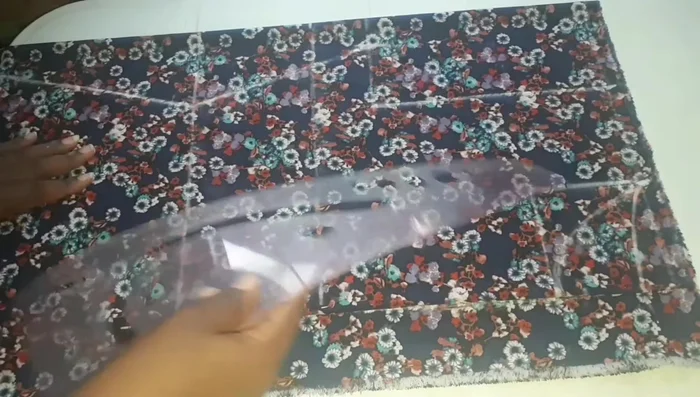
Cut Fabric Shape Armhole
- Shape armhole curve.
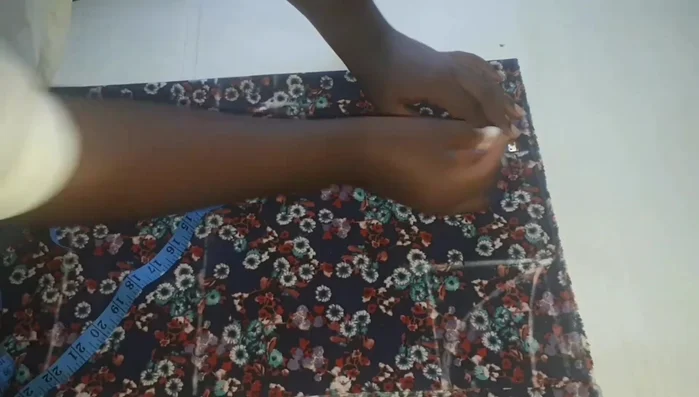
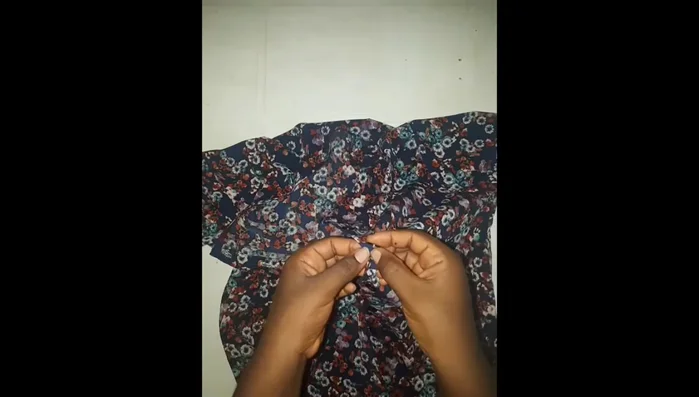
Shape Armhole Sew Main Seams
- Sew shoulder seams.
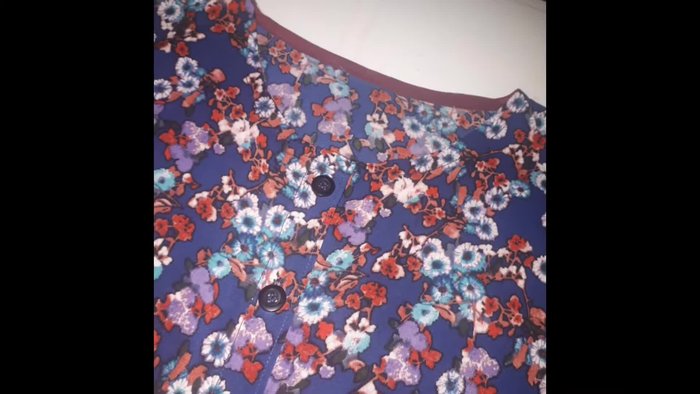
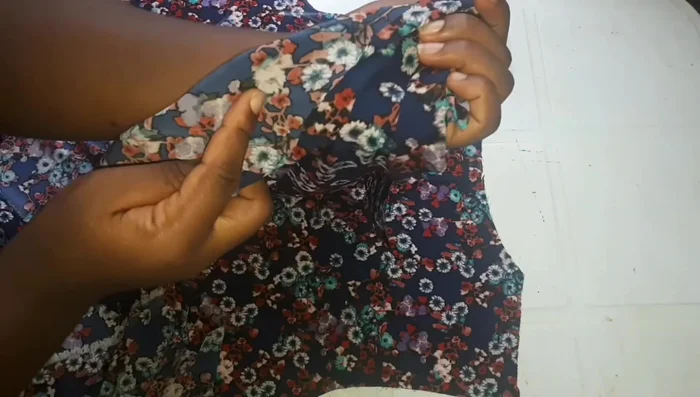
- Finish neckline with bias tape.
- Fold and sew button placket.
- Attach sleeves.
Sew Main Seams - Sew side seams.
- Hem the bottom of the top.
Sew Main Seams Add Buttonholes and Buttons
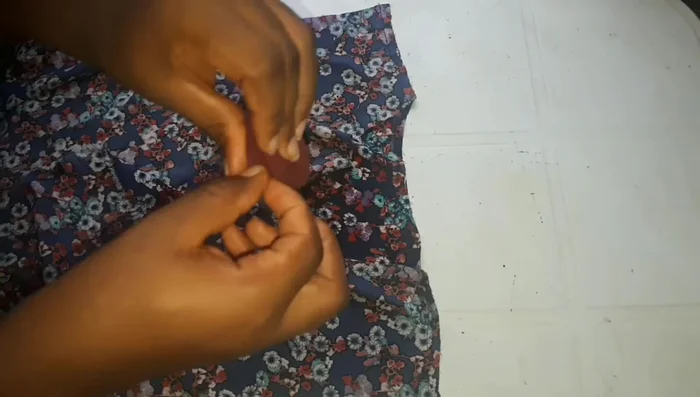
- Mark and sew buttonholes (0.75 inch wide, 2 inch spacing, 3 inch spacing at hem).
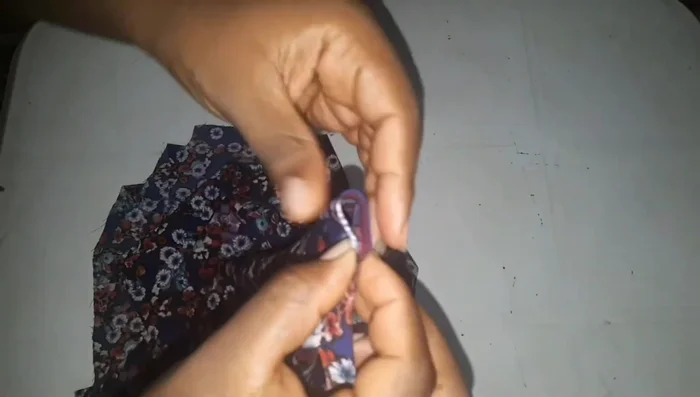
- Attach buttons.
Add Buttonholes and Buttons


Read more: Raglan Sleeve Sewing Tutorial: A Step-by-Step Guide
Tips
- Add extra ease to the bust measurement for a comfortable fit.
- Use exact waist measurement for a less curvy, more structured shirt.
- Add seam allowances to all pieces before cutting.