Uncomfortable chairs can transform a cozy space into a source of constant fidgeting. Whether you're dealing with hard dining room seats, a worn-out office chair, or simply seeking a personalized touch, the solution might be closer than you think. Creating your own DIY chair pads allows you to customize comfort, style, and even add a pop of personality to any room. From choosing the perfect fabric to securing the finished product, this simple craft offers a satisfying blend of creativity and practicality.
Forget expensive, mass-produced chair cushions – you can achieve superior comfort and stunning results with materials readily available at your local craft store. This step-by-step guide will walk you through the process of crafting beautiful and comfortable DIY chair pads, empowering you to revitalize your seating arrangements and inject your unique style into your home. Let's get started!
Preparation and Safety Guidelines
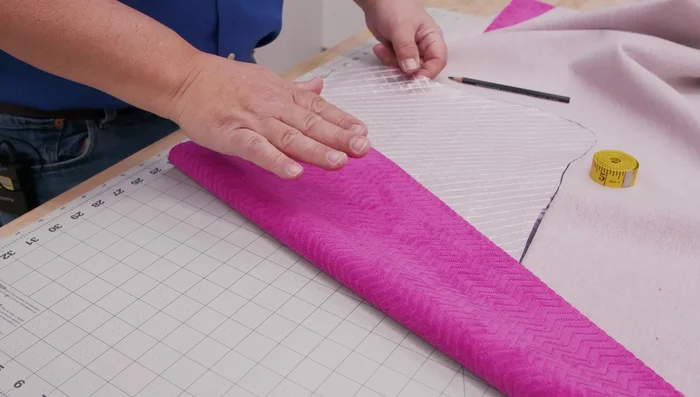
- Dura Skrim pattern material
- Marker
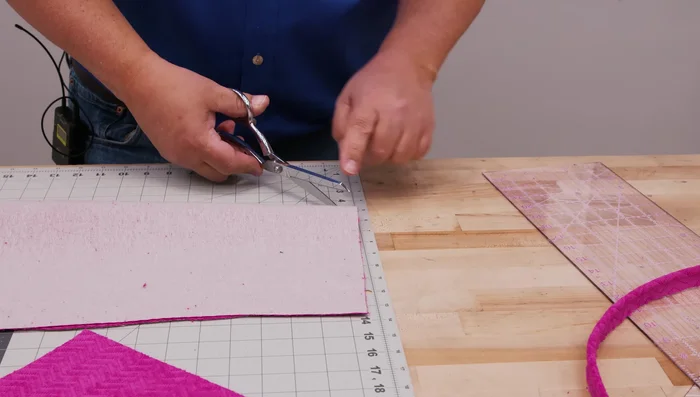
- Rotary cutter (or scissors)
- Cutting mat
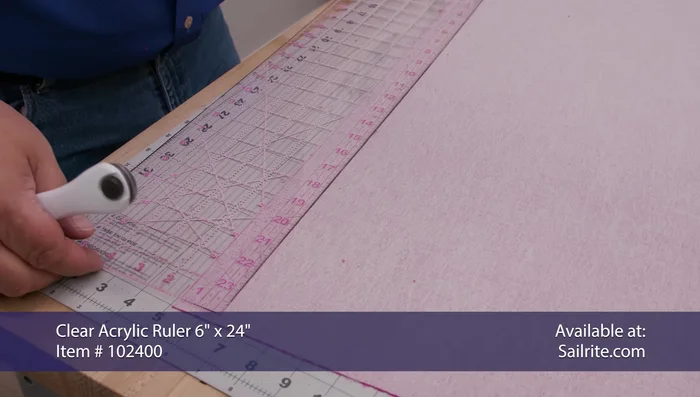
- Acrylic ruler
- Sewing machine with cording foot (optional, but highly recommended)
- Ultrafeed LS-1 sewing machine (optional)
- Thread
- Size 14 needle
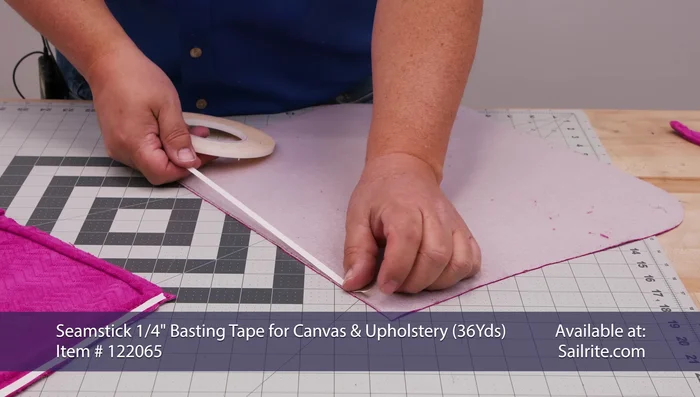
- Basting tape for canvas
- High-density polyurethane foam
- Silk film
- Vacuum cleaner
- Always use fabric that is pre-washed and dried to prevent shrinkage after completion, ensuring your chair pad fits correctly.
- Securely attach the filling to the fabric to avoid shifting or bunching, which can lead to discomfort and potential hazards.
- When using scissors or other sharp tools, exercise caution to prevent accidental cuts or injuries. Always cut away from yourself.
Step-by-Step Instructions
Create the Pattern
- Create a pattern by tracing the chair's shape onto Dura Skrim pattern material. Add seam allowance (3/4 inch).
- Cut out the pattern and make a mirrored copy for the second chair pad piece.

Create the Pattern Prepare Materials
- Cut piping and fabric ties to size. Piping should be 1.5 inches wide and long enough to go around the entire perimeter. Ties are 2 inches wide by 20 inches long.
Prepare Materials Make the Piping
- Make piping by encasing the piping cord in the fabric strip. Use a cording foot if available.
Make the Piping Attach Piping to First Piece
- Attach piping to one chair pad piece, using a cording foot or standard foot with cording tunnel. Make small relief notches at corners for a smoother finish.
Attach Piping to First Piece Prepare for Sewing
- Apply basting tape to one chair pad piece along the edges (avoiding the piping area).
- Apply basting tape to the back edge of the second chair pad piece (leaving 1.5-2 inches un-taped at the end).
Prepare for Sewing Sew the Chair Pad Pieces Together
- Peel the backing off of the basting tape on the first piece, and carefully align and adhere the two chair pad pieces with right sides together, matching edges precisely.
- Sew the two chair pad pieces together, leaving the back end open for foam insertion.
Sew the Chair Pad Pieces Together Make and Attach Fabric Ties
- Make fabric ties by folding 2-inch wide fabric strips in half, applying basting tape to secure, and sewing along the edges.
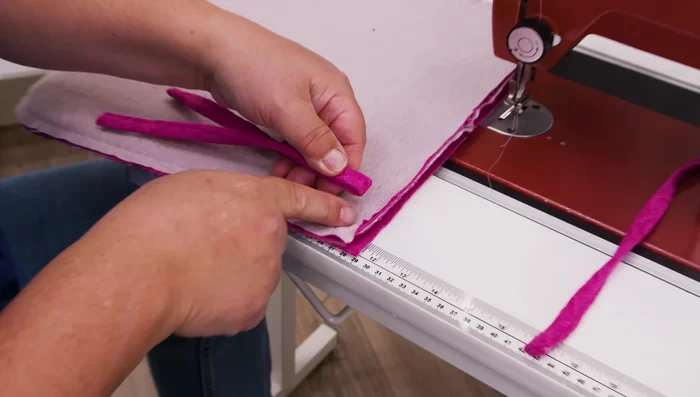
- Insert fabric ties into the back corners of the chair pad, about an inch from the corner.
Make and Attach Fabric Ties Insert Foam and Close the Opening
- Insert the foam into the chair pad cover using a vacuum and silk film to help shape and compress the foam, facilitating insertion.
- Close the back opening of the chair pad by folding over and securing with the double-sided tape and sewing with a zipper foot.
Insert Foam and Close the Opening


Read more: DIY Super Cute Whale Shower Curtain: A Step-by-Step Tutorial
Tips
- Using a cording foot makes sewing the piping much easier.
- Make small relief notches at corners when sewing piping to help it navigate the curves smoothly.
- Basting tape is a great aid in keeping fabric aligned when sewing.
- Use a vacuum and silk film to easily insert the foam into the chair pad cover.
- A roping zipper foot is helpful for sewing the final closure of the back seam.