Tired of looking at that worn-out dining chair or wanting to refresh your living room's aesthetic without breaking the bank? Then you've come to the right place! This simple and straightforward chair cover tutorial will guide you through the process of creating a beautiful, custom-fit cover for your chairs, using readily available materials and minimal sewing skills. Forget expensive upholstery services; with a few basic supplies and a little patience, you can transform your old chairs into stylish statement pieces.
This project is perfect for beginners, requiring only basic sewing knowledge and a willingness to learn. We'll be focusing on a classic, easy-to-follow design that offers excellent results, even for those new to DIY projects. Ready to get started and breathe new life into your furniture? Let's dive into the step-by-step instructions and create stunning chair covers together.
Preparation and Safety Guidelines
- Fabric
- Measuring tape
- Scissors
- Straight edge
- Sewing machine
- Chalk
- Always use sharp scissors or fabric shears to ensure clean cuts and prevent injury. Dull blades can cause fabric to fray and increase the risk of accidents.
- If using a sewing machine, be mindful of your fingers and keep them away from the needle at all times. Use a seam ripper, not scissors, to remove stitches if needed.
- Before starting, measure your chair carefully to ensure you have enough fabric. Adding extra fabric for ease of fitting and shrinkage is recommended.
Step-by-Step Instructions
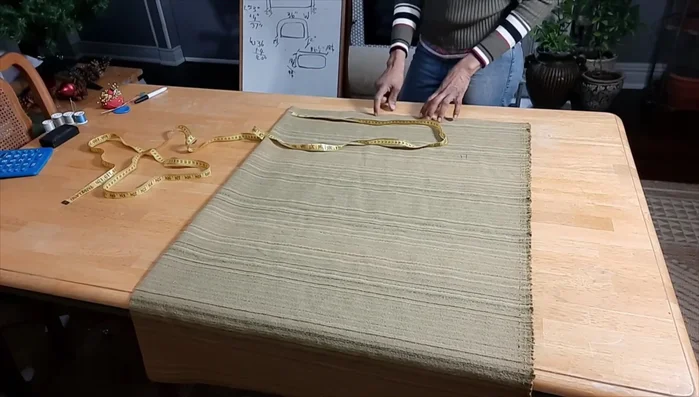
Measure and Cut Fabric
- Measure the chair seat and back.
- Add seam allowances (2 inches on each side for double hem).
- Cut the fabric to the calculated dimensions (40 inches x 57 inches in this example).
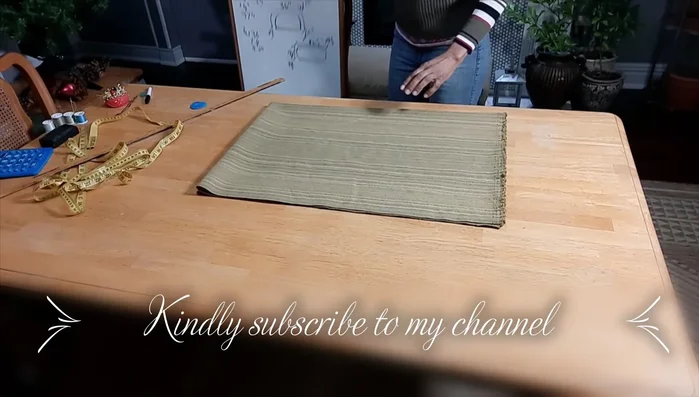
Shape the Seat Section
- Measure and mark the fabric for the seat section.
- Fold the fabric and mark the width section.
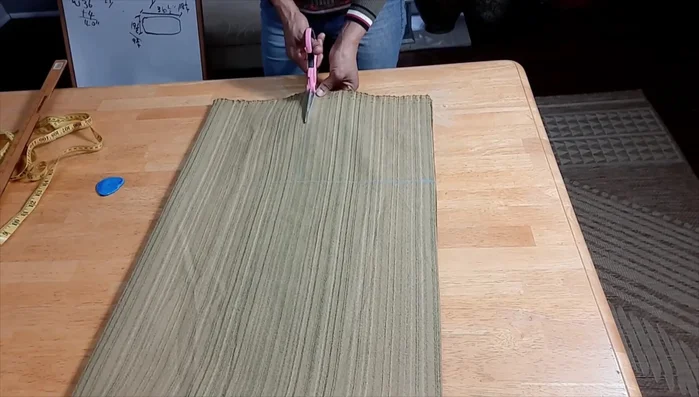
- Cut out the corners to create a box shape.

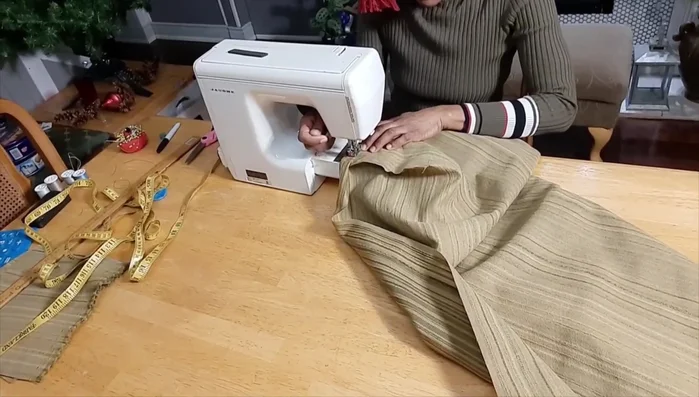
Shape the Seat Section Sew the Seat
- Stitch the corners together, creating a 1/4 inch seam allowance and a curved top edge.
Sew the Seat Hem the Edges
- Create a 1-inch double hem around the edges.
Hem the Edges

Read more: DIY Super Cute Whale Shower Curtain: A Step-by-Step Tutorial
Tips
- To make the corners look more curved, create a curve at the top edge when stitching.