Looking for a chic and effortlessly stylish skirt that's surprisingly simple to make? This DIY Easy Wrap Skirt Tutorial, inspired by the iconic Celine aesthetic, is your answer. Forget complicated sewing patterns and hours of frustrating stitching; this project is designed for beginners, requiring minimal sewing experience and readily available materials. The Celine-inspired design offers a sophisticated silhouette that's perfect for everything from casual daytime looks to elegant evening affairs. The wrap style allows for a customizable fit, ensuring a flattering look for any body type.
This tutorial will guide you through each step of creating your own beautiful wrap skirt using a straightforward, easy-to-follow method. Let's dive into the step-by-step instructions and transform a few yards of fabric into a wardrobe staple you'll love.
Preparation and Safety Guidelines
- sewing machine
- overlocker (optional)
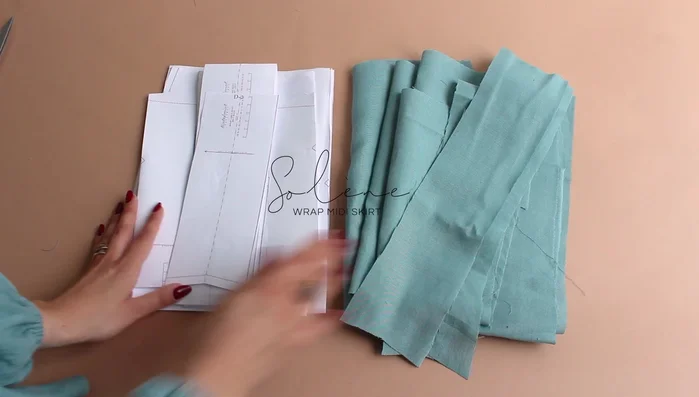
- fabric
- Celine pattern
- measuring tape
- pins
- iron
- Always use sharp scissors or rotary cutter to ensure clean cuts and prevent fabric from fraying. Dull blades can lead to uneven cutting and injuries.
- Pay close attention to the fabric grain when cutting and sewing to avoid distortion and ensure the skirt hangs correctly. Pre-wash your fabric to prevent shrinkage after the skirt is completed.
- Use appropriate pins to secure fabric layers while sewing. Avoid using pins that are too long to prevent accidental needle strikes and injury.
Step-by-Step Instructions
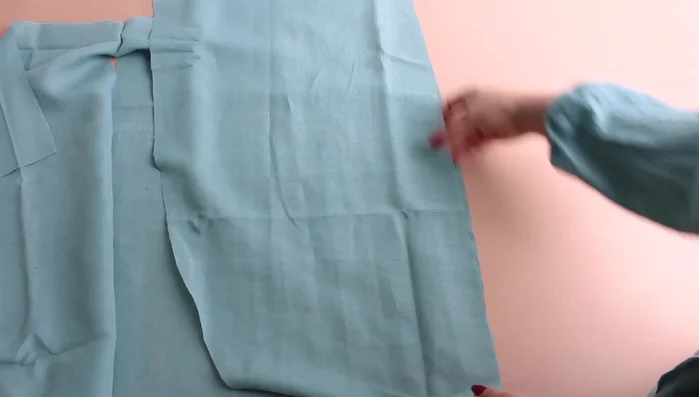
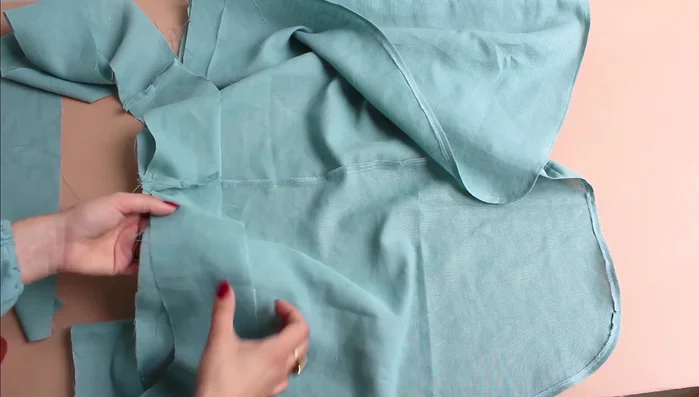
Attach Side Panels
- Pin left and right panels to the back panel
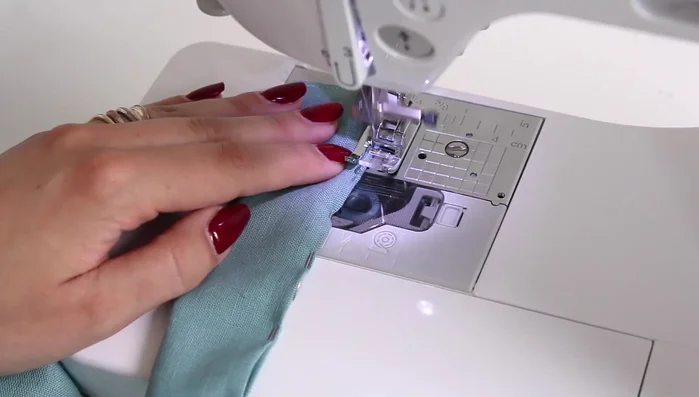
- Stitch and overlock the sides

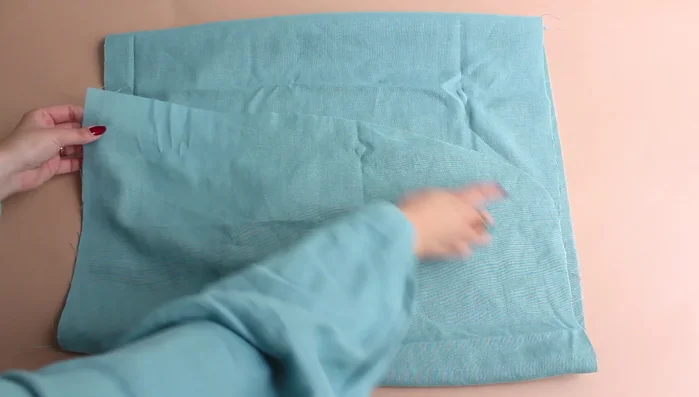
Attach Side Panels Hem the Skirt
- Overlock the hem
- Fold the hem by one centimeter and topstitch
Hem the Skirt Create Waistband
- Pin three waistband pieces together
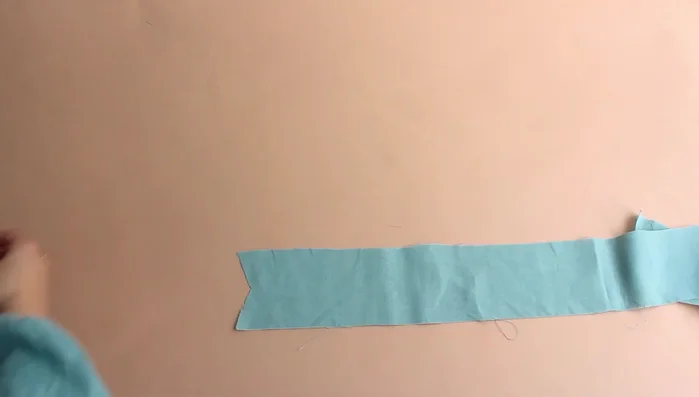
- Stitch the left side of the waistband normally and on the right side make two caps approximately two centimeters wide
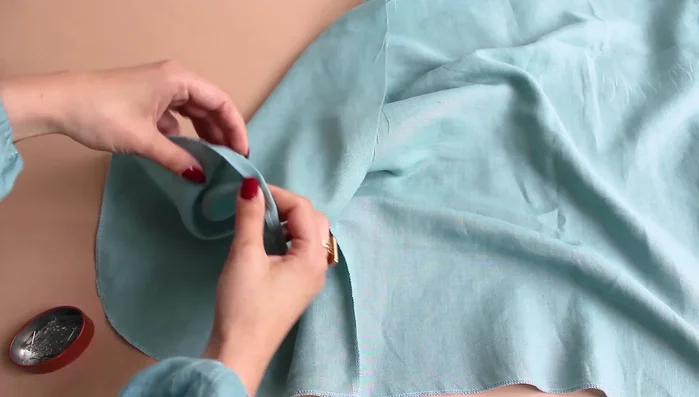
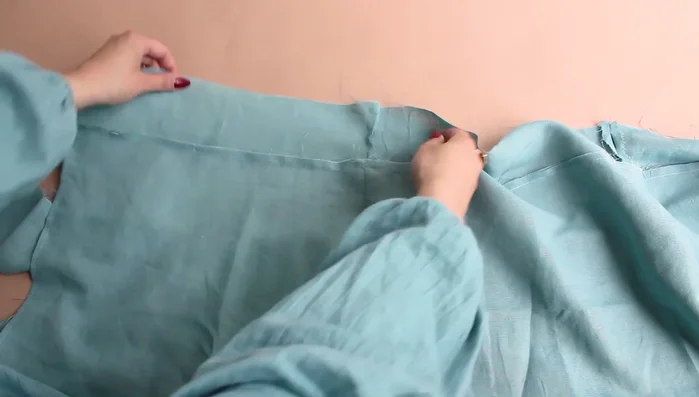
Create Waistband Attach Waistband to Skirt
- Attach waistband to the skirt
- Press the seam and fold the waistband to cover the stitch line
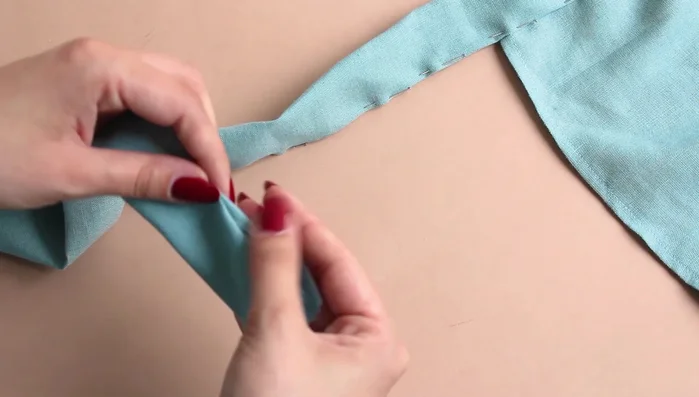
Attach Waistband to Skirt Finish the Belt
- Fold the belt inside by one centimeter
- Top stitch the belt
Finish the Belt

Read more: Raglan Sleeve Sewing Tutorial: A Step-by-Step Guide
Tips
- N/A