Tired of that unsightly kitchen clutter constantly stealing the spotlight? Wish you could effortlessly conceal your everyday essentials without breaking the bank? Then get ready to transform your kitchen's aesthetic with a simple yet stunning solution: DIY budget-friendly drape brackets! This clever project offers a stylish and surprisingly affordable way to add a touch of elegance while cleverly hiding away kitchen appliances and supplies, creating a more organized and visually appealing space. Forget expensive custom solutions; we’re unveiling the secrets to creating beautiful, functional drapery that will completely revamp your kitchen’s look.
This guide provides a comprehensive step-by-step process, using readily available materials and simple tools, to craft custom drape brackets that perfectly fit your needs and style. From measuring and cutting to installation and finishing touches, we'll walk you through every stage, ensuring a seamless and rewarding DIY experience. Let's get started and discover how easily you can conceal your kitchen in style, without emptying your wallet!
Preparation and Safety Guidelines
- Pipe
- Screws
- Wood (small piece)
- Drill
- Drill bit (same size as screw head)
- Always ensure brackets are securely fastened to a sturdy structure capable of supporting the weight of your drapes. Improper installation can lead to collapse and injury.
- Use appropriate screws and wall anchors for your specific wall type (drywall, plaster, brick, etc.). Incorrect fasteners can result in the brackets pulling out of the wall.
- Exercise caution when handling tools and materials. Wear safety glasses and gloves to protect yourself from injury.
Step-by-Step Instructions
Prepare the Brackets
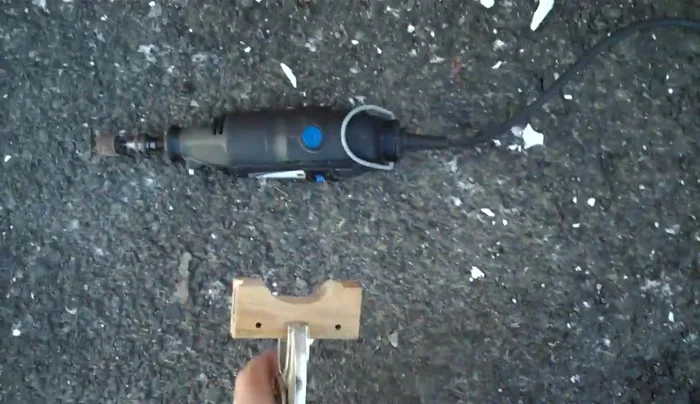
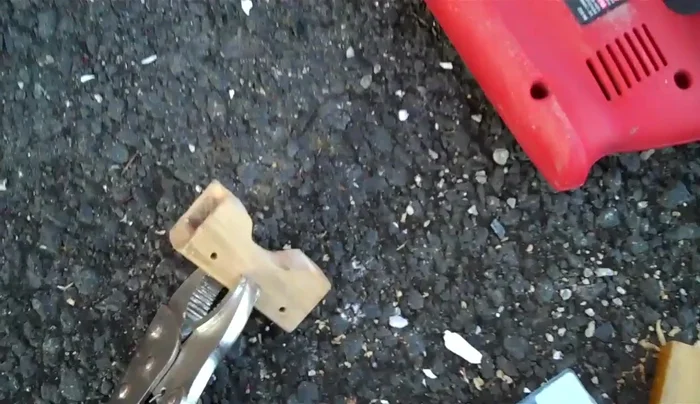
- Create brackets using a pipe and small pieces of wood. Pre-drill two holes in the wood pieces.
- To prevent screws from showing, pre-drill holes in the wood using a drill bit the same size as the screw heads.

Prepare the Brackets Assemble the Brackets
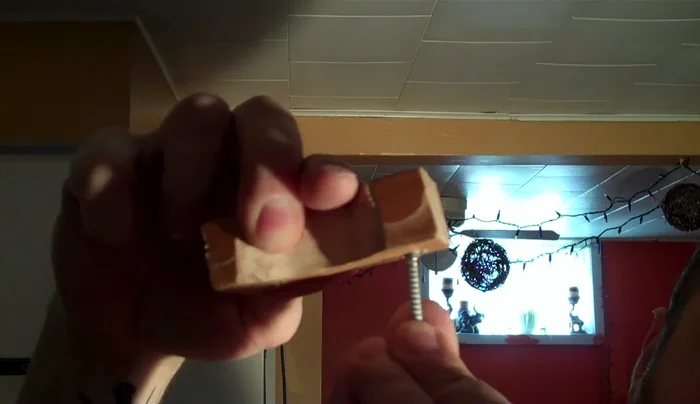
- Attach the brackets to the pipe using screws.
Assemble the Brackets Create Second Bracket
- Repeat step 1-3 to make a second bracket.
Create Second Bracket Install the Brackets
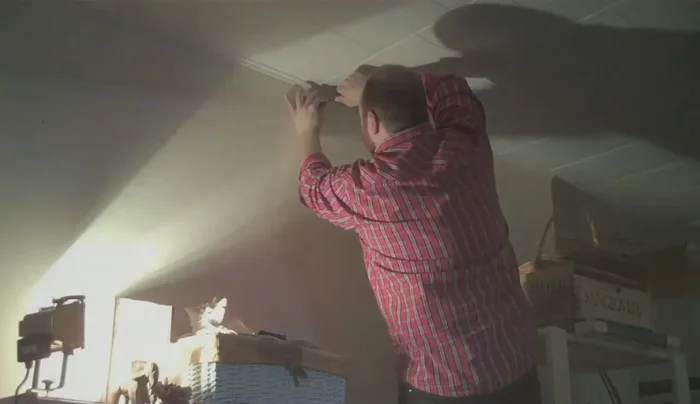
- Attach the brackets to your desired location. If the pipe is too bendy, add a piece of wood for support.
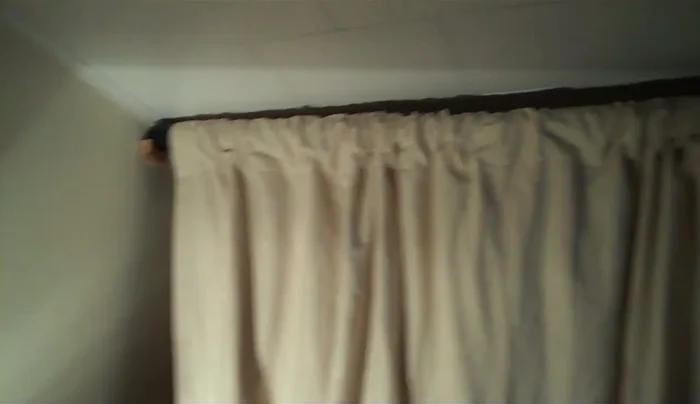
Hang the Drape
- Hang your drape.
Hang the Drape
Read more: DIY Super Cute Whale Shower Curtain: A Step-by-Step Tutorial
Tips
- Pre-drill holes to prevent screws from showing.
- If the pipe is too bendy, reinforce it with a piece of wood.