Tired of mismatched throw pillows clashing with your carefully curated décor? Yearning for the satisfying visual impact of perfectly aligned stripes? Then look no further! This guide will walk you through the surprisingly simple process of creating your own stunning boxed pillows, featuring flawlessly matched stripes that will elevate any room. Forget expensive, mass-produced options; crafting your own allows for complete customization, from fabric choice to precise stripe alignment, ensuring a truly unique and personalized touch.
We'll tackle the sometimes-tricky task of perfectly matching stripes across seams, ensuring a professional-looking finish that will impress even the most discerning eye. From selecting your fabrics and cutting the pieces to the final stitching, this step-by-step guide will equip you with all the knowledge and confidence you need to create beautiful, striped boxed pillows. Let's get started!
Preparation and Safety Guidelines
- Rotary cutter
- Ruler
- Cutting mat
- Fabric
- Pillow form (20x20 Ikea feather pillow form recommended)
- Pins
- Sewing machine
- Zipper (14-inch all-purpose zipper)
- Tapered corner pillow template (from Rolly, available on Amazon, Home Sewing Depot, or directly from Rolly)
- Always use a sharp rotary cutter or sharp scissors to prevent fabric slippage and ensure clean cuts, minimizing fabric fraying.
- Pre-wash your fabrics before starting to prevent shrinkage after the pillow is completed.
- Accurate measuring and cutting are crucial for perfectly matched stripes. Double-check your measurements before cutting and sewing each piece.
Step-by-Step Instructions
Prepare the Boxing Strips
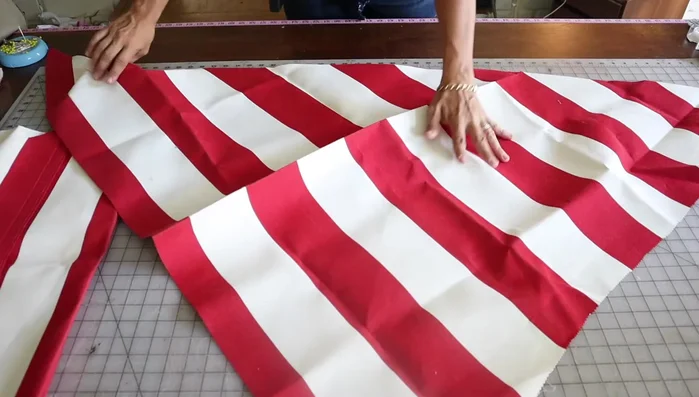
- Cut out 3.5-inch boxing strips on the diagonal, ensuring the stripes match the desired diagonal alignment.

Prepare the Boxing Strips Cut Pillow Front and Back
- Cut 16x16 inch squares of fabric for the pillow front and back, carefully matching stripes for a seamless look.
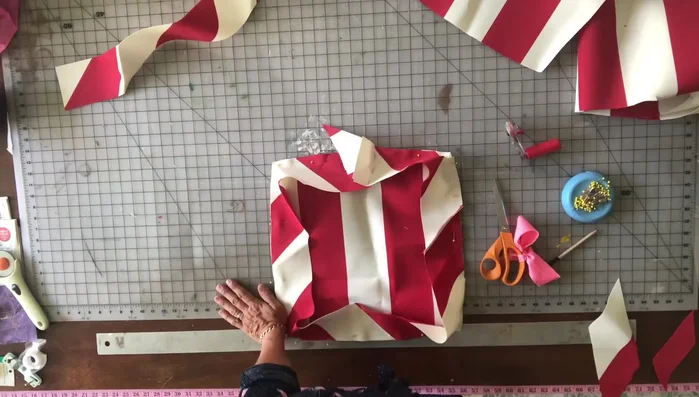
Cut Pillow Front and Back Attach Boxing to Pillow Front
- Attach the boxing to one side of the pillow, starting at the bottom to conceal the seam. Use a small snip at each corner for a neat finish.
- Sew the boxing to the pillow fabric.
Attach Boxing to Pillow Front Install Zipper
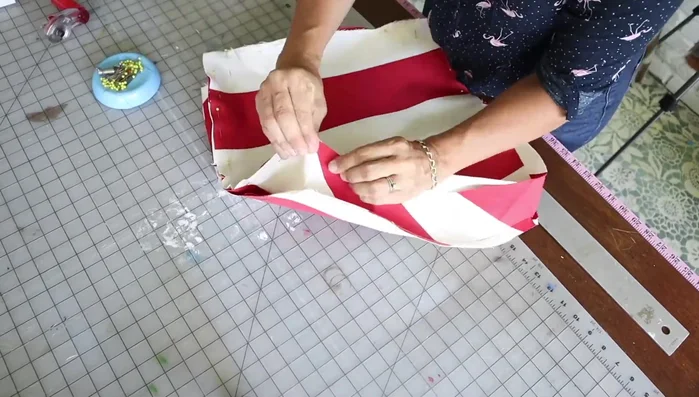
- Install the zipper. Partially unzip it, place it in the opening (pull side down), pin it to both sides of the seam allowance, and sew it down closely using a zipper foot.
Install Zipper Attach Pillow Back
- Pin the top piece (pillow back) to the boxing, making sure the notches at the center of the fabric pieces align. Sew the pieces together.
Attach Pillow Back Finishing Touches
- Turn the pillow right side out, push out the corners, and insert the pillow form.


Read more: King Size Quilt Tutorial: Efficient Chain Piecing Method
Tips
- Use a rotary cutter for faster cutting, but exercise extreme caution to avoid injury.
- Use a tapered corner pillow template for perfectly aligned and tapered corners, avoiding 'dog ears'.
- Start attaching the boxing at the bottom of the pillow to hide the seam.
- Backstitch at corners to secure the seam.
- Mark the center of your pillow pieces to ensure accurate alignment when attaching the top piece.