Craving a cozy, supportive bolster pillow but dreading a complicated sewing project? Forget fussy techniques and frustrating seams! This guide reveals the fastest and easiest method to create your dream bolster pillow – using an invisible zipper. Forget wrestling with exposed zippers or struggling to create a seamless finish; this method ensures a professional, elegant look with minimal effort. Say goodbye to bulky seams and hello to a perfectly smooth, luxurious pillow that's a joy to both make and use.
This tutorial provides a streamlined approach, perfect for beginners and experienced sewers alike. We'll walk you through each step, from choosing your fabric to the surprisingly simple process of inserting the invisible zipper. Ready to transform your sewing experience and create a beautiful bolster pillow in record time? Let's dive into the step-by-step instructions now!
Preparation and Safety Guidelines
- Fabric
- Pillow Filler
- Welt Cord
- Invisible Zipper
- Sewing Machine
- Zipper Foot
- Scissors
- Pins
- Measuring Tape
- Always use a sharp, high-quality sewing machine needle appropriate for your fabric to prevent breakage and ensure clean stitches. Using a dull needle can damage your fabric and cause the zipper to malfunction.
- Pin the zipper meticulously before sewing to avoid shifting and ensure a smooth, even seam. Take your time with this step for the best results. A poorly pinned zipper will result in a crooked or uneven finish.
- Test your zipper's functionality throughout the sewing process. Check its smooth operation after inserting and before completely closing the pillow cover to catch any issues early and avoid having to unpick seams.
Step-by-Step Instructions
Prepare the Pillow Ends
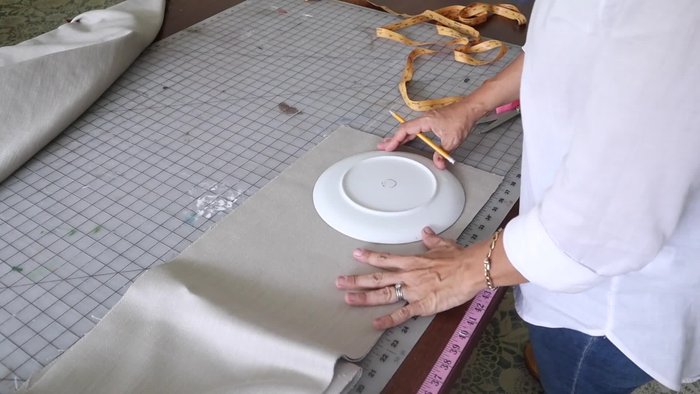
- Determine the desired diameter of your pillow ends (using a plate as a template is suggested).
- Cut out two circles based on the determined diameter.
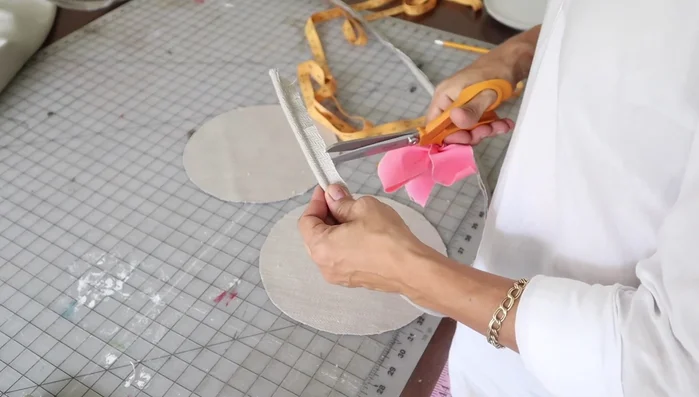
- Attach welt cord to both circle pieces; make relief snips in the welt to allow for wrapping.
- Pin the welt onto the circles, ensuring raw edges align, welt cording is inside, and the welt is positioned correctly.

Prepare the Pillow Ends - Sew the welt onto the circles using a zipper foot, maintaining a tight stitch close to the cording.
Prepare the Pillow Ends Prepare the Pillow Body
- Cut fabric for the pillow body. Calculate dimensions using either circumference measurement or the formula diameter x pi.
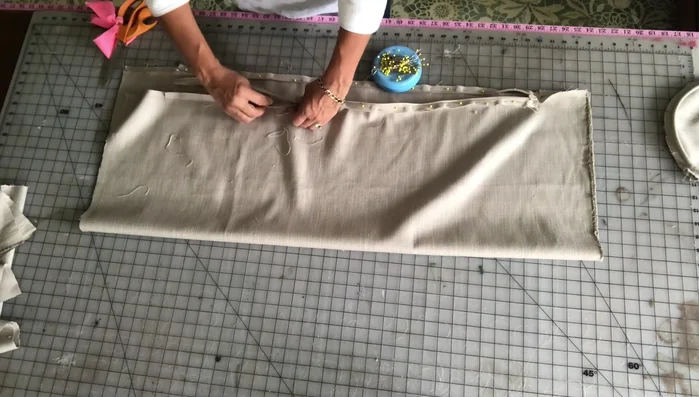
Prepare the Pillow Body Install the Invisible Zipper
- Cut a small notch at each end of the fabric, then lay the open zipper face down, aligning it with the notch. Pin one side of the fabric to the zipper, then the other side, ensuring even alignment.
- Sew the zipper in place, keeping it open, stitching as close to the teeth as possible. If necessary, re-sew the ends around the zipper pull for a clean finish.
- Sew a half-inch seam allowance, backstitching, and then sew a few stitches behind the zipper teeth to secure the enclosure.
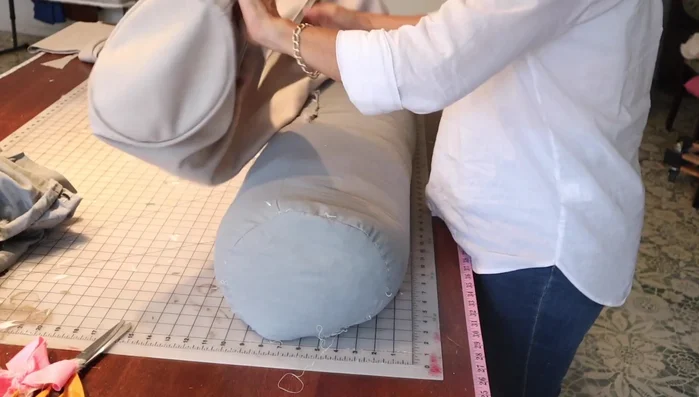
Install the Invisible Zipper Assemble the Pillow
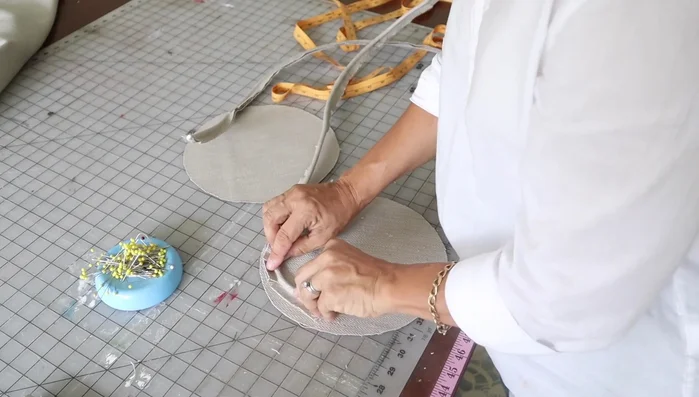
- Align the seams of the end circles and pillow body (zipper seam and welt seam), pin around, and make relief snips in the pillow body fabric.
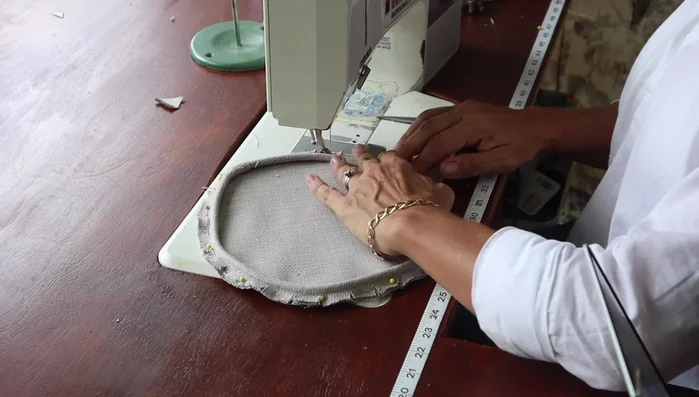
- Sew the end circles to the pillow body, using a welt foot to get close to the cording.
Assemble the Pillow Finishing Touches
- Stuff the pillow with filler and admire your creation!
Finishing Touches


Read more: King Size Quilt Tutorial: Efficient Chain Piecing Method
Tips
- Using a plate to determine circle size simplifies the process.
- Make relief snips in the welt and pillow body fabric to ensure flat seams and easy sewing.
- Use a zipper foot (or welt foot if preferred) for precise stitching close to the cording.
- Press invisible zipper before assembly and push down teeth while sewing.
- Aligning the seams (zipper and welt) creates a neater finish.