The blazer, a timeless wardrobe staple, exudes effortless sophistication and versatility. Whether you envision a classic navy number or a bold, statement piece, crafting your own blazer offers unparalleled customization and a deeply satisfying creative experience. Forget the limitations of off-the-rack sizing and embrace the potential to perfectly tailor a jacket to your unique measurements and personal style preferences. From choosing the ideal fabric to mastering intricate finishing techniques, this comprehensive guide will equip you with the knowledge and confidence to design and construct your dream blazer.
This tutorial provides a detailed, step-by-step process, guiding you through the entire blazer jacket drafting process, from initial measurements and pattern creation to final assembly and finishing. We'll explore essential techniques, address common challenges, and offer helpful tips to ensure a successful outcome, even for novice sewists. Prepare to unleash your inner designer and embark on this rewarding journey of creating a truly personalized garment.
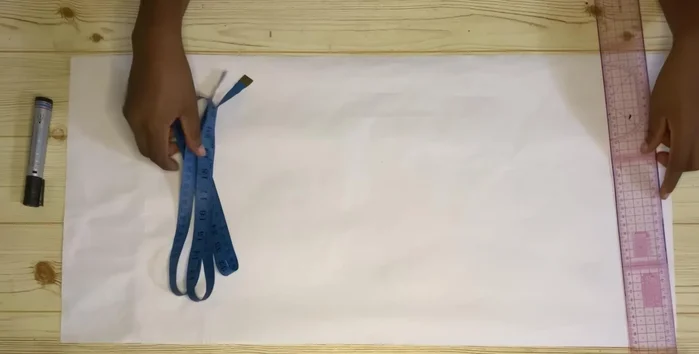
Preparation and Safety Guidelines
- Pattern paper
- Ruler
- Measuring tape
- Pencil
- Curve
- Always use sharp, well-maintained shears or rotary cutter for clean fabric cuts. Dull blades can cause slippage and inaccurate measurements leading to a poorly fitting jacket.
- Pin carefully and check your measurements frequently throughout the process. Accurate pinning is crucial for a precise final product. Take your time!
- Handle your fabric with care to avoid stretching or damaging it, especially delicate fabrics like silk or wool. Use a cutting mat to protect your work surface.
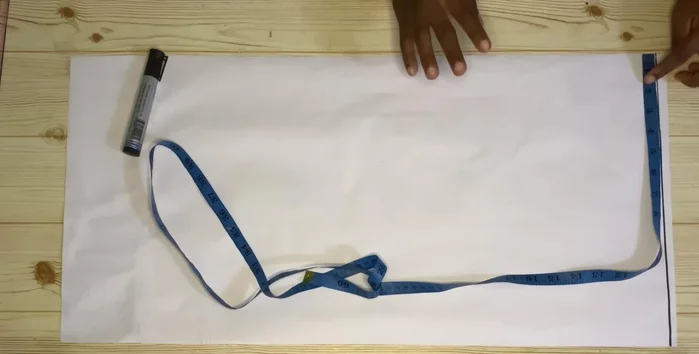
Step-by-Step Instructions
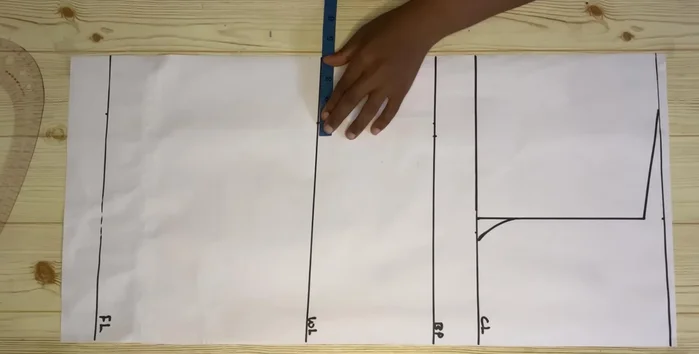
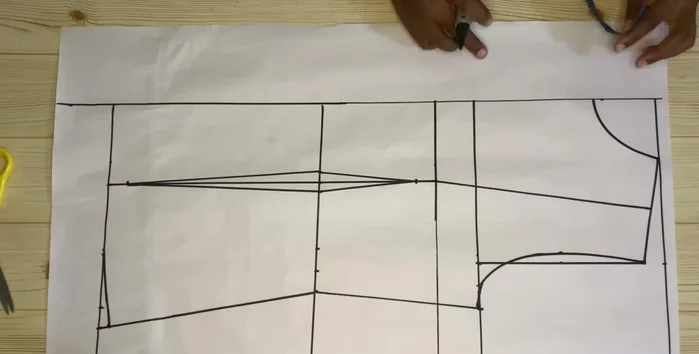
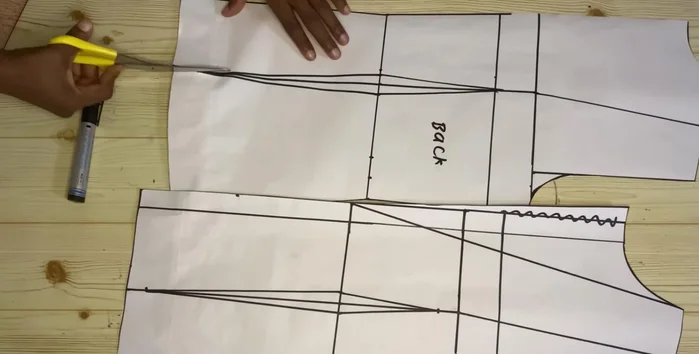
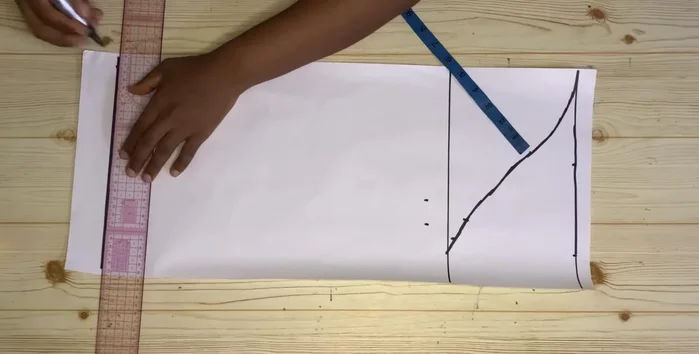
Creating the Back Pattern
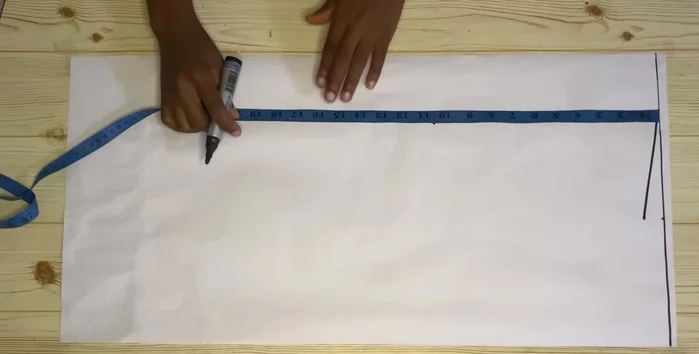
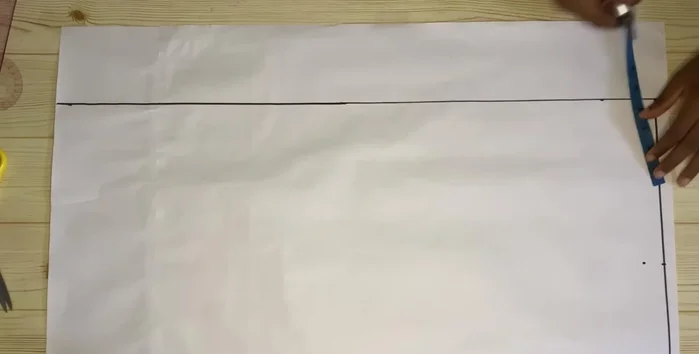
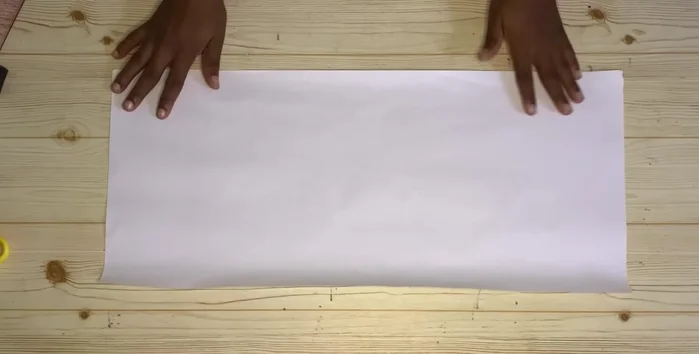
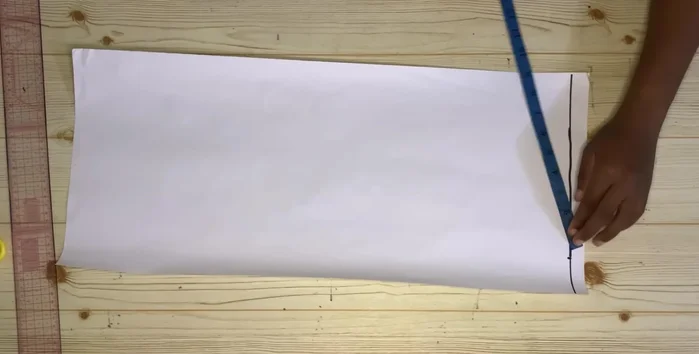
- Draw a starting line on your pattern paper.
- Mark your shoulder measurement divided by two on the starting line. This is your center back.
- Come down 1 inch for the shoulder slope.
- Mark 3 inches for your neck width and connect the points.

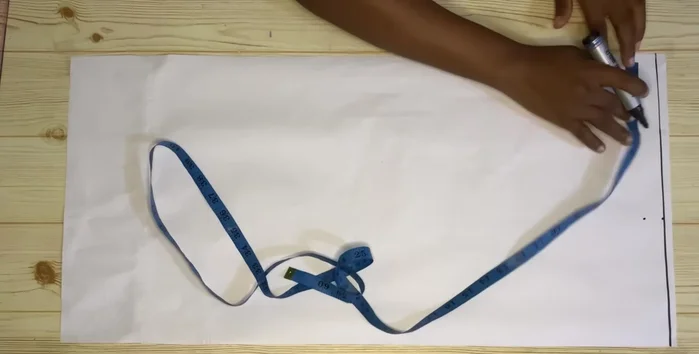
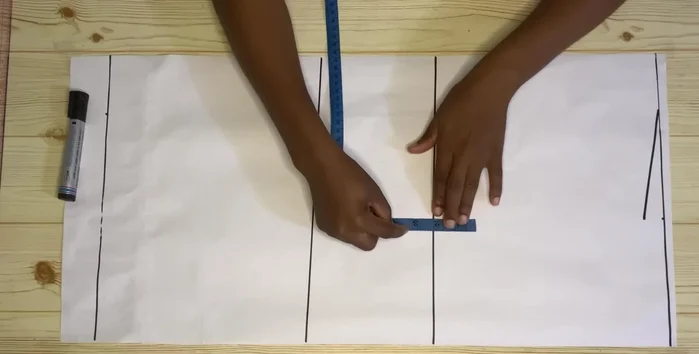
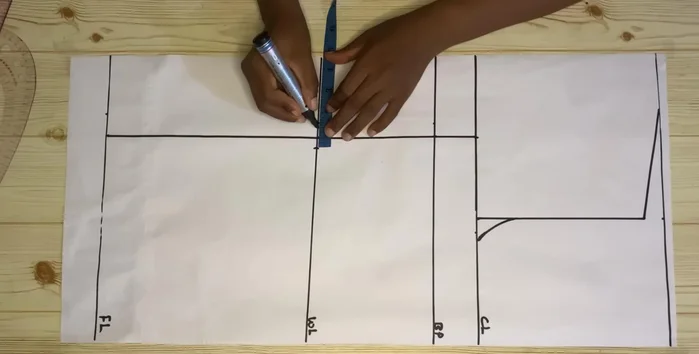
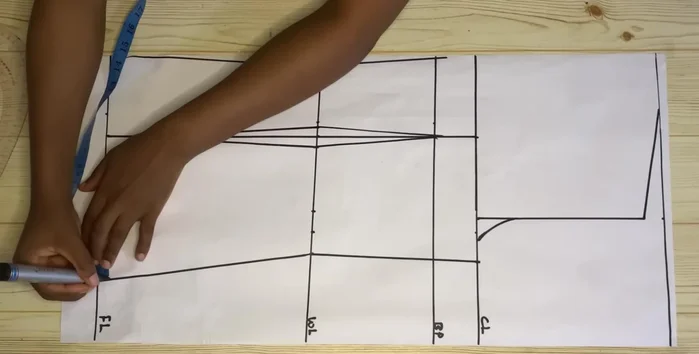
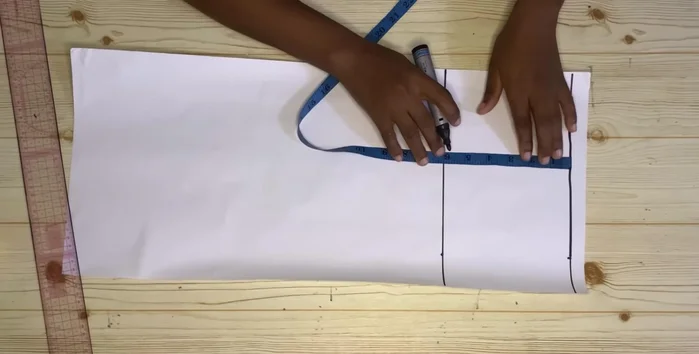
Creating the Back Pattern - Measure and mark your bust point, half length, and full length of the blazer. Connect these points.
- Go up 2 inches from the bust point and connect it to create the neckline.
- Mirror the measurements from step 6 on the other side of the center back line and connect.
- Mark your round bust measurement divided by four on the chest line. Use a curve to shape the armhole.
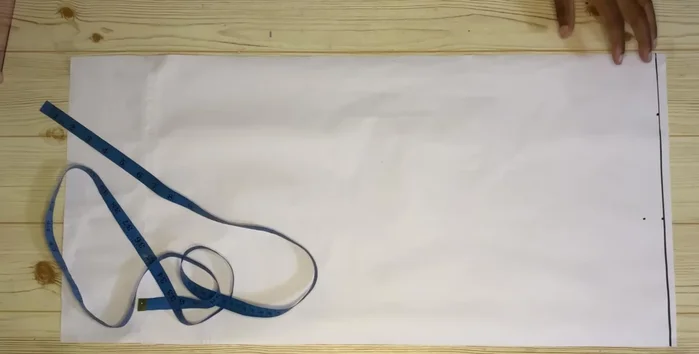
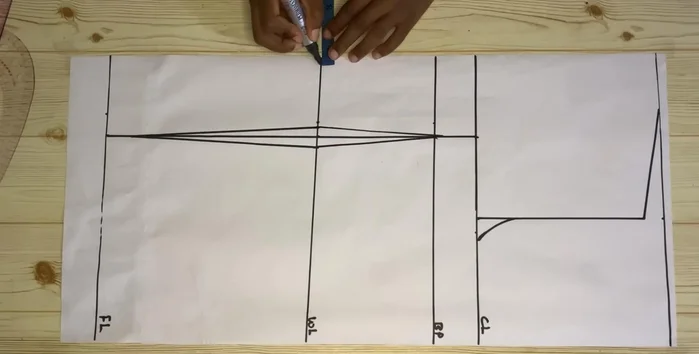
Creating the Back Pattern - Mark your nipple-to-nipple measurement divided by two on the bust point, waistline, and full length lines. Connect these points.
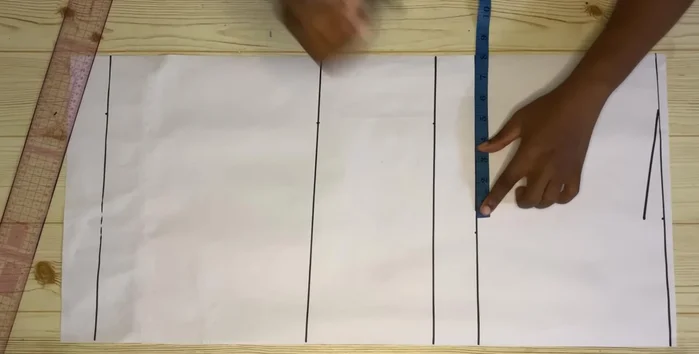
- Take half an inch on both sides of the waistline and connect to the bust point and full length.
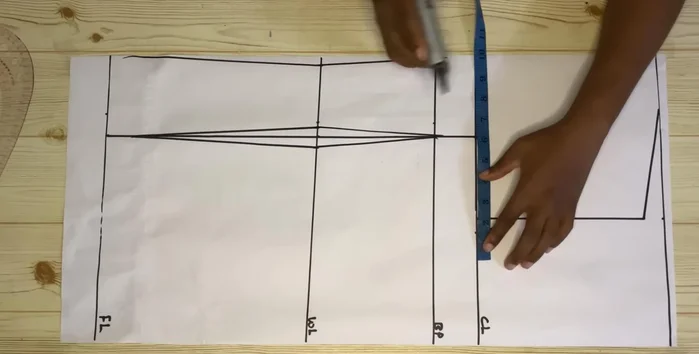
- For the center back, go in by half an inch and connect the lines (optional).
- On the chest, waist, and hip lines, add 1 inch seam allowance to your initial measurements divided by four. Connect these points.
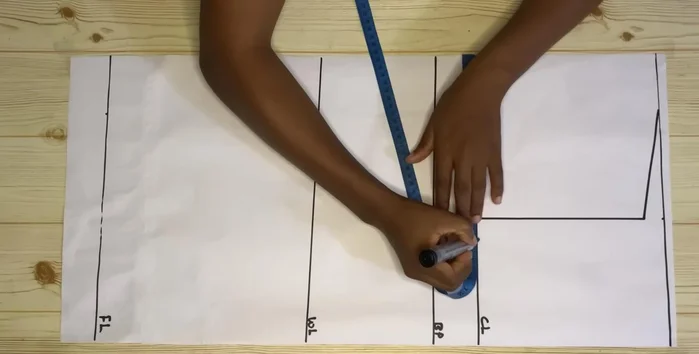
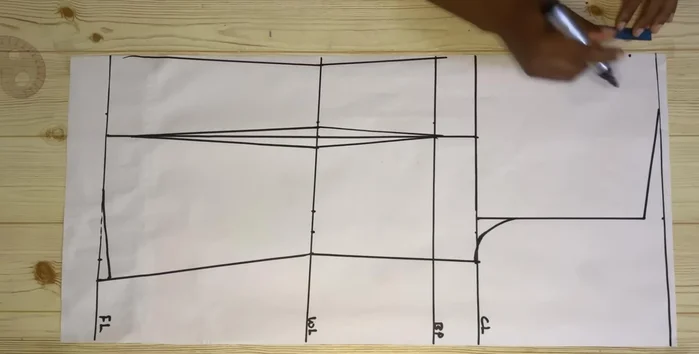
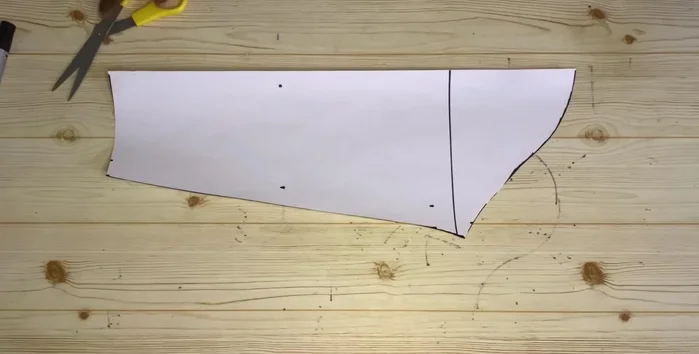
Creating the Back Pattern - Go up half an inch on the full length line to create a curve. Blend the armhole line.
- Go down 1.5 inches from the shoulder point and connect to the neckline.
- Divide the shoulder line in half and connect to the bust point.
- Cut out the back piece.
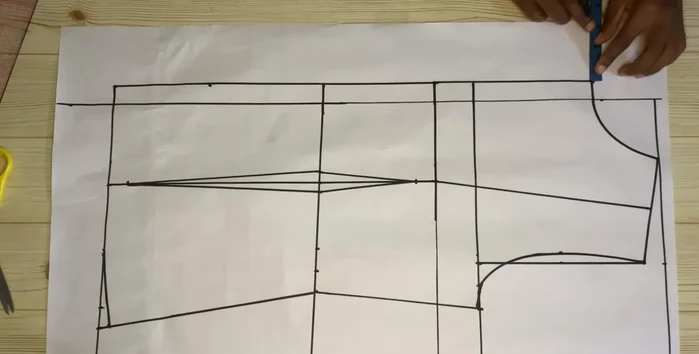
Creating the Back Pattern Creating the Front Pattern
- Mark 3-4 inches and draw a starting line for the front piece.
- Repeat steps 2-15 for the front piece, adapting measurements as needed for the front bodice.
- Add 1 inch to the neckline, bottom, and side seams of the front piece and connect.
- Extend the lines and add 0.75 inch (or desired lapel width) to the neckline for the lapel.
Creating the Front Pattern - Connect the lapel point to the waistline. Cut out the front piece.
- Cut and label the back and front pieces.
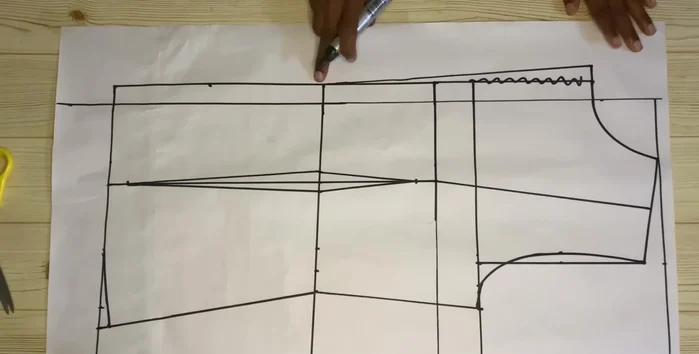
Creating the Front Pattern Creating the Sleeve Pattern
- Draw a starting line for the sleeve pattern.
- Mark your armhole measurement divided by two. Go down 6-7 inches (adjust for jacket length). Connect.
- Find the midpoint of the armhole line and the sleeve length. Create a curve to connect these points.
- Measure your round armhole measurement divided by two on the cuff line, add seam allowance, and connect.
Creating the Sleeve Pattern - Add seam allowance to the sleeve length and round wrist measurements, and connect the lines.
- Cut out the sleeve pattern.
Creating the Sleeve Pattern Cutting the Fabric
- Cut fabric pieces using the patterns, adding 0.5-inch seam allowance.
Cutting the Fabric

Read more: Raglan Sleeve Sewing Tutorial: A Step-by-Step Guide
Tips
- N/A