Tired of worn-out basket liners that detract from your beautifully organized home? Don't toss them just yet! Instead of buying replacements, discover the simple and sustainable art of repurposing your old liner as a template for creating brand new ones. This clever technique allows you to perfectly match the dimensions of your existing baskets, eliminating the frustration of ill-fitting liners and ensuring a seamless, tailored look. You'll save money, reduce waste, and gain a satisfying sense of accomplishment. Plus, you'll have the freedom to explore different fabrics and designs, transforming ordinary baskets into stylish storage solutions.
This method is surprisingly easy, requiring only minimal sewing skills and readily available materials. Whether you're a seasoned DIY enthusiast or a complete beginner, this project is perfect for honing your crafting abilities and adding a personalized touch to your home. Ready to transform your old liners into beautiful new ones? Let's dive into the step-by-step process!
Preparation and Safety Guidelines
- Sewing machine (or sewing needle and thread)
- Fabric
- Yardstick
- Scissors
- Seam ripper
- Chalk
- Stick pins
- Basket
- Old basket liner
- Always use clean, dry materials. Mold and mildew can grow on damp fabrics, making your liner unsanitary.
- Ensure your chosen fabric is strong enough to hold the contents of your basket. Thin or delicate fabrics may tear easily.
- When cutting fabric, use sharp scissors or a rotary cutter to prevent fraying and ensure clean edges.
Step-by-Step Instructions
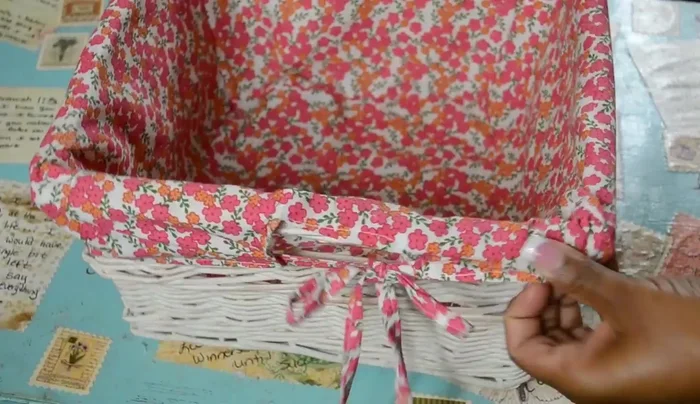
Prepare the Old Liner
- Remove the old liner from the basket and set the basket aside.
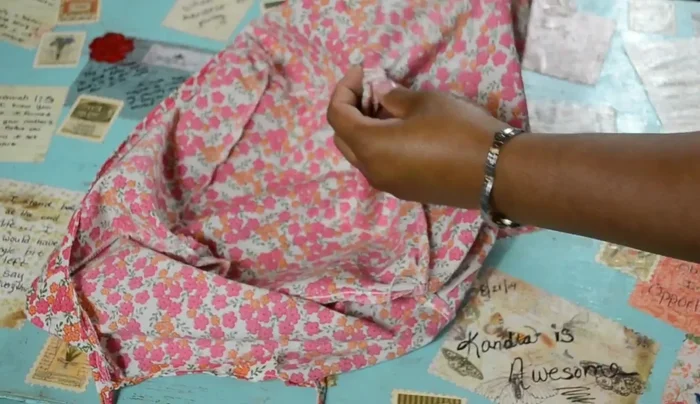
- Turn the old liner right side down and examine its construction to determine how many fabric pieces you need to cut.
- Use a seam ripper to carefully remove the stitches/seams of the old liner.
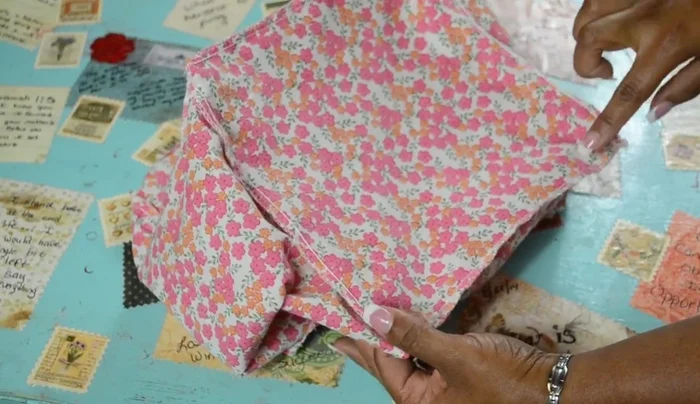
- Remove any existing hems from the old liner pieces.

Prepare the Old Liner Create Fabric Templates
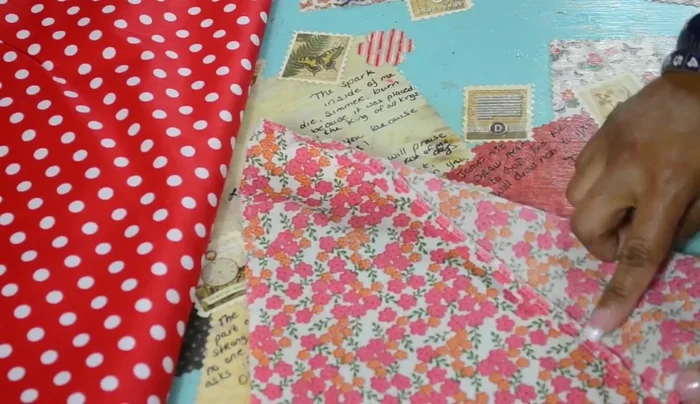
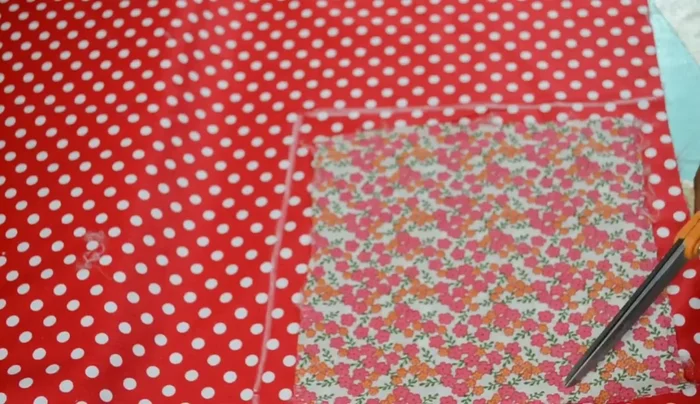
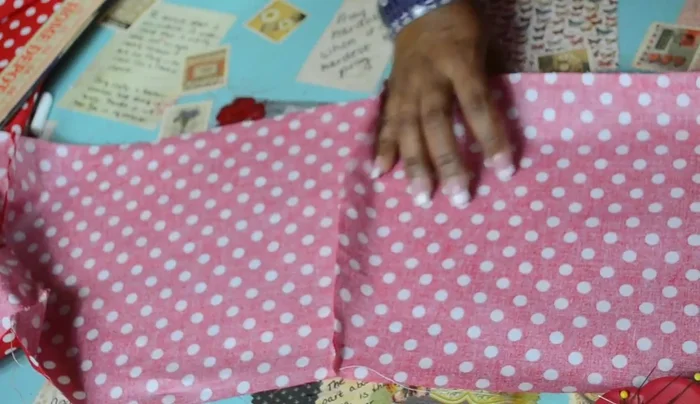
- Use the old liner's bottom piece as a template. Trace it onto your new fabric, adding seam allowance (1/4 to 1/2 inch).
- Cut out the traced fabric piece for the bottom of the new liner.
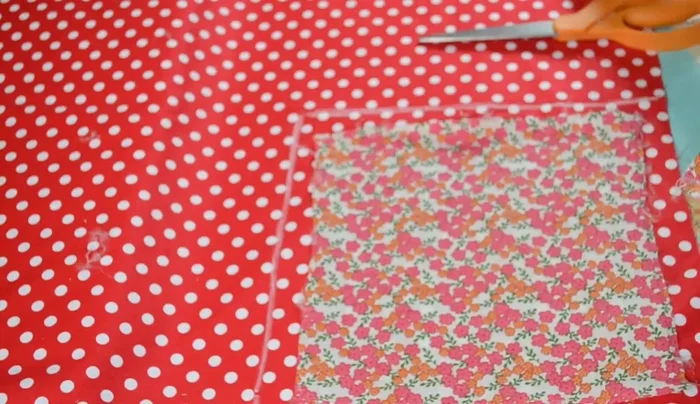
- Disassemble the rest of the old liner (sides) and trace/cut out corresponding pieces from your new fabric.
Create Fabric Templates Prepare the Fabric
- Press the cut fabric pieces to remove wrinkles.
Prepare the Fabric Sew the Sides
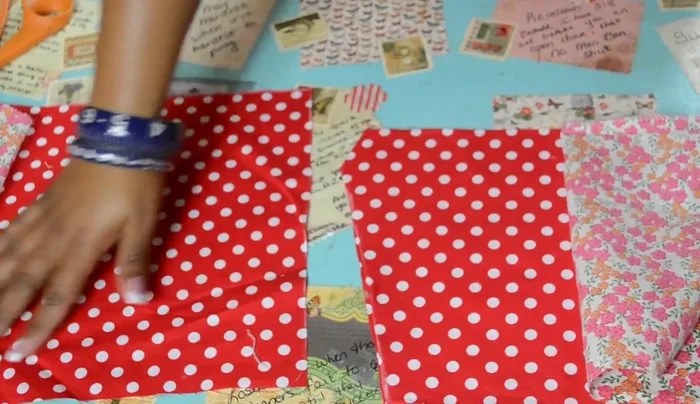
- Pin two side pieces together (right sides together), then sew a straight stitch along the side. Repeat for the other side pieces.
Sew the Sides Create and Attach Hems
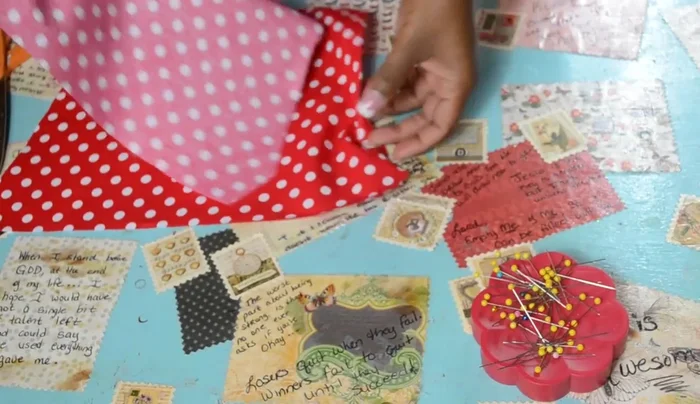
- Create hems on the top edges of the sewn side pieces by folding the fabric over twice and pinning in place. Press to secure.
- Pin the fourth side together (right sides together), ensuring hems align. Sew a straight stitch.
Create and Attach Hems Attach the Bottom
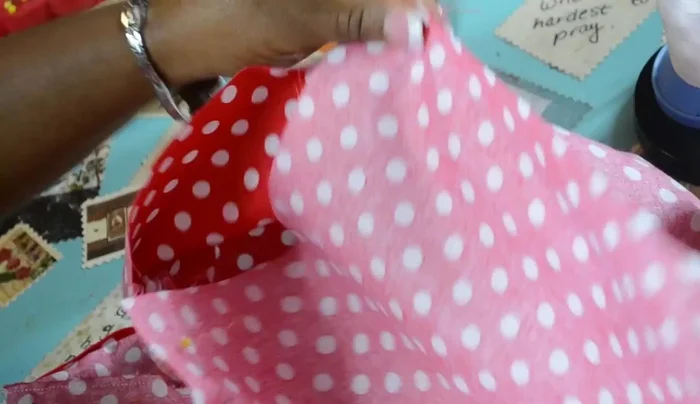
- Turn the side pieces right sides down, align seams of the bottom and side pieces, pin and sew together. Repeat for the other side.
Finish the Liner
- Turn the new liner right side out. Trim any excess fabric.
Finish the Liner

Read more: DIY Super Cute Whale Shower Curtain: A Step-by-Step Tutorial
Tips
- Always add seam allowance when tracing your template to account for potential inaccuracies and allow for adjustments.
- Regular chalkboard chalk can be used for marking fabric; sewing chalk is also an option.
- Remove pins before sewing over them to avoid damaging your sewing machine needle.
- Finger press and iron the hems to ensure a neat finish before sewing them into place.
- Use the original seams as a guide when attaching the bottom to the sides to ensure consistent placement.