Ever dreamed of twirling in a whimsical, voluminous skirt that seems to defy gravity? Forget expensive boutiques and complicated patterns – you can create your own stunning balloon skirt with just a few simple materials and a little bit of sewing know-how. This DIY project is surprisingly accessible, even for beginner sewers, promising a rewarding experience and a uniquely stylish garment you'll cherish. Imagine the compliments you'll receive while effortlessly rocking this eye-catching piece, perfect for parties, photoshoots, or simply adding a touch of playful elegance to your everyday wardrobe.
This tutorial will guide you through each step, from choosing the right fabric and measuring your waist to expertly assembling the gathered layers that create the characteristic balloon shape. Get ready to unleash your creativity and transform ordinary fabric into an extraordinary, personalized skirt. Let's dive into the step-by-step process and create your dream balloon skirt!
Preparation and Safety Guidelines
- Pattern Master
- Tape Measure
- Marker Pen
- Pins
- Long Metal Ruler
- Pattern Paper
- Cotton Drill Fabric
- Matching Lining Fabric
- Invisible Skirt Zip
- Interlining
- Always inflate balloons to the same size for a consistent skirt shape. Overinflating can cause balloons to burst, creating a mess and potential injury.
- Use a strong adhesive, such as fabric glue or hot glue gun (with adult supervision if under 18), to securely attach balloons to the fabric. Ensure the adhesive is suitable for both balloons and your chosen fabric.
- Work in a well-ventilated area, as some adhesives may release fumes. Never leave a hot glue gun unattended.
Step-by-Step Instructions
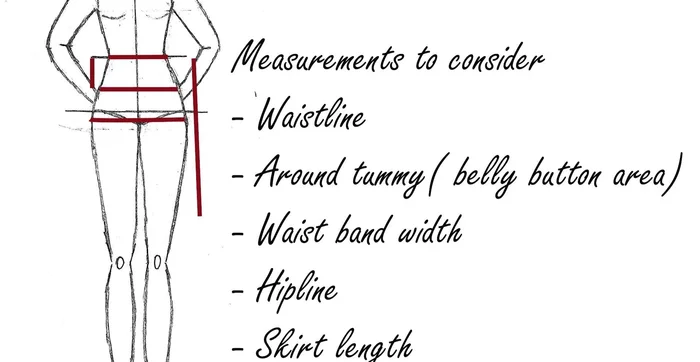
Measurements
- Measure waistline, tummy area, desired waistband width, hip circumference, and skirt length.

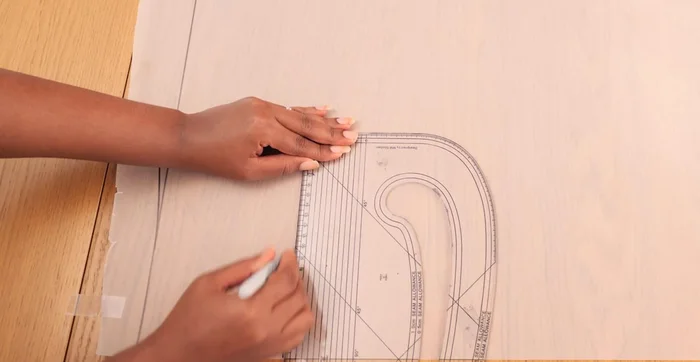
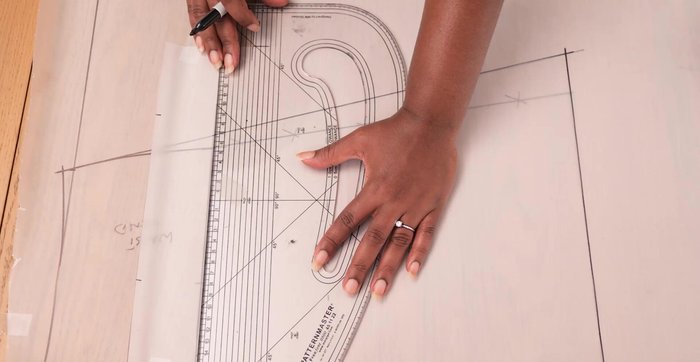
Measurements Create Front Skirt Pattern
- Draw a horizontal line, mark a quarter of the waist measurement, mark upwards half an inch for a smoother curve.
Create Front Skirt Pattern Design Waistband
- Mark a 5-inch width, square it across, and mark a quarter of the tummy measurement. Connect the waistline and tummy points (adjust later if needed for looser fit). Add a notch for the waistband-lining seam.
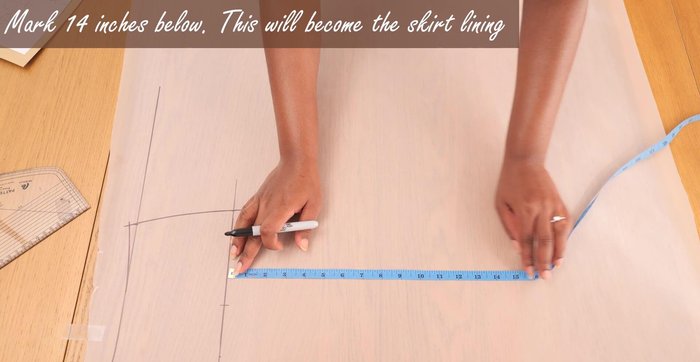
Design Waistband Mark Lining Length and Width
- Mark 14 inches downwards from the belly line for the lining. Square this point across and initially mark about 10 inches for lining width. Adjust later to ensure correct hip measurement.
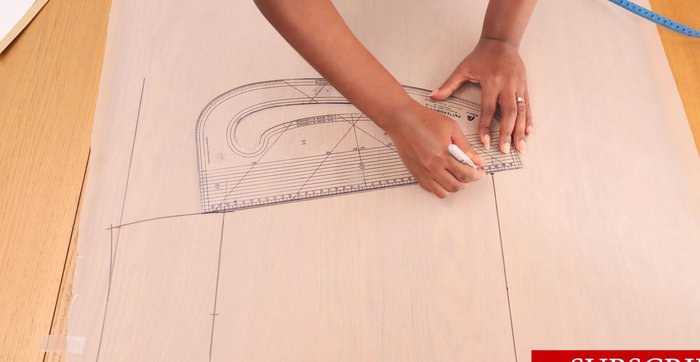
Mark Lining Length and Width Adjust Pattern for A-line Silhouette
- Open the side seam to accommodate the hips. Mark the hip measurement (divided by 4) horizontally and connect to the hemline. Trace the final pattern pieces.
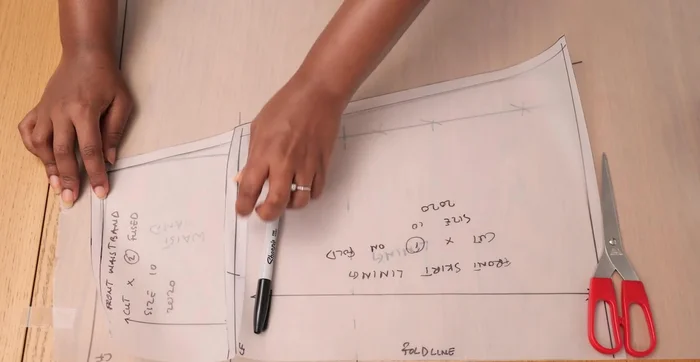
Adjust Pattern for A-line Silhouette Trace and Cut Lining Pattern
- Trace and cut the lining pattern piece, adding a 1 cm seam allowance around the waist, side, and hem. Cut one on the fold for the front and use it for the back.
Trace and Cut Lining Pattern Trace and Cut Waistband Pattern
- Trace and cut the waistband pattern piece, adding seam allowance (except on the center front edge). Cut two pairs.
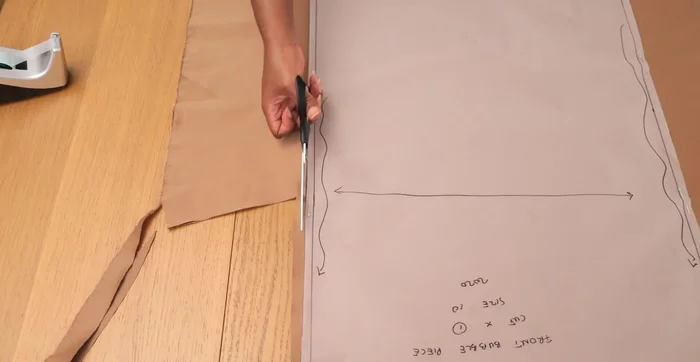
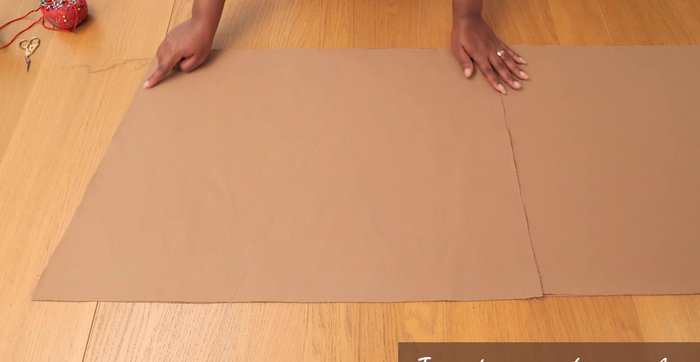
Trace and Cut Waistband Pattern Trace and Cut Outer Skirt Pattern
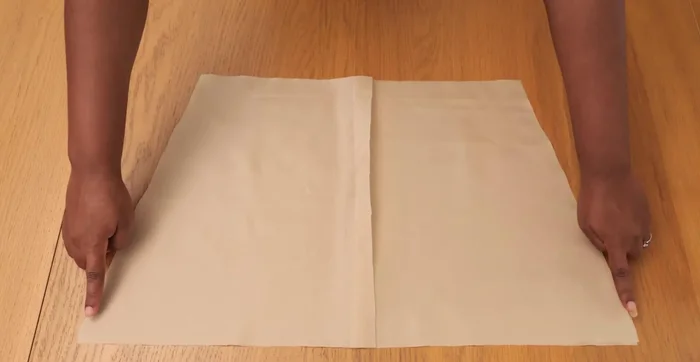
- Trace the belly line, mark 19 inches downwards, extend the belly line by 16 inches, and mark 19 inches across. Draw an A-line silhouette and add a 1 cm seam allowance. Cut one piece on the fold for the front and use the same for the back (add seam allowance to the back center edge).
Trace and Cut Outer Skirt Pattern Cut Pattern Pieces
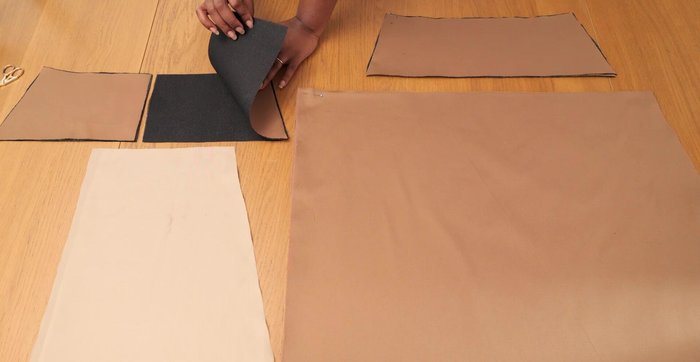
- Cut out all pattern pieces.
Cut Pattern Pieces Prepare Waistband
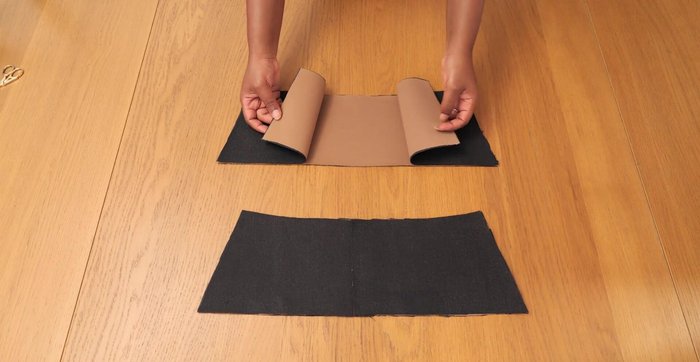
- Fuse interlining to the wrong side of the waistband pieces for stiffness.
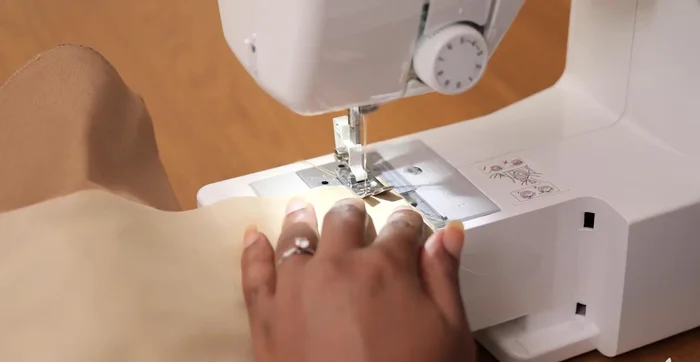
Prepare Waistband Sew Waistbands
- Put right sides together, sew up the side seams, and press flat.
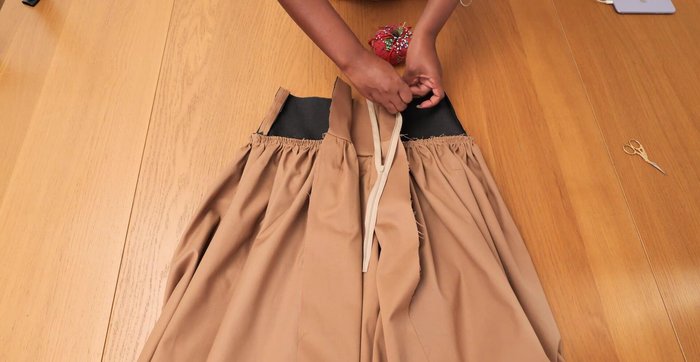
Sew Waistbands Sew Outer Skirt
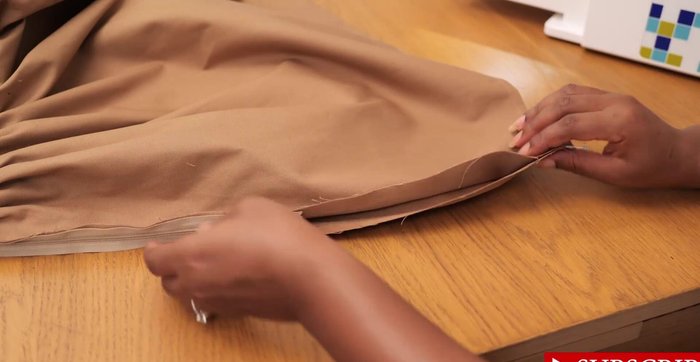
- Join the front and back pieces, sew the side seams with a 1 cm seam allowance. Use the longest stitch setting, sew across the top and bottom edges, pull the threads to create gathers for the balloon shape.
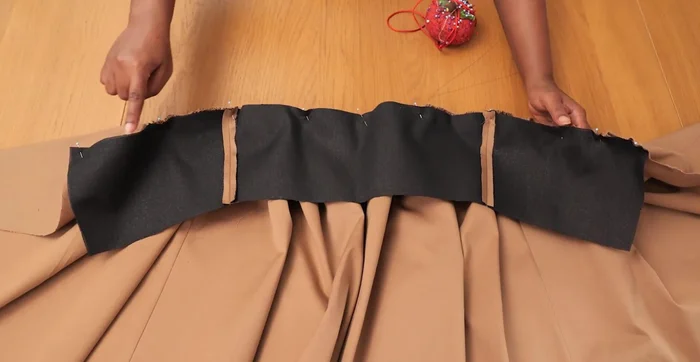
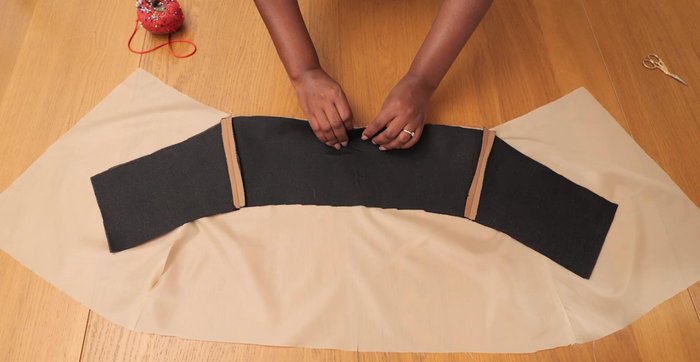
Sew Outer Skirt Attach Waistband to Outer Skirt
- Attach waistband to the gathered outer skirt edges.
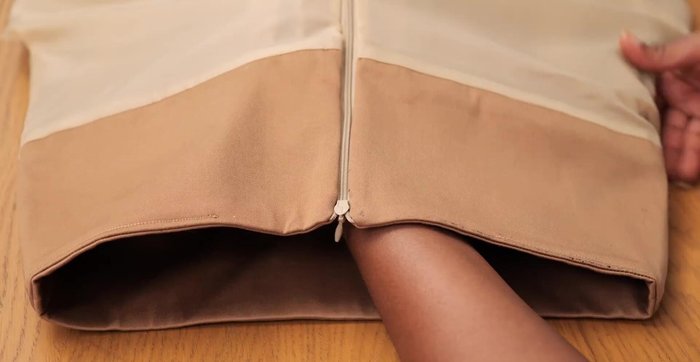
Attach Waistband to Outer Skirt Sew Invisible Zip
- Sew invisible zip into the center back seam.
Sew Invisible Zip Close Back Skirt Edges
- Close the bottom open edges of the back skirt pieces.
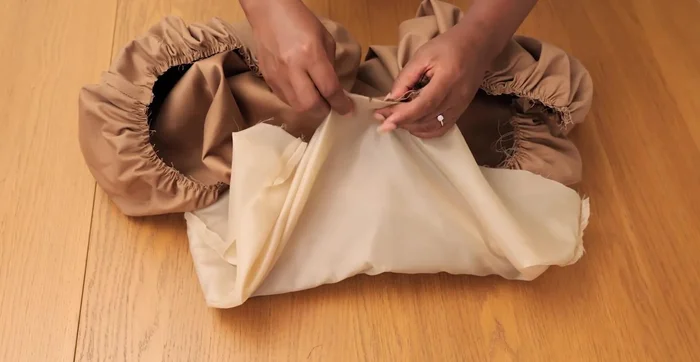
Close Back Skirt Edges Sew Lining Pieces
- Put right sides together, sew the side seams, leaving a 3-inch opening for turning.
Sew Lining Pieces Attach Waistband to Lining
- Attach the second waistband set to the lining top edge.
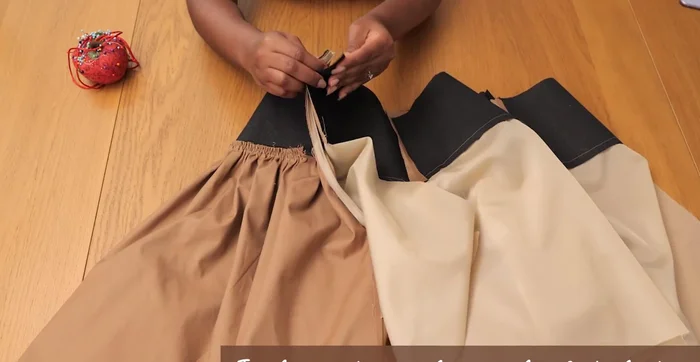
Attach Waistband to Lining Attach Lining to Skirt
- Pin the center back edges, waistlines, and join lining and skirt with top stitching to finish the waistline edge neatly.
Attach Lining to Skirt Finish Skirt Edges
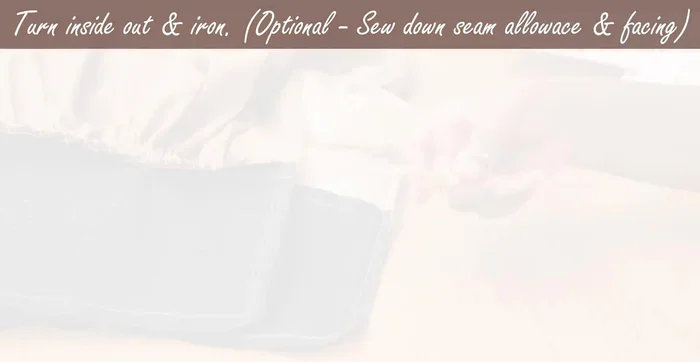
- Trim corners, turn inside out, and press.
- Do an edge stitch on the inside seam allowance.
Finish Skirt Edges Close Lining Bottom Edge
- Sew close the bottom edge of the lining to conceal raw edges.
Close Lining Bottom Edge Attach Lining Hem to Outer Skirt Hem
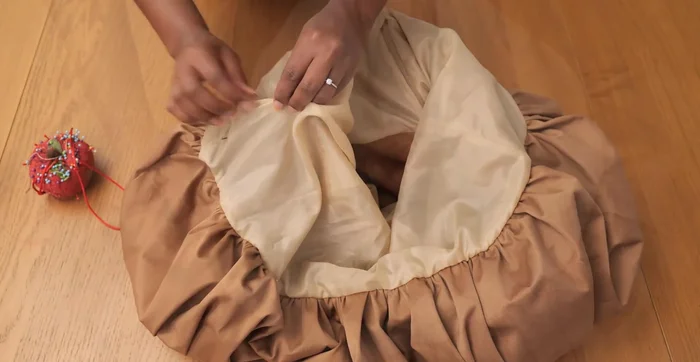
- Join the lining hemline to the outer skirt hemline. Pull the gathers on the seam, pin, and stitch together.
Attach Lining Hem to Outer Skirt Hem Close Lining Opening
- Pin close the lining opening and top stitch.
Close Lining Opening Finishing Touches
- Steam the finished skirt (avoid ironing flat).


Read more: Raglan Sleeve Sewing Tutorial: A Step-by-Step Guide
Tips
- Adjust the pattern for a looser or tighter fit around the tummy area as needed.
- Ensure the hip measurement is correct to avoid fitting issues.
- Using an invisible zip provides a clean finish.
- Steam, not iron, the finished skirt to preserve its fluffiness.