Tired of lugging around a bulky, impractical diaper bag? Do you crave a stylish and functional solution that keeps up with your busy lifestyle? Then get ready to ditch the drab and embrace the DIY! This tutorial will guide you through creating your own custom backpack-style diaper bag, complete with comfortable padded straps – a perfect blend of practicality and personalized style. Say goodbye to generic designs and hello to a bag perfectly tailored to your needs and aesthetic. Imagine the satisfaction of carrying a uniquely crafted bag, knowing you designed and built it yourself!
This project, while seemingly ambitious, is surprisingly achievable, even for beginners with basic sewing skills. We’ll cover everything from choosing the right fabrics and hardware to assembling the various compartments and adding essential features. Ready to transform your vision into a functional, fashionable reality? Let's dive into the step-by-step process and create the ultimate DIY diaper bag backpack.
Preparation and Safety Guidelines
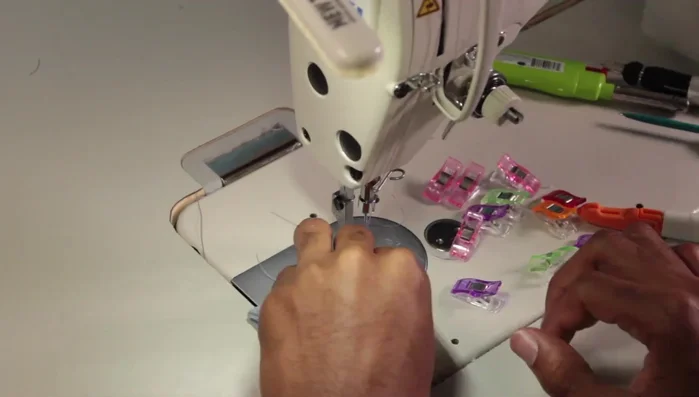
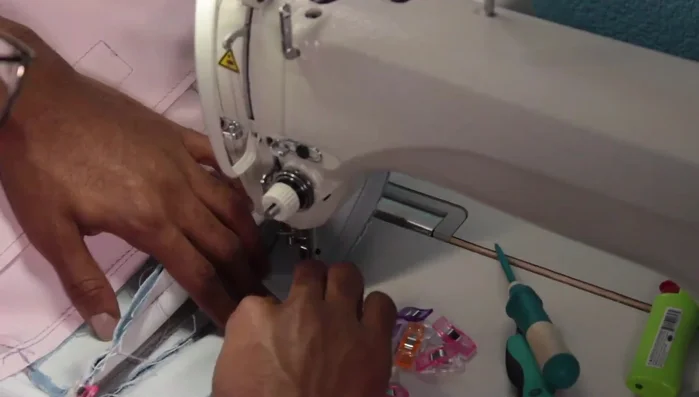
- sewing machine
- fabric (canvas, waterproof canvas, lining fabric)
- thread
- bias binding
- upholstery foam
- rivets
- rivet press
- double-sided tape
- scissors
- pins
- Always supervise young children around sewing machines and sharp tools. Keep them out of reach.
- Ensure all fabrics used are pre-washed and free of any harsh chemicals before constructing the diaper bag to avoid irritating baby's skin.
- Thoroughly check all seams and fastenings before use to ensure the bag is sturdy and safe to carry heavy items like diapers and baby supplies.
Step-by-Step Instructions
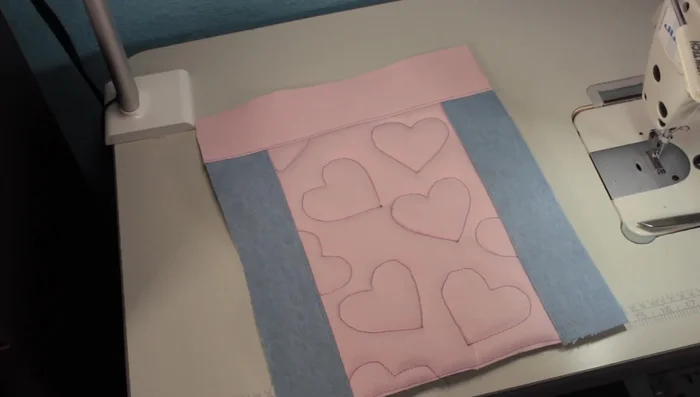
Back Panel Construction
- Create the back panel, sew on the hearts, and complete the back panel assembly.
- Attach the side panels and top piece to finish the back piece.

Back Panel Construction Side Gusset Pockets
- Construct the side gusset pockets, including the lining and waterproof canvas.
- Sew on the side gusset pockets and flaps, adding a small panel piece to neaten the raw edges and simplify the flap attachment.
Side Gusset Pockets Front Flap Pocket
- Construct the front flap pocket, adding a similar panel piece for a cleaner finish.
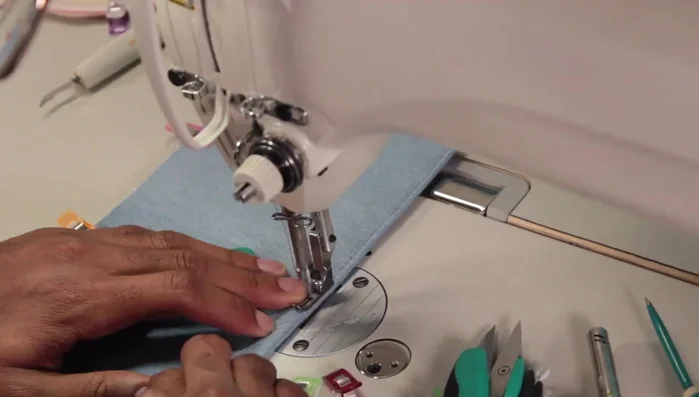
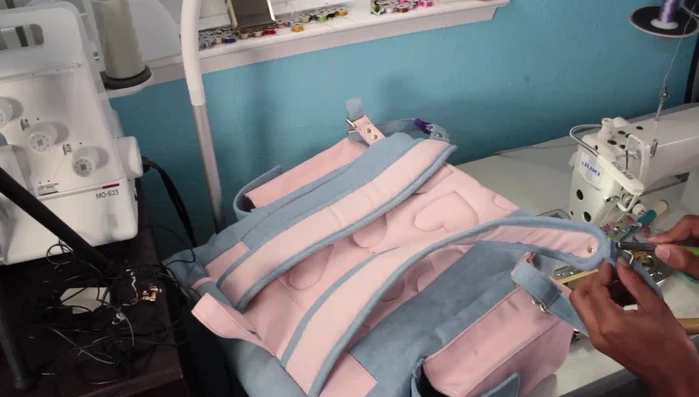
Front Flap Pocket Shoulder Strap Construction
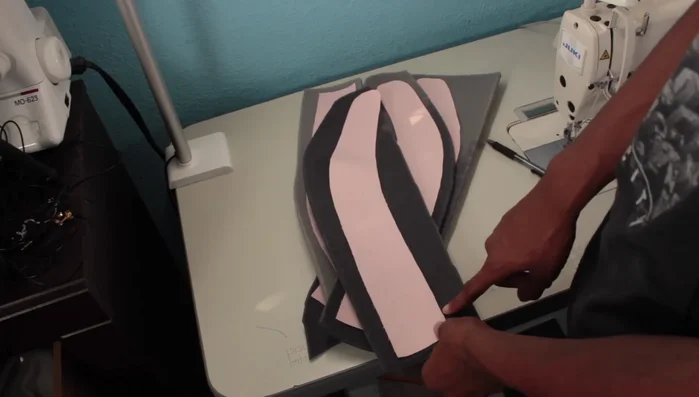
- Prepare the shoulder straps by attaching upholstery foam for padding and comfort.
- Sew the strap pieces together, then sew bias binding around the edges.
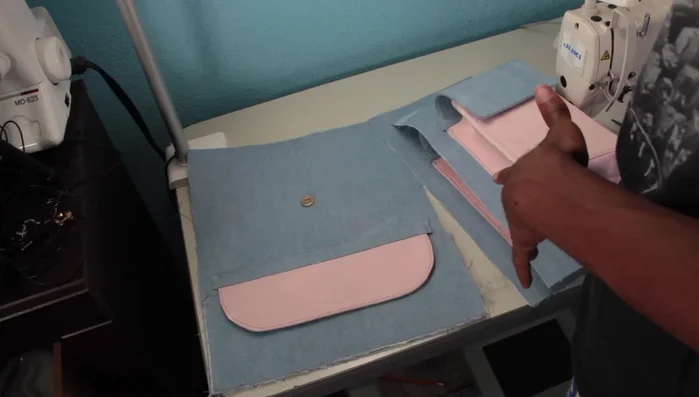
Shoulder Strap Construction Exterior Assembly
- Construct and attach the handle.
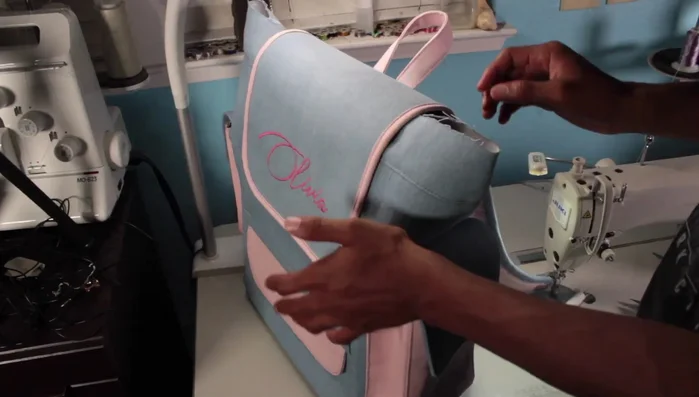
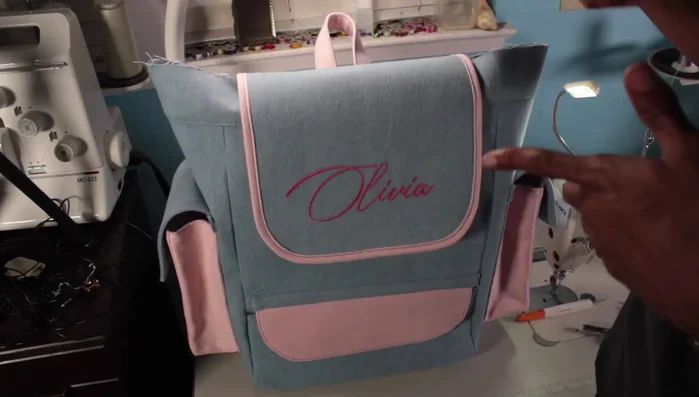
- Assemble the exterior of the diaper bag, attaching all previously made components.
Exterior Assembly Interior Lining Construction
- Construct and attach the interior lining, incorporating the zipper pocket and slit pockets.
- Top stitch the interior lining to ensure a neat and clean look.
Interior Lining Construction Strap Attachment and Riveting
- Attach the adjustable strap pieces and rivet them to the back panel for secure attachment.
Strap Attachment and Riveting Final Touches
- Complete the bag by adding purse feet to the bottom.


Read more: DIY Quilted Makeup Pouch Tutorial: The Easiest and Fastest Method
Tips
- Use waterproof canvas for pockets to prevent spills from damaging the interior.
- Adding a small panel piece to the flap pockets hides raw edges and makes attachment easier.
- Upholstery foam provides comfortable and supportive shoulder straps.
- Rivets add durability and a professional, clean finish.