Stimulating your baby's senses during their crucial developmental stages is incredibly important, and what better way to do so than with engaging, homemade toys? Forget expensive store-bought options; creating DIY sensory toys is a rewarding experience, allowing you to tailor the experience to your little one's specific needs and preferences. This simple, yet effective, project combines the joy of crinkling sounds, the satisfying shake of a rattle, and the exploration of diverse textures – all in one adorable sensory toy. You'll be surprised at how much fun you and your baby can have with readily available materials.
This project is perfect for parents seeking a fun and inexpensive way to enrich their baby's playtime. We'll guide you through a step-by-step process to create a delightful rattle, crinkle, and texture sensory toy that's both safe and stimulating. Get ready to unleash your creativity and witness the wonder in your baby's eyes as they explore the fascinating world of textures and sounds you've created just for them!
Preparation and Safety Guidelines
- Fabric (various textures, approx. 5-inch squares)
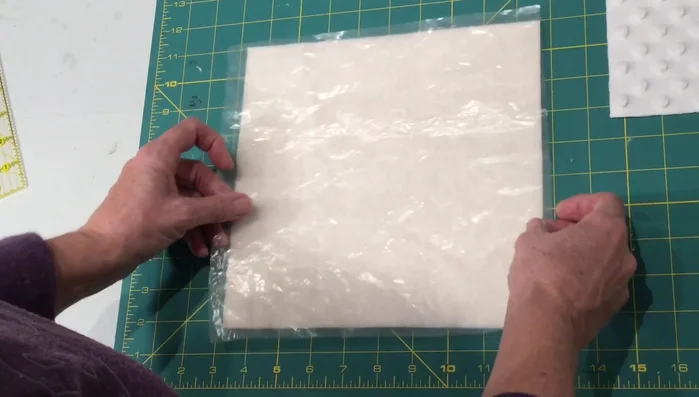
- Quilt batting (approx. 10-inch square)
- Crinkle material (cereal bag, plastic wrap, etc.)
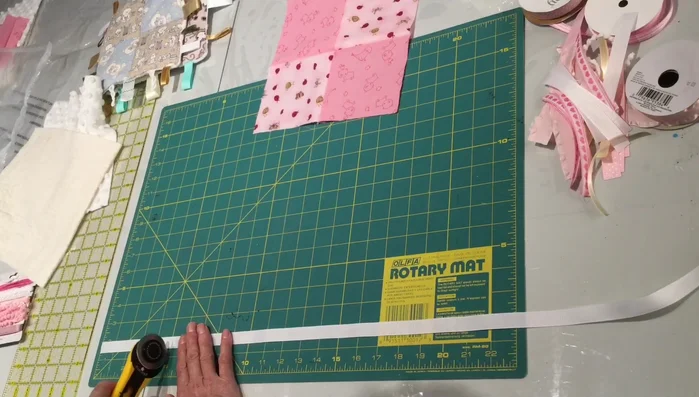
- Ribbons (various textures and widths)
- Rattles (small, lightweight)
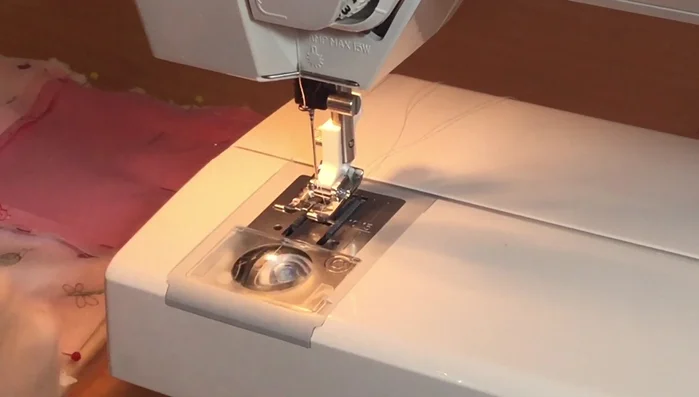
- Sewing machine
- Scissors
- Pins
- Rotary cutter (optional)
- Cutting mat (optional)
- Iron (optional)
- Always supervise your baby while they are playing with any homemade toy. Never leave them unattended.
- Ensure all materials used are non-toxic, baby-safe, and free from small parts that could pose a choking hazard. Wash all materials thoroughly before assembling.
- Check the toy regularly for wear and tear. Discard or repair any damaged parts immediately.
Step-by-Step Instructions
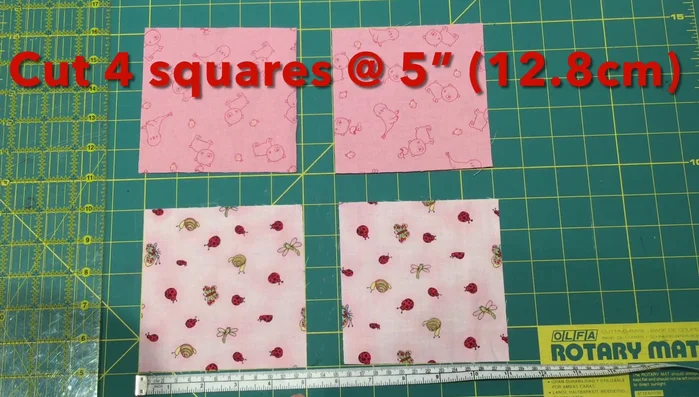
Prepare Fabric Squares
- Cut four 5-inch squares of baby fabric.
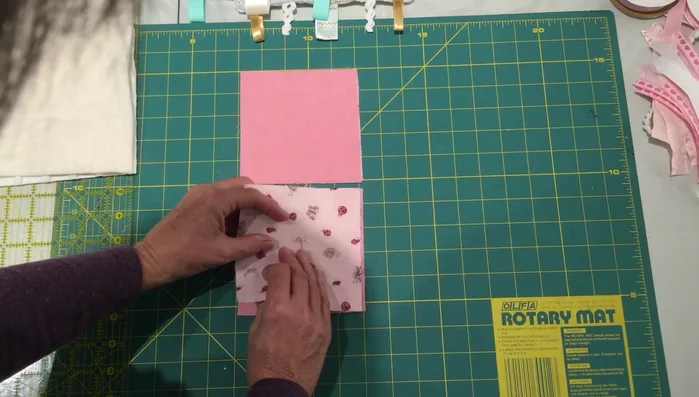
- Sew two fabric squares together (right sides together), then sew the other two together. Repeat for all pieces.
- Open the seams of the paired squares and press flat.

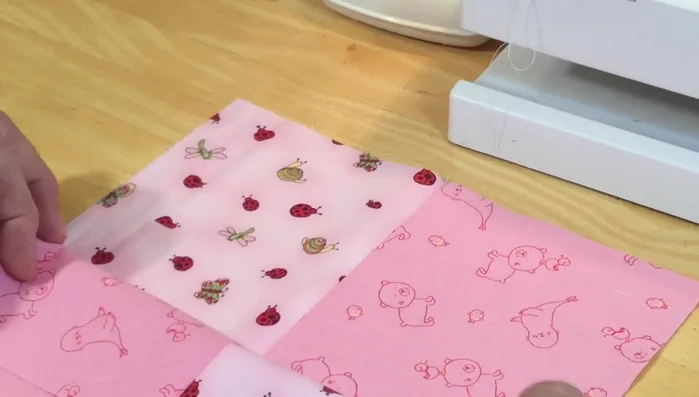
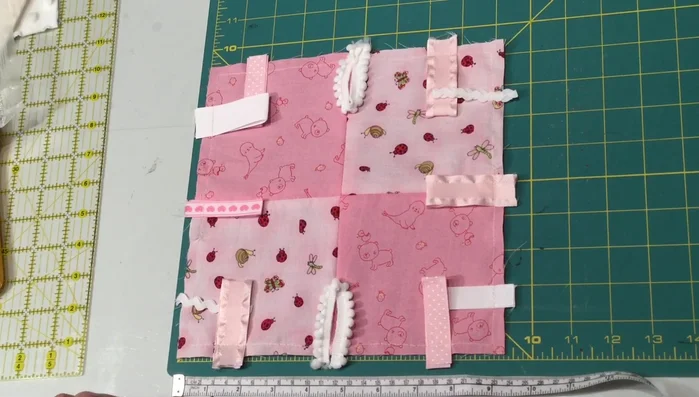
Prepare Fabric Squares Assemble Fabric Top
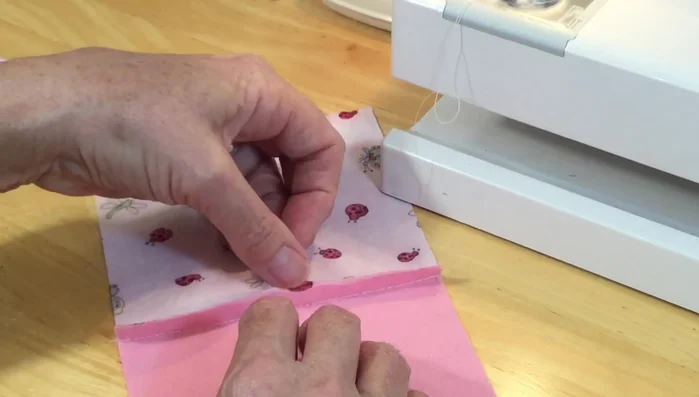
- Sew the two pairs of fabric squares together (right sides together), precisely matching seams.
- Stitch in the ditch to secure seams. Open and press seams flat.
Assemble Fabric Top Prepare Ribbons
- Cut ribbons to desired lengths (approximately 5 inches). Fold in half and press to create a crease.
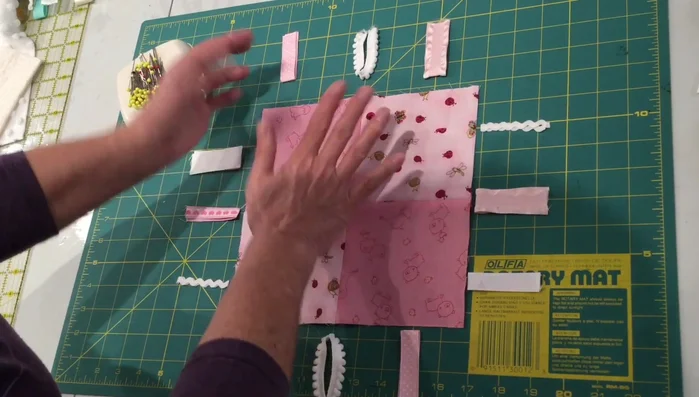
- Pin ribbons to the edges of the fabric top, leaving approximately ¼ inch of overhang.
Prepare Ribbons Prepare Inner Layers
- Cut the quilt batting, backing fabric, and crinkle plastic to the same size (slightly larger for crinkle plastic).
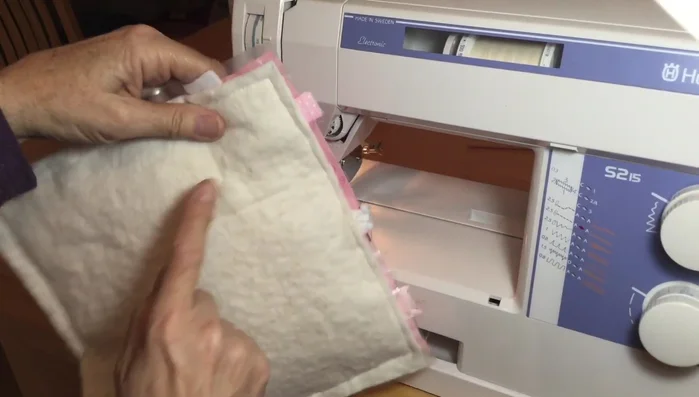
Prepare Inner Layers Assemble and Sew Toy
- batting, crinkle plastic, backing fabric, and the fabric top (right sides facing in).
- Carefully align corners and edges of the fabric layers, ensuring all layers are matched; Pin all sides.
- Sew around the perimeter, leaving a small opening for turning and inserting the rattles.
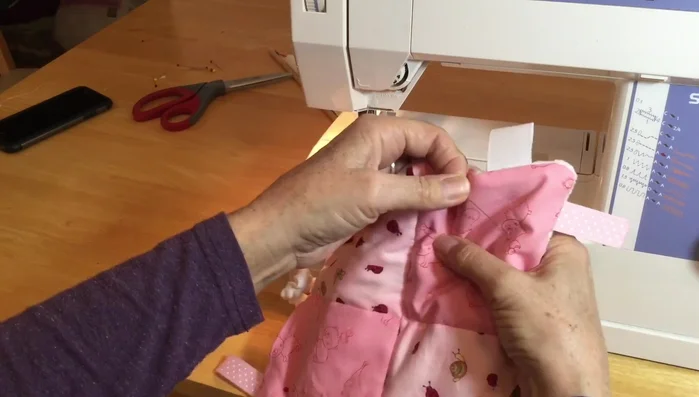
Assemble and Sew Toy Insert and Secure Rattles
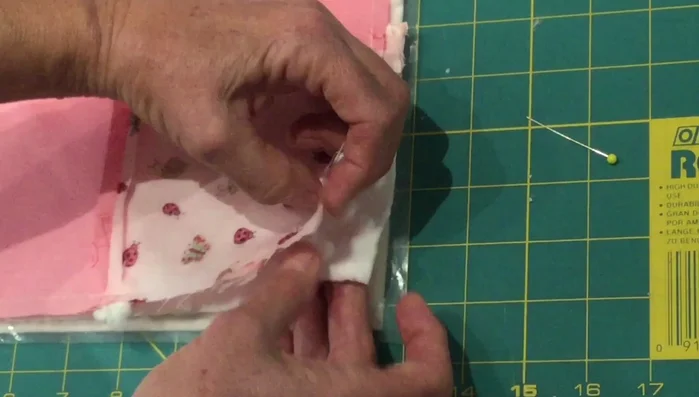
- Trim corners, insert rattles into corners, and secure with pins.
- Stitch in the ditch to close the opening, securing rattles.
Insert and Secure Rattles Finish Toy
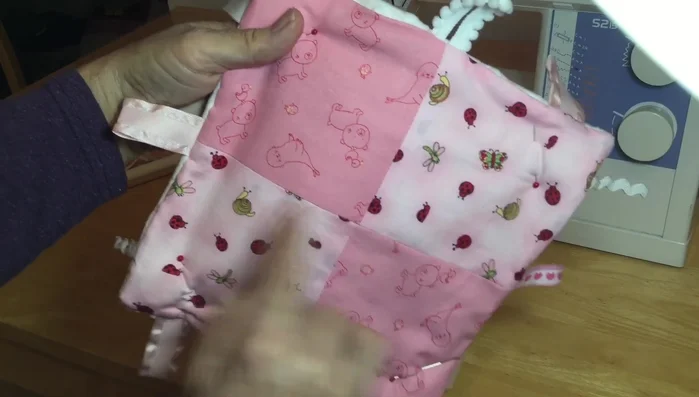
- Top stitch around the perimeter to finish.
Finish Toy

Read more: DIY Fluffy Duck Plushie Tutorial: A Step-by-Step Guide
Tips
- Use a walking foot on your sewing machine to prevent bunching of layers.
- Use a rotary cutter and cutting mat for efficient fabric cutting.
- Precisely matching seams before the final stitching is crucial for a clean finish.
- Use colored pins to mark your opening to avoid accidental stitching.